
Are you ready to give your kitchen cabinets a makeover or are you craving a new look for your bathroom vanity? Well, have no fear, because a fresh coat of paint can do wonders for transforming the look of your cabinets. After hours of research, and having a few cabinet painting projects under our belts, we are here to share our favorite DIY cabinet paint to help that makeover happen.
But first, it is important to know the types of paint out there.
Affiliate links may be used throughout this blog post – read our policy here.

Types of Paint
Oil-based Paint
First up, let’s talk about oil-based paints. Oil-based paints have been a popular choice for cabinets in the past due to their durability and resistance to scratches. However, they also come with their fair share of drawbacks. They have a strong odor and can take a long time to dry, which can make the painting process tedious and take longer than anticipated. Not to mention, cleaning up oil-based paints requires solvents and harsh chemicals, which isn’t exactly environmentally friendly.
Latex Paint
Next up, we have latex paints. Latex paints are a more eco-friendly and user-friendly option compared to oil-based paints. They dry faster, have a lower odor, and clean up with just soap and water. However, latex paints tend to be less durable and are not as scratch-resistant as their oil-based counterparts. Latex paints are not a good option in a high-traffic area like a kitchen.
Enamel Paint
Enamel paint is durable, able to resist wear and tear, and is an easy-to-clean surface once dried. It can provide a smooth, glossy finish that can make any surface look new again. However, enamel paint can be difficult to apply evenly and can have a strong odor. It can also be more expensive than other paint options, but its long-lasting finish and durability may make it worth the investment in the long run.
The Best DIY Cabinet Paint
In our opinion, the best DIY cabinet paint is enamel. Enamel paints are a type of latex paint that contains additives to increase durability, making it a great option for cabinets. It has a smooth and glossy finish that is easy to clean and is resistant to scratches and chips. Enamel paints also have a faster drying time compared to oil-based paints and are more eco-friendly than their oil-based counterparts.
Now that we have decided enamel pain is the best DIY cabinet paint, let’s discuss the steps needed to prepare the cabinets to ensure the best paint finish possible.
Best DIY Cabinet Primer
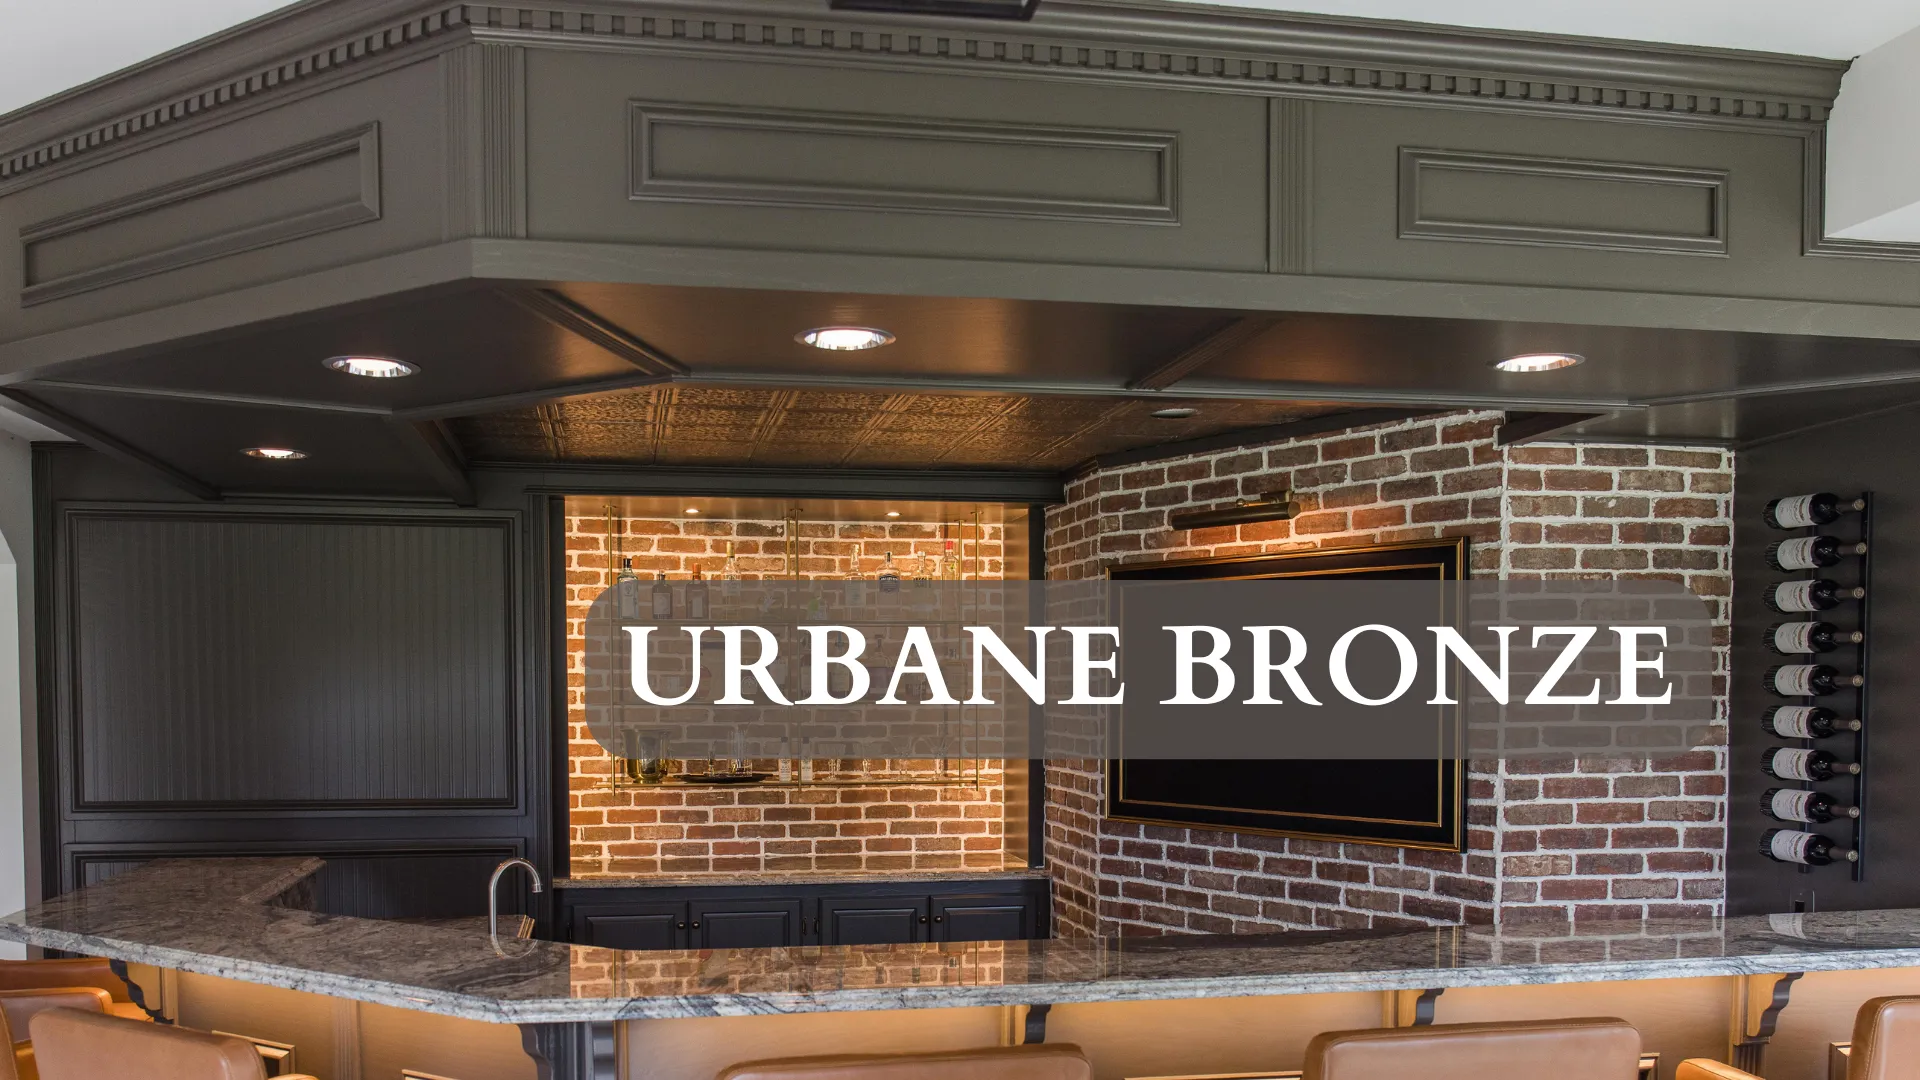
When we painted the cabinets in our basement bar, we received a lot of questions on whether or not we sanded them first. The answer is no. We did a lot of research prior to taking on that project and have also worked with professional painters on previous projects – all of which said that if you used the proper primer on cabinets, you will not have to sand them down.
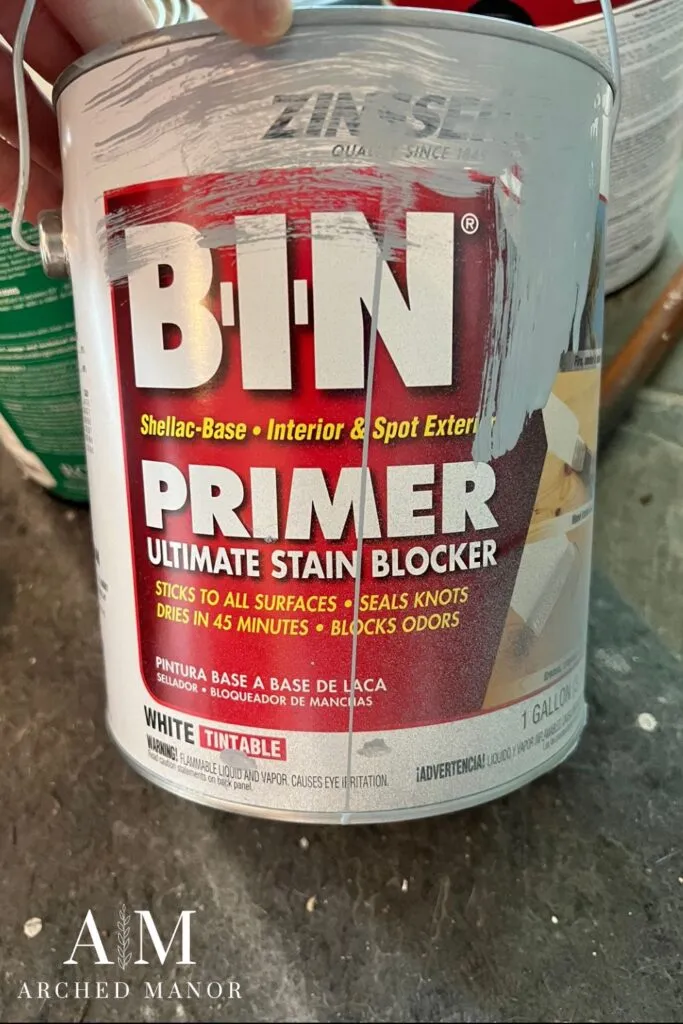
After even more research and reading a surplus of reviews, we found that the best primer to use on cabinets is Zinsser B-I-N Shellac-Base Oil Primer. This primer has an excellent stain blocking capabilities including water, grease and/or smoke making it perfect for renovations. It also has fantastic adhesion and can stick well to a variety of surfaces, including a glossy surface, WITHOUT the need for sanding (big win!). Lastly, it has a quick drying time, usually within about 45 minutes which can speed up the overall project time,
Pro tip: If you are painting your cabinets a darker color, make sure to ask for a tinted primer!
PRO TIP
If you are painting your cabinets a darker color, make sure to ask for a tinted primer!
Best Way to Apply Cabinet Paint
Now that we have determined the best type of paint and primer, what’s the best way to apply it? As with any project, there are pros and cons to using a brush, rolling, or spraying paint, especially when you are working with cabinetry.
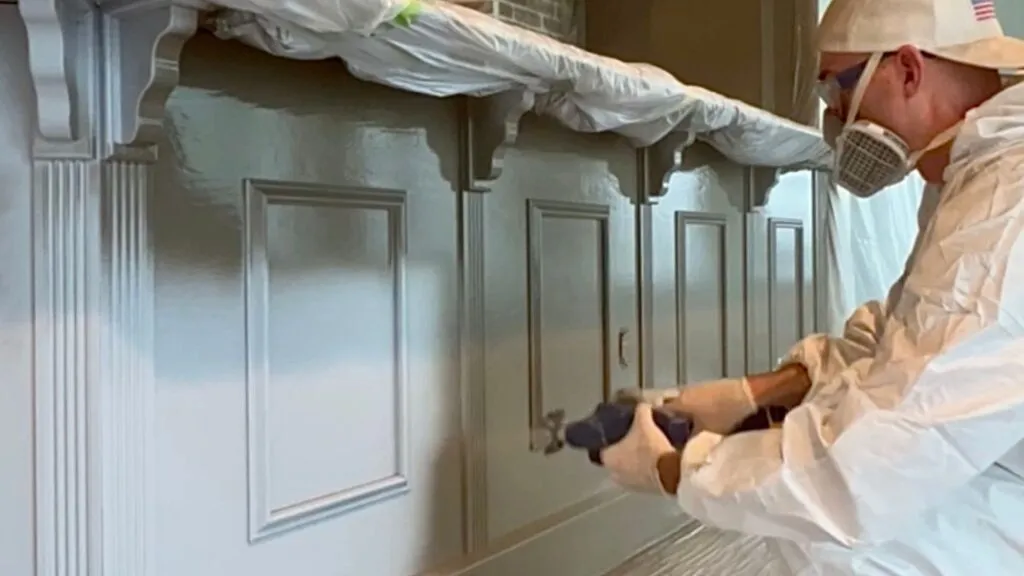
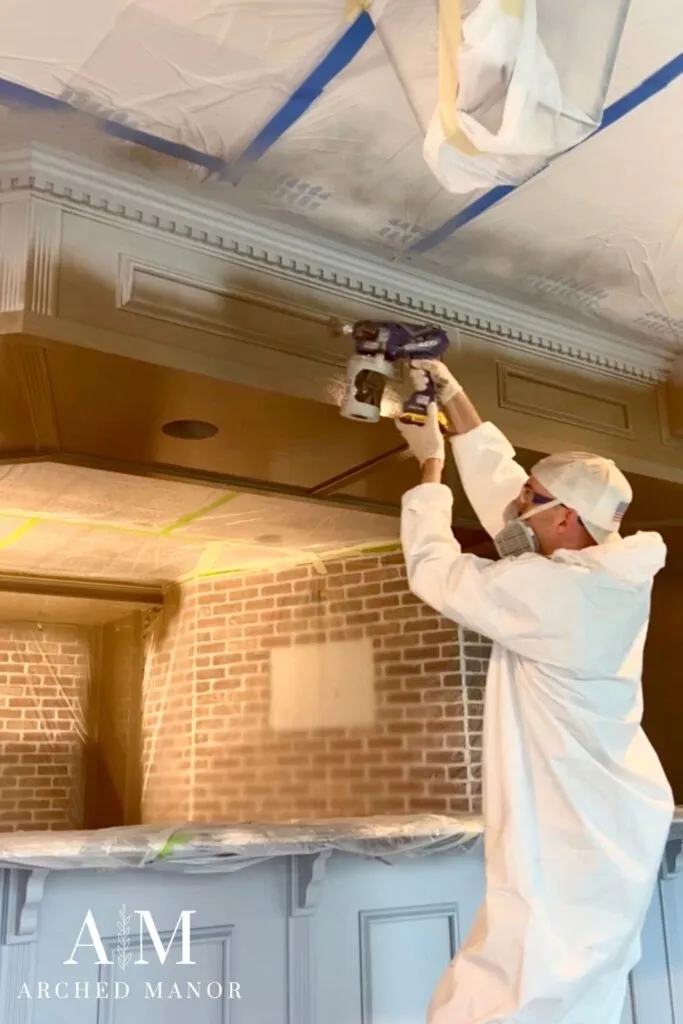
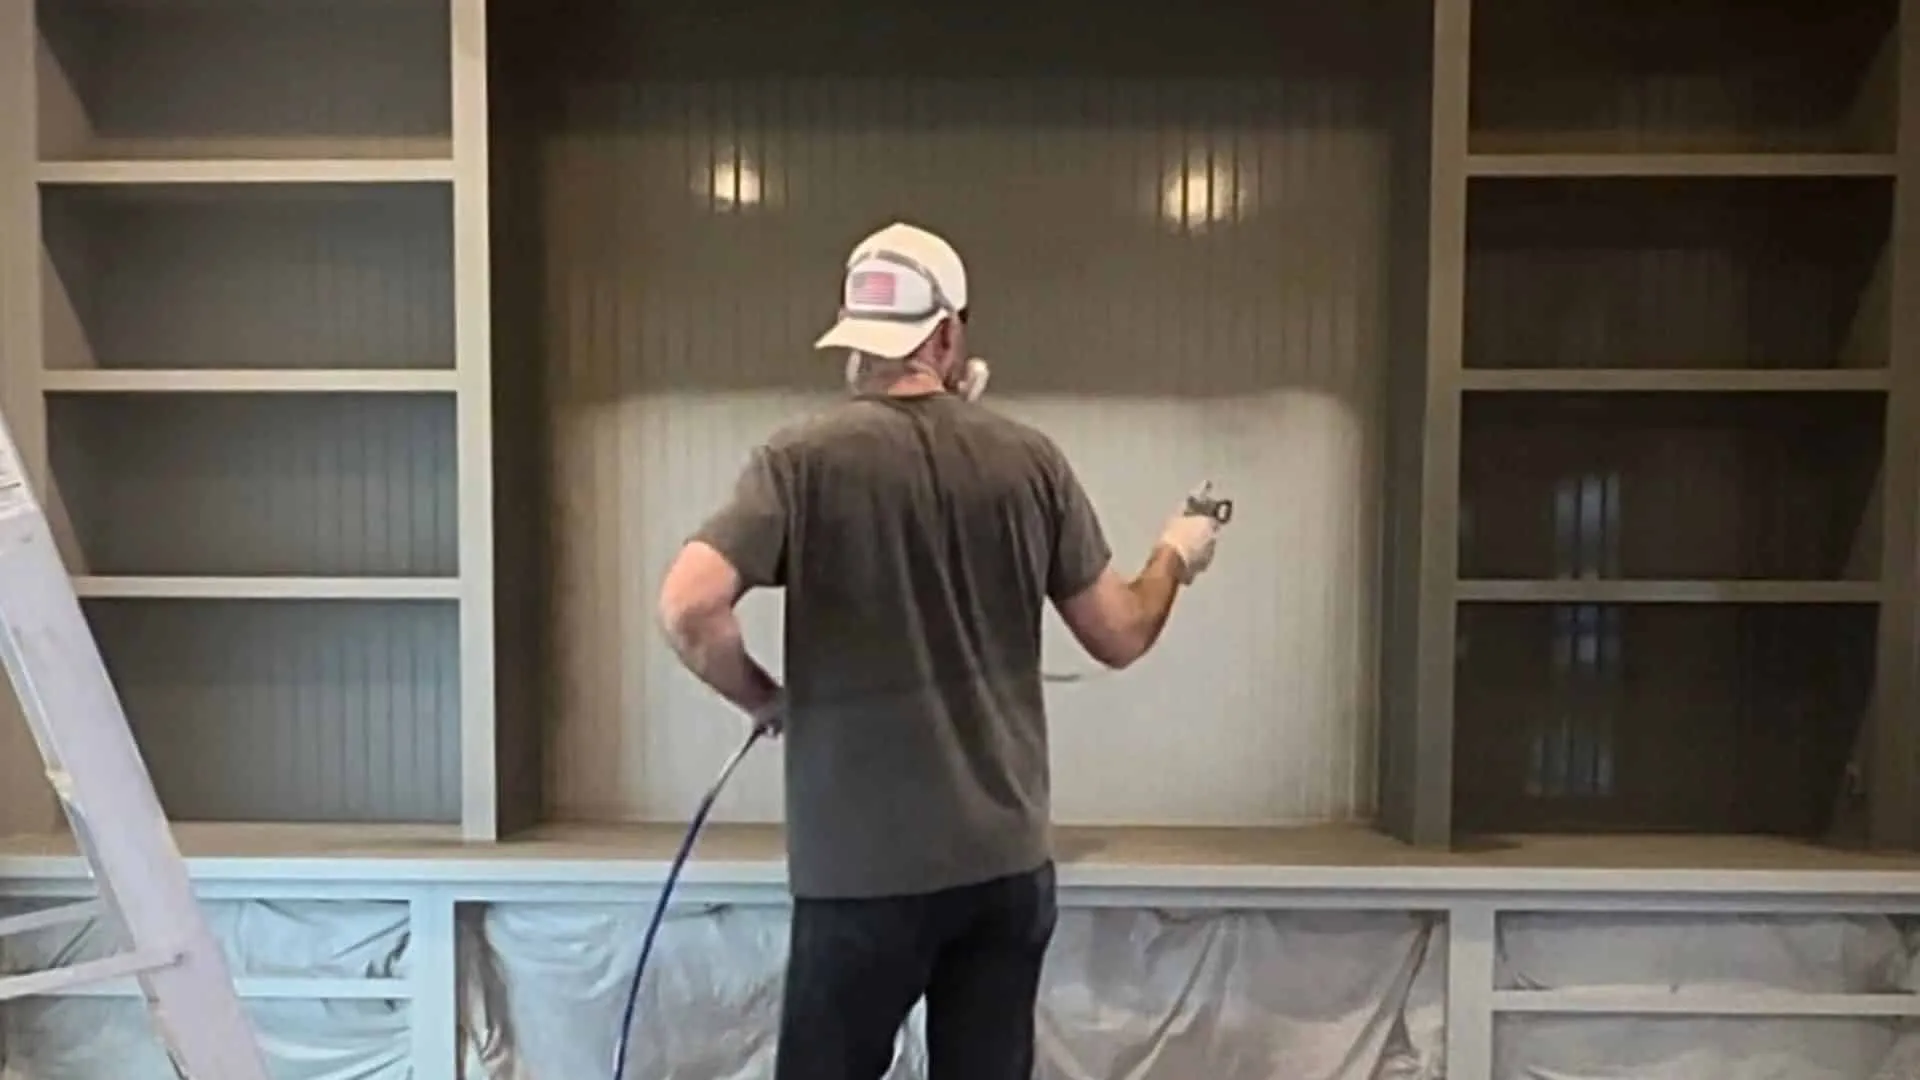
For us, one method stands out as the clear winner: using a paint sprayer. While traditional methods like brushes and rollers have their merits, the efficiency and flawless finish achieved with a paint sprayer cannot be matched. A paint sprayer allows for a smooth, even application of paint, eliminating unsightly brush marks or roller striping, giving you professional-grade results. Additionally, the speed at which a paint sprayer operates significantly reduces painting time, making it an ideal choice for large-scale projects.
There are, however, some cons to spraying as well. One of the big ones being the prep work is a lot more time consuming than if you were to brush or roll. Also, depending on which paint sprayer you use, cleaning the sprayer can be tedious work.
We have used sprayers on 3 different occasions and have been thrilled with the results! For our basement bar DIY cabinet paint project we used the Graco TC Pro Cordless Airless Paint Sprayer, which was amazing because there was zero paint thinning required and since it was cordless, we could easily maneuver around all the nooks and crannies without worrying about a hose bumping against a freshly-painted surface. The other sprayer we own and used for our home office and dining room makeover projects is the Graco Magnum 262805 X7 Cart Airless Paint Sprayer (which we also love).
Steps to DIY Cabinet Paint
Now that we have our paint, primer and method of applying the paint, here are the steps we took to successfully DIY the cabinet paint in our basement bar:
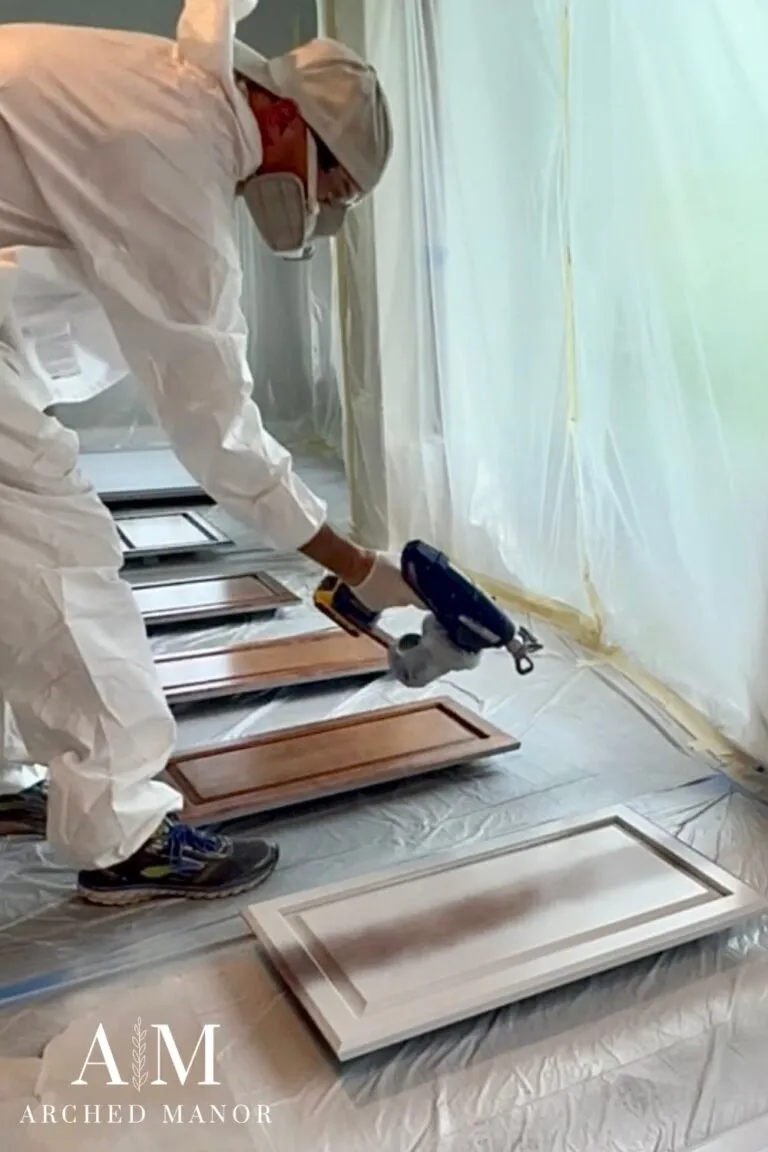
- Remove cabinet doors and hardware: Start by taking off all cabinet doors, drawers, and hardware, such as knobs and hinges. Label each piece to ensure easy reinstallation later (this includes keeping all the hinge screws! Learn from our mistakes – ha!).
- Clean the surfaces: Thoroughly clean all cabinet surfaces to remove grease, grime, and dirt. Use a sponge or cloth and pay close attention to areas prone to buildup, such as near cooking areas.
- Fill holes and imperfections: Inspect the cabinets for any holes, dents, or imperfections. Use a wood filler or putty to fill these areas, following the manufacturer’s instructions. Allow the filler to dry completely before sanding it smooth.
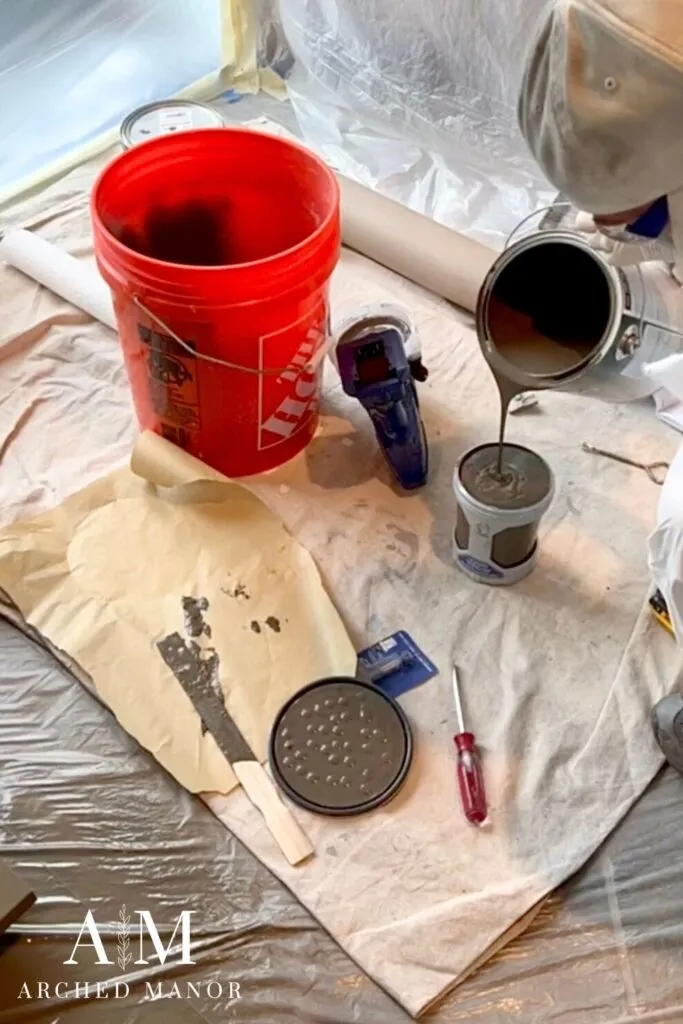
- Prep your painting area: using tarps and painters tape, start prepping all the areas you do not want paint (ex. Inside cabinets, countertops, floors, etc.) as well as tarping off barriers to adjacent rooms to protect from overspray.
- Prime the cabinets: Use a high-quality primer specifically designed for your cabinets and a paint sprayer, apply a coat of primer by following the instructions for application and drying time.
- Choose the paint: Select a high-quality paint specifically formulated for cabinets, such as an acrylic enamel or a latex-based paint with a durable finish. Consider the desired color and finish (matte, satin, or gloss) and gather the necessary tools, including a paint sprayer or brushes and rollers.
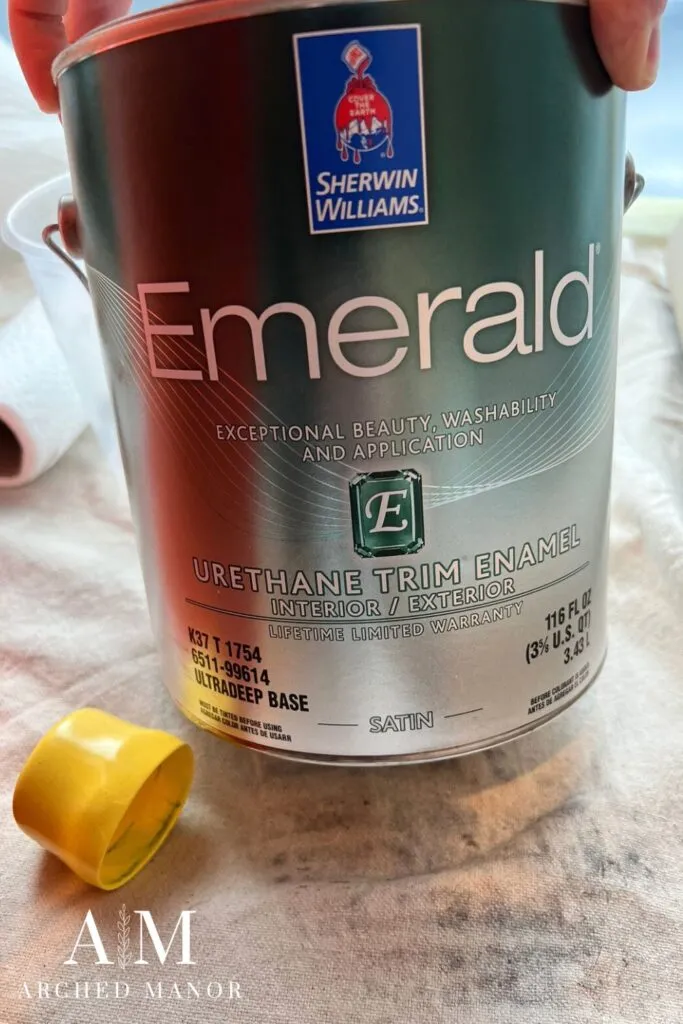
- Start painting: Grab your enamel paint in the color and finish of your choice (we went with Sherwin Williams Emerald Urethane Trim Enamel in a satin finish). Allow each coat to dry fully before applying the next. Also, if you see any drips, make sure to give them a light sand before applying the next coat of paint.
- Reinstall cabinet doors and hardware: Once the paint has fully cured, carefully reinstall the cabinet doors, drawers, and hardware in their original positions. Use the labels you created earlier for easy reassembly.
- Final touches: Inspect the cabinets for any touch-ups or imperfections. Correct any errors by carefully sanding and repainting those areas. Clean up your workspace, remove any protective coverings, and admire your beautifully painted cabinetry!
Remember, patience and attention to detail are key when taking on a DIY cabinet paint project. By following these steps, y


About The Authors
John and Megan are the founders of Arched Manor, which is a passion-project turned business featuring home design, renovations, DIY tutorials, décor, e-Design, and 3-D rendering services. This married couple lives in Leesburg, Virginia, and is currently renovating The Arched Manor, a brick colonial house built in 2000.


")
