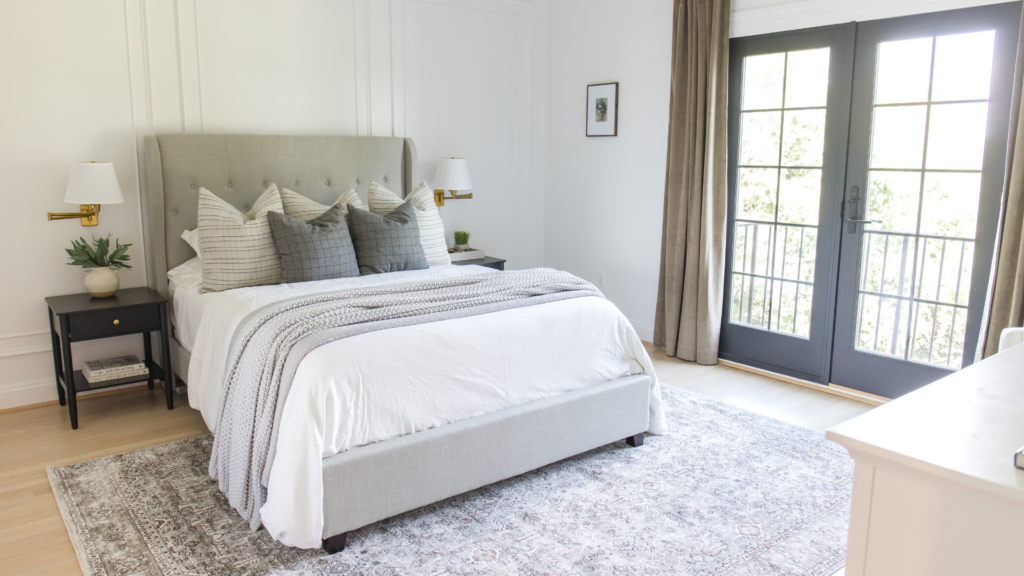
I am so excited to finally share the reveal of our guest bedroom with you! What a labor of love and also a labor of learning. This project was full of firsts for me from staining a vanity and painting grout, all the way to installing and finishing picture moulding on an accent wall. With the exception of some painting and helping to hang some heavy things like the mirror, I did the entire makeover by myself and could not be more pleased with the result!
So let’s dive into the details, shall we?
Affiliate links may be used throughout this blog post – read our policy here.

Guest Bathroom
The bathroom was first on my upgrade list, so it is only fitting that we cover these details first. Overall, it was not in terrible condition, but was definitely in need of some cosmetic updates – mainly the vanity and floor. Here are the updates that we made:
Vanity
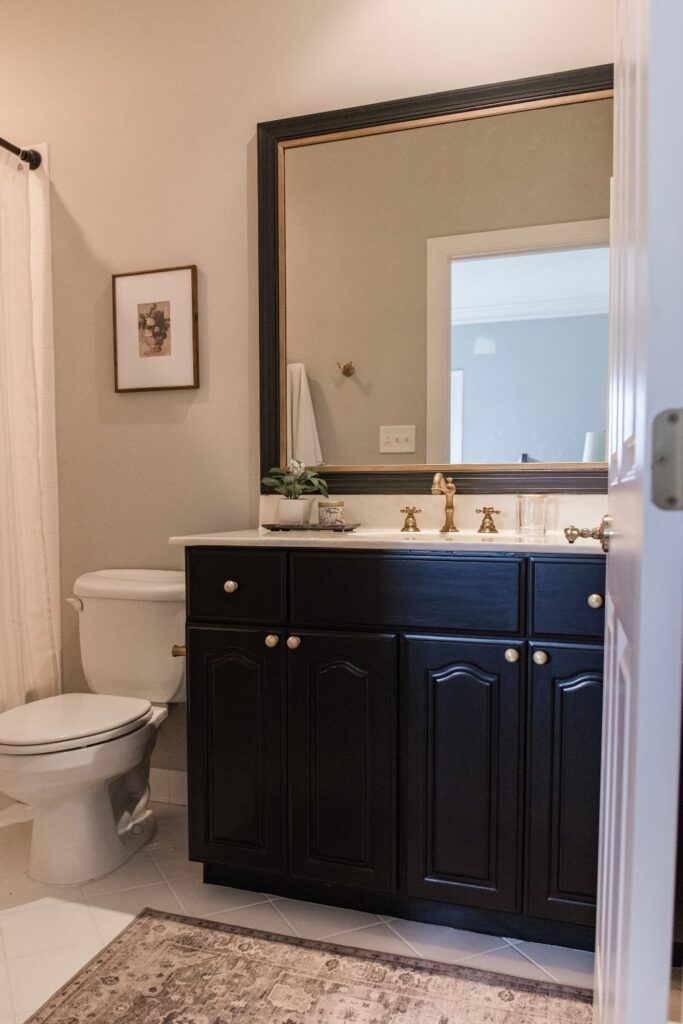
The vanity was in decent condition but I was not loving the red wood look. I had seen my friend @jessicadarling use this black gel stain on a piece of furniture and decided that was the route I wanted to take. If I am being honest, the thing that most appealed to me was the minimal prep-work and steps it took. I did not have to strip or sand the vanity – I just removed the doors/drawers and gave everything a good clean before getting started.
In the end, I applied three coats of the black gel stain and topped it off with a polycrylic topcoat in a matte finish (to seal it up). There was not a whole lot of wood grain in the vanity to begin with, it was pretty smooth, so you could say it looks like I just painted it black. That being said I could not be more thrilled with the result!
The last step for the vanity makeover was to replace the old grungy and sticky hardware with these affordable brass knobs that I found on Amazon!

Grout Paint
The floors in the guest bathroom were looking really dingy. I did my best to give them a good clean, but the grout was clearly stained and the only way we could fix them was to either tear them up and install brand new tile floors, remove all the grout with a Dremel tool and re-apply, or find a way to revive the existing grout (since the actual tile was in good shape).
We decided to go the more cost effective route (and the least messiest) and to revive the existing grout. Check out this blog post on how we used grout paint to give our bathroom floors a facelift to make them look brand new!
Mirror Frame
I originally wanted to tear this framed mirror out and replace it with a fun and unique one. However, in a quest to save money, I decided to give the existing framed mirror a facelift. I used some black paint we had laying around (leftovers from our interior doors) but, after painting, I realized painting mirrors is difficult because you can see the back of the frame (that is unpainted) in the reflection.
I was lucky in that we had a pile of scrap wood in our garage to help remedy this unfinished reflection issue. I was able to locate some leftover simple detail moulding that I painted with rub n’ buff and glued to the inside edge of the mirror. The bandaid to this issue turned into a happy accident as it made the overall frame look more custom and finished!
New Hardware
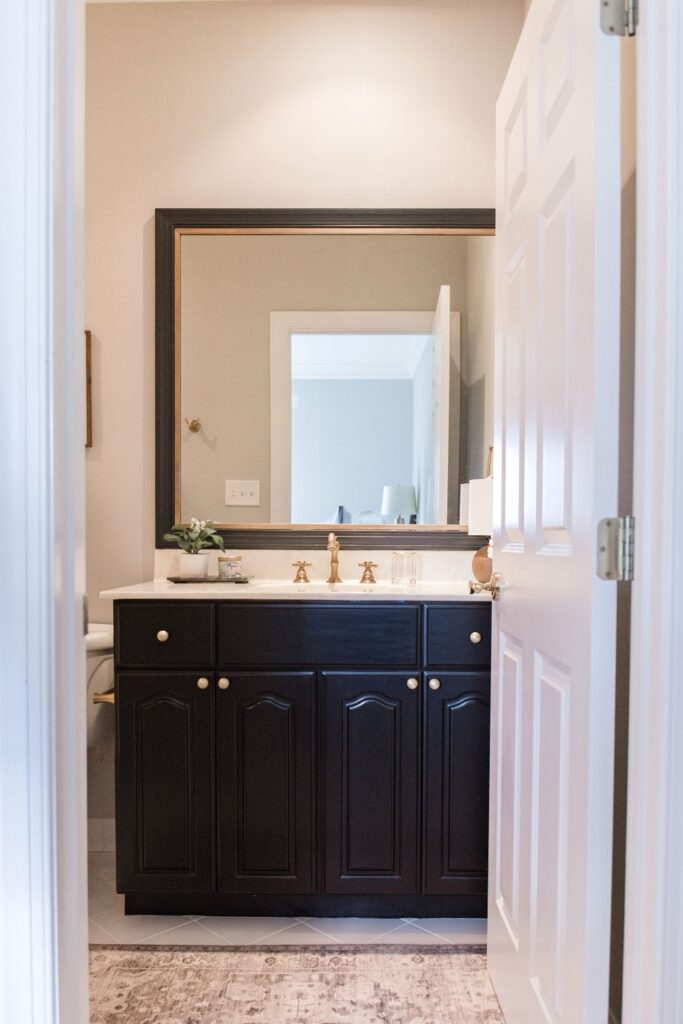
Last but not least in the bathroom, I swapped the dated two-toned hardware for some pretty brass options! I put out a poll on Instagram to see if you all prefer towel hooks or a towel bar, and the majority of everyone who participated said they prefer towel hooks in the bathroom.
I looked at so many beautiful options at Pottery Barn and other stores, but for the sake of sticking to a budget, I settled on these beautiful hooks, holders and rings from Target. They look great and I am so happy with them!
Here are links to all the products used in our guest bathroom renovation:

Guest Bedroom
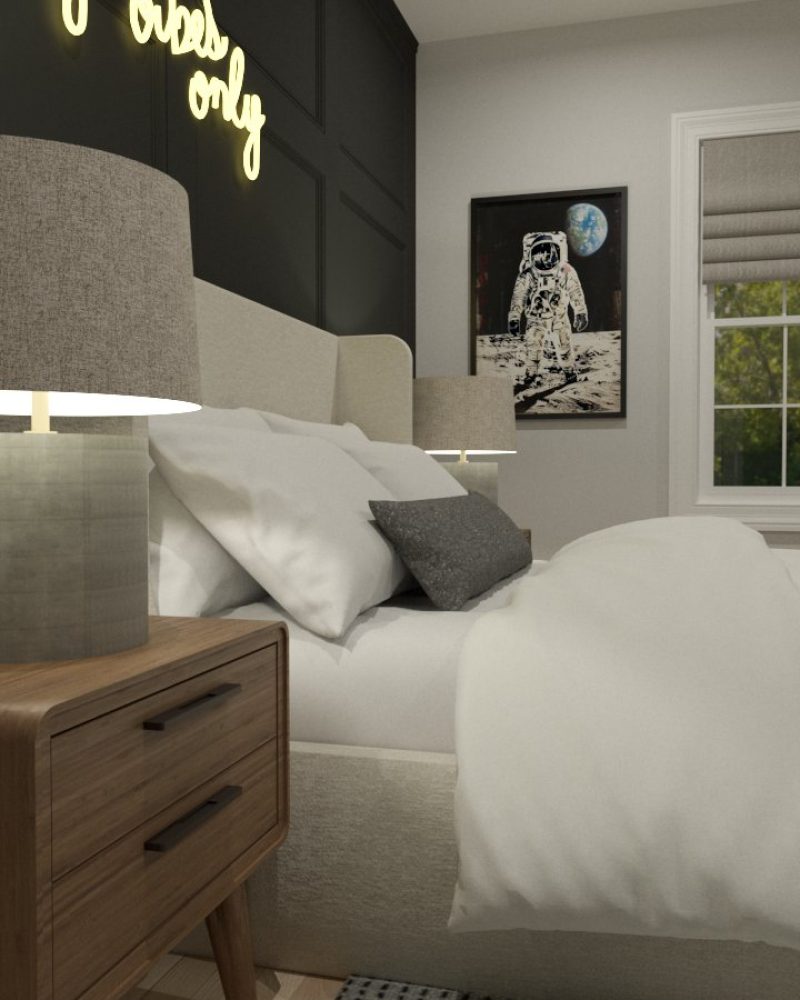
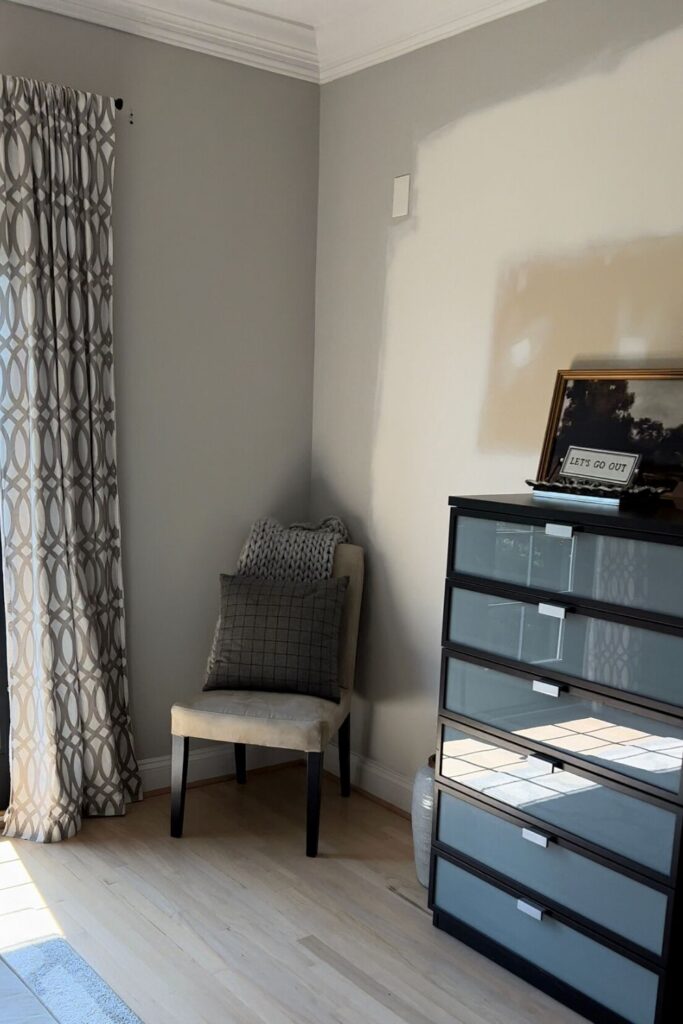
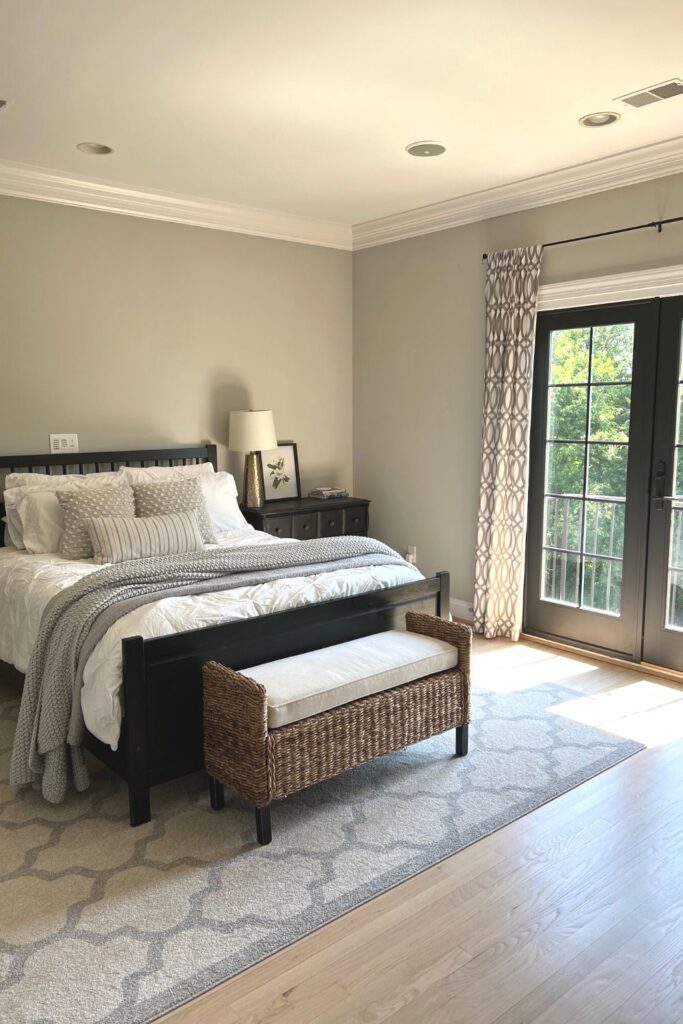
Next up and the main attraction, is the guest bedroom! The “before” was not terrible and really just needed a coat of paint (considering one of the walls was just plain naked drywall). However, I wanted to use this makeover as an opportunity to learn a new skill and decided to design and install some picture moulding as an accent wall.
Let’s check out what it looked like before I got started:
Picture Moulding Accent Wall
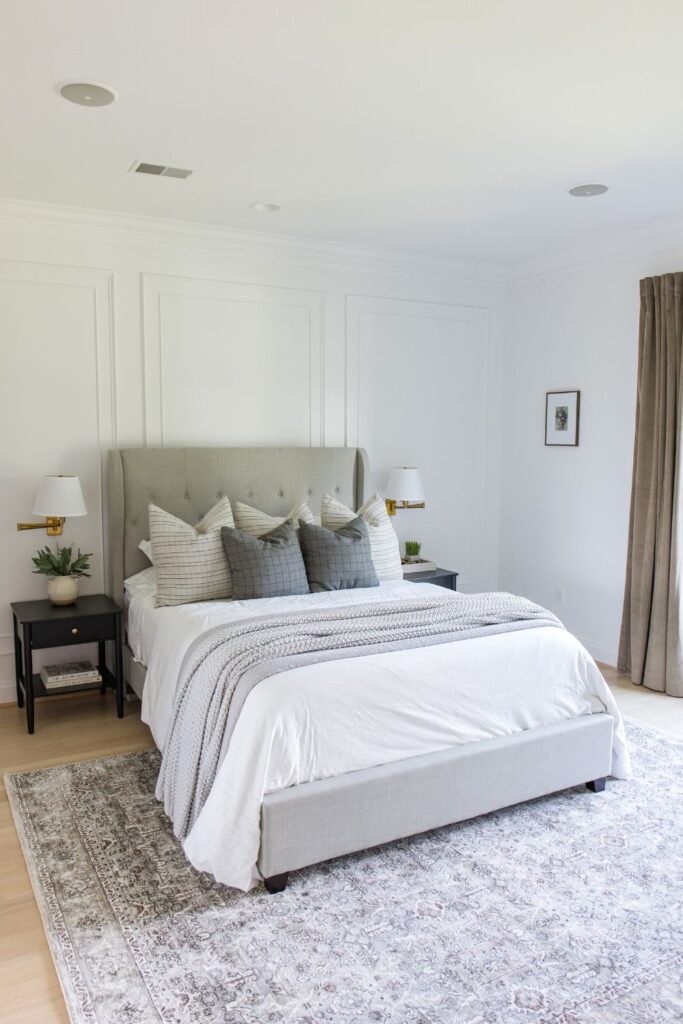
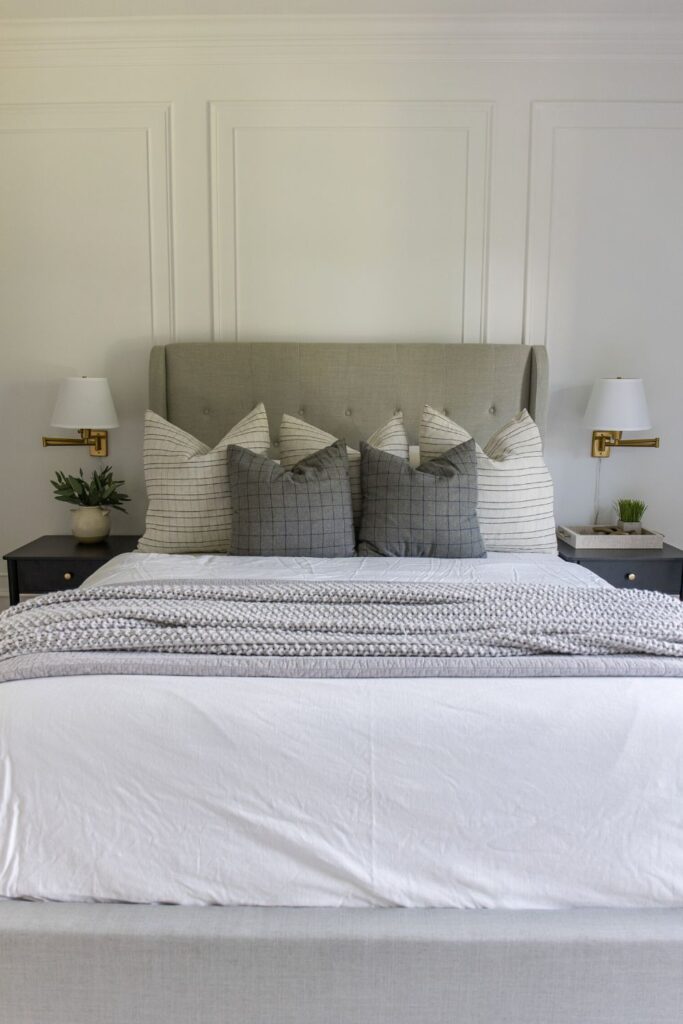
For my design, I decided on three large rectangles instead of 6 rectangles separated by a chair rail. I then took it one step further and created an outer box with thicker picture moulding and an inner box with a different thinner moulding.
A lot of the questions I received when sharing the process of the build were how did I know what size boxes to build? Our general rule of thumb is to create six inch gaps between the corners and moulding and in-between the different types of moulding. Keeping that in mind, I then used our picture frame calculator to help me figure out the measurements!
Here are the tools I used to help me create the look.
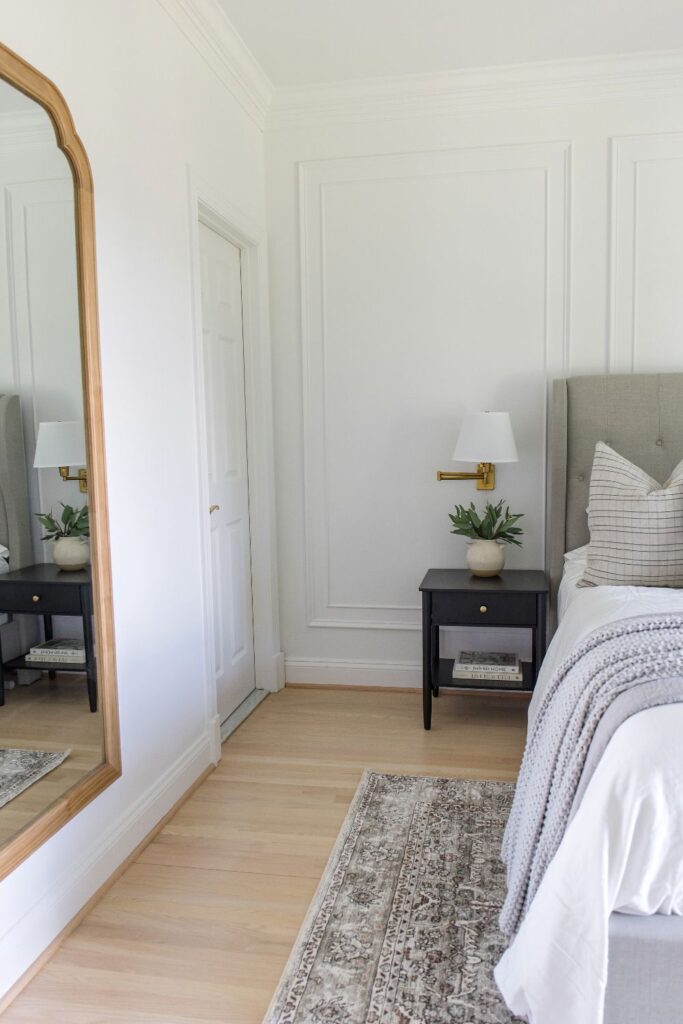
After I finished the moulding, the wood-filler had been sanded and the caulk had dried, it was time to paint! The original gray was pretty, but I wanted a bright a beautiful space for our guests to stay in and went with, you guessed it, WHITE!
To keep things simple I used the same white that we have used on the whole main level of our home:
- Walls/Ceiling: McCormick Match Point Interior Latex Flat – Color: Super White
- Trim: McCormick Interior Advance, Eggshell – Color: Super White
You can check out all the paint colors we have used in our home, The Arched Manor, in this blog post.
Furniture, Lighting and Decor
Besides the accent wall, the other updates we made were to upgrade some of the furniture in the space. Everything we had in the room previously was from our old house. It did not really gel with the style of The Arched Manor, so we were anxious to find some affordable pieces that both our guests and us would love. We also love the mismatched furniture look, and this room is PERFECT for that. Check out this Redfin article where we are quoted for our take on mismatched furniture!
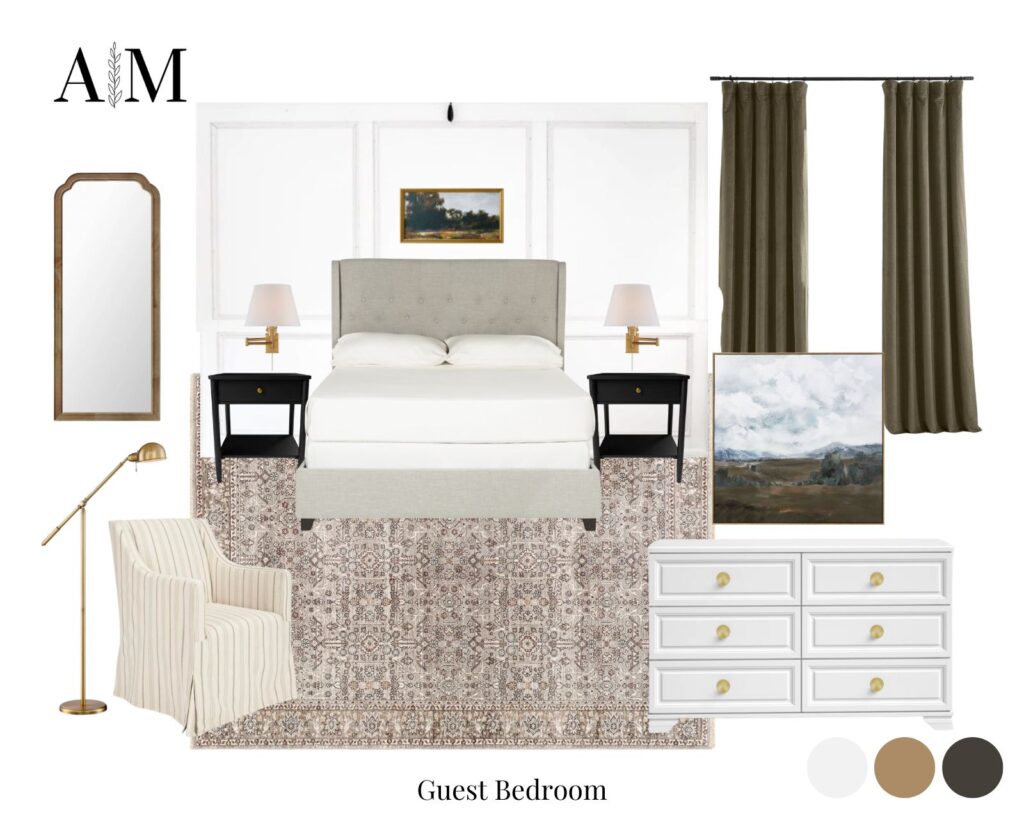
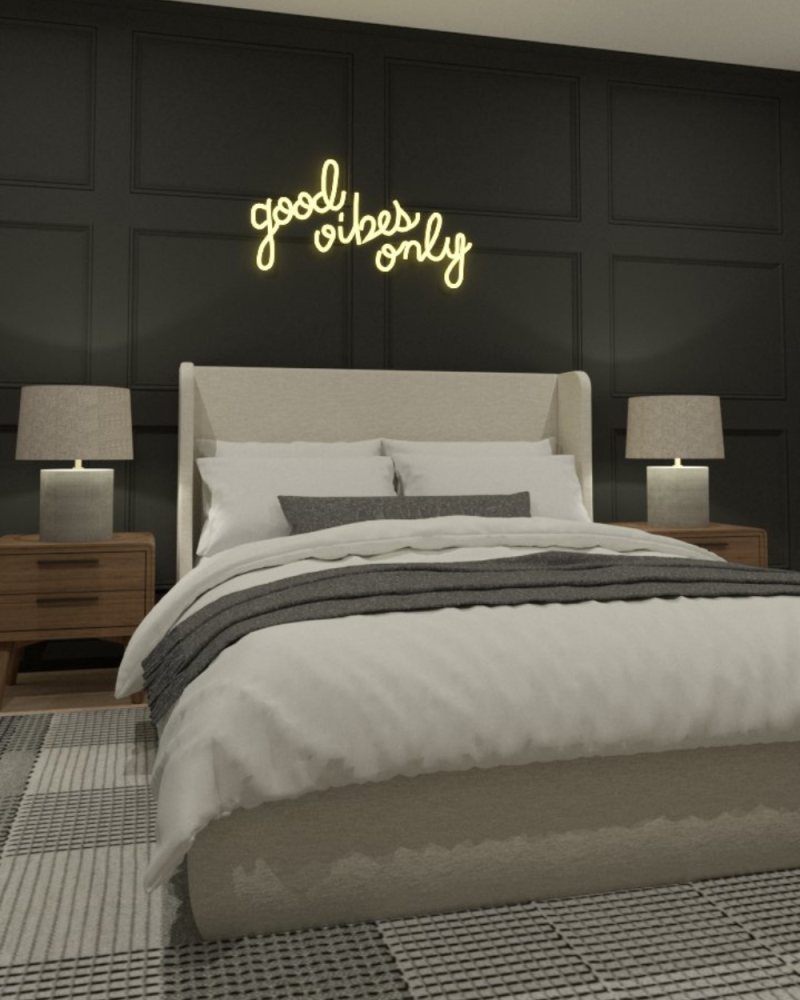
Here was the original moodboard I created for the design and links to all the furniture, lighting and decor in the space:
Here is the furniture, lighting and décor we have in our guest room:
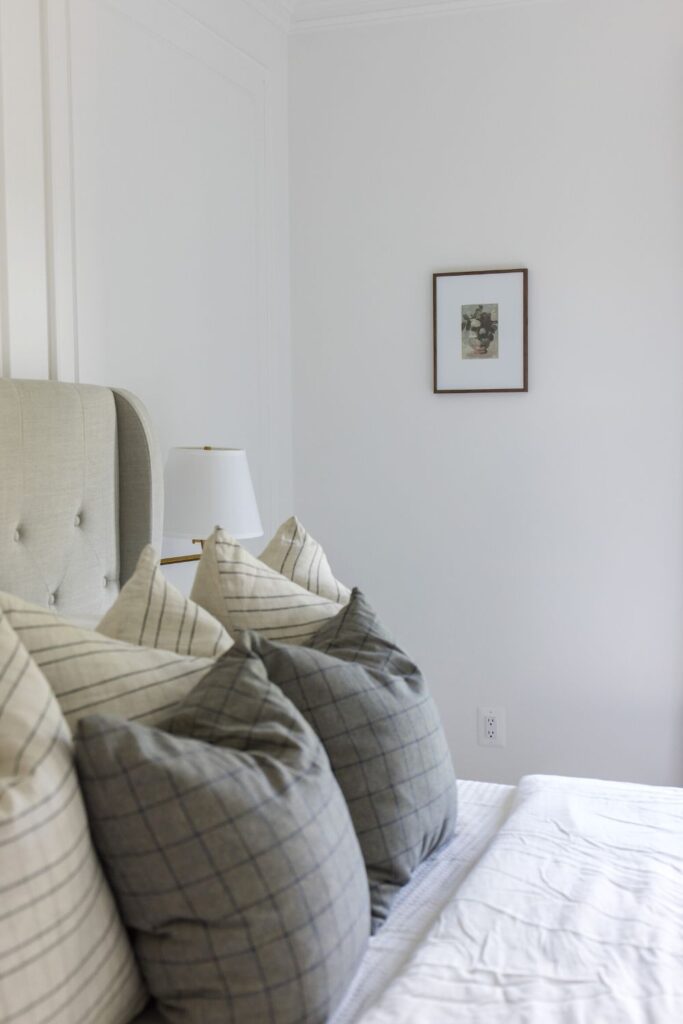
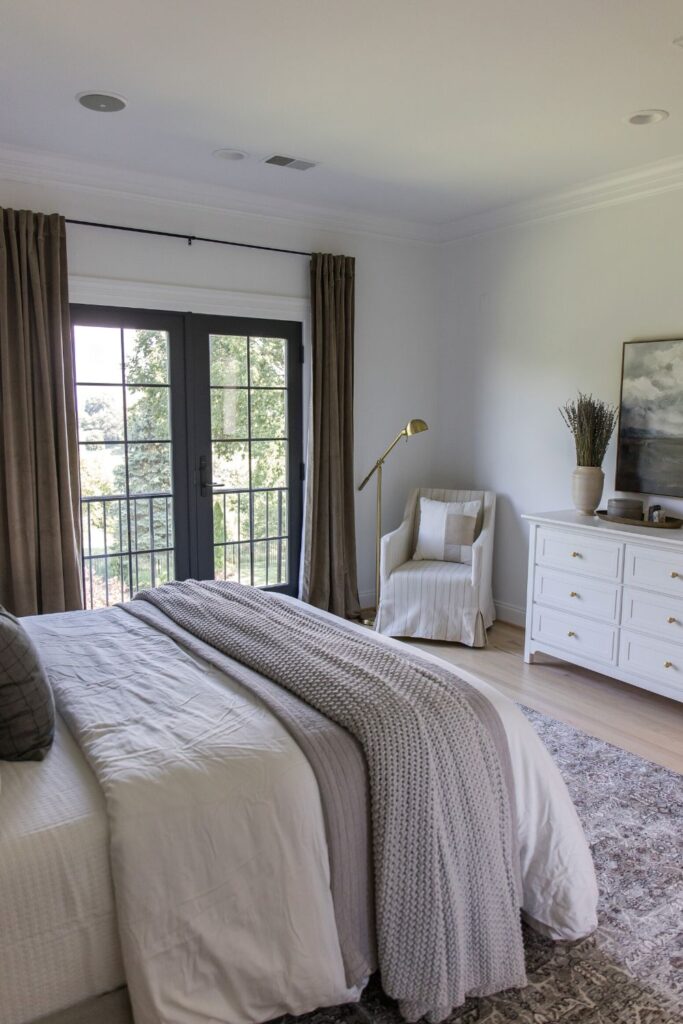
- Bed – This new Safavieh upholstered bed gave such a soft welcoming feel to the space! The old bed was in decent condition, but we decided to give it to our youngest son and replace it with this tufted beauty. It is the Blanchett bed by Safavieh in the gray color and is a great affordable option for any bedroom!
- Nightstands – We were lucky to snag these nightstands on sale and ended up being less than $150 a pop! They are great quality and I love the pop of brass on the knob. I give these a 10/10 and definitely recommend them.
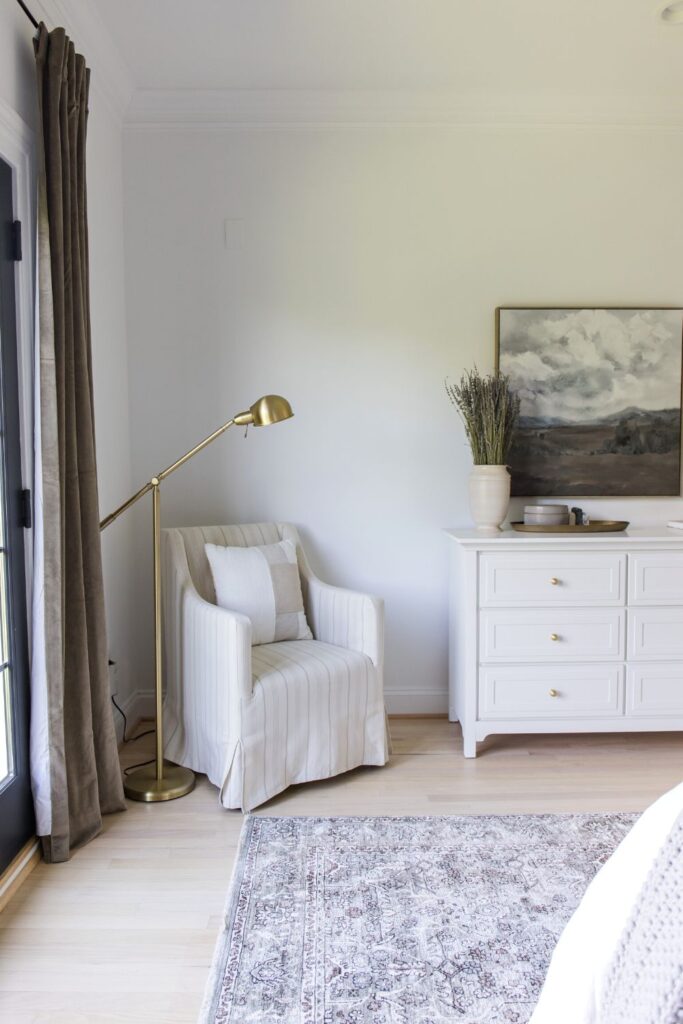
- Chair – This beautiful striped slipcovered chair is the PERFECT accent for the corner of the bedroom! The colors are stunning in person and it is comfortable to sit in and read a book or sit down and rest while getting ready for the day.
- Swing Arm Sconces – Since the nightstands are not huge, I decided swing arm sconces would be a great choice as to not take up precious real estate on top of the table. Trying to keep budget in mind, I came across this beautiful set of plug-in swing arm sconces that ended up being the perfect scale!
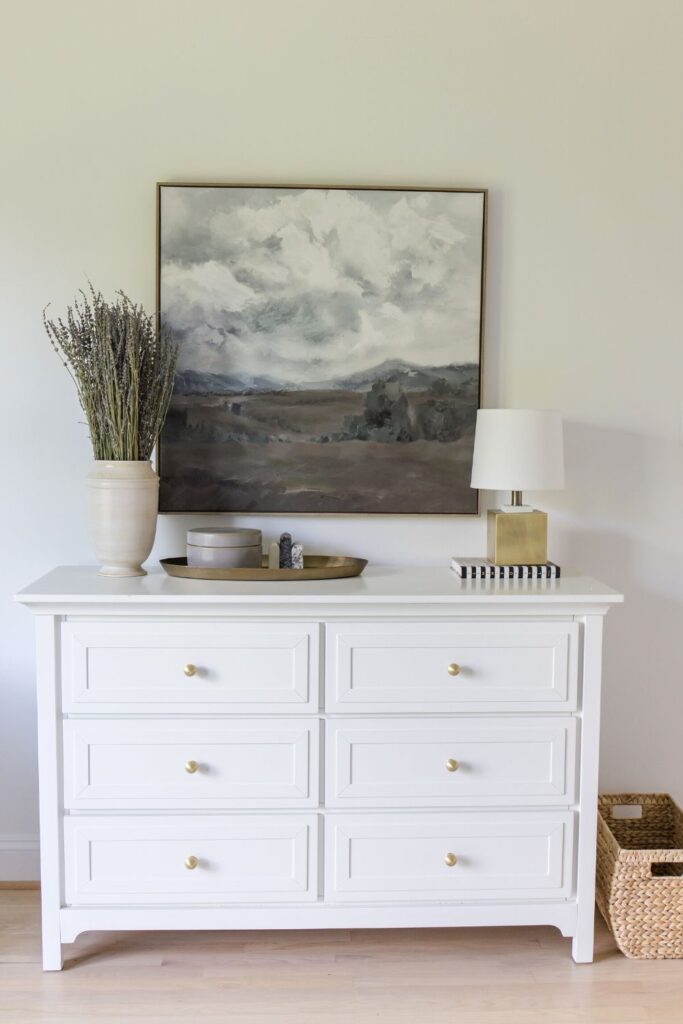
- Dresser – We previously purchased this dresser for out oldest son’s nursery and he has finally outgrew it (sad face). Rather than buy a new dresser for the guest bedroom, we decided to repurpose this dresser and buy our son a new one. To make it less nursery and more adult, we updated it with new hardware! In case you didn’t notice, it is the same hardware we used on the guest bathroom vanity.
- Rug – If you know us, then you know we love neutral, and this Lugo area rug is the perfect blend of neutral and pattern to create some visual interest in the room.
- Curtains – With the bed being gray and the rug pulling a lot of grays, I wanted to offset them and warm up the room a little with the curtains. I settled on these soft and beautiful brown velvet curtains in the color ‘Denver Taupe’ that look so high-end in person!
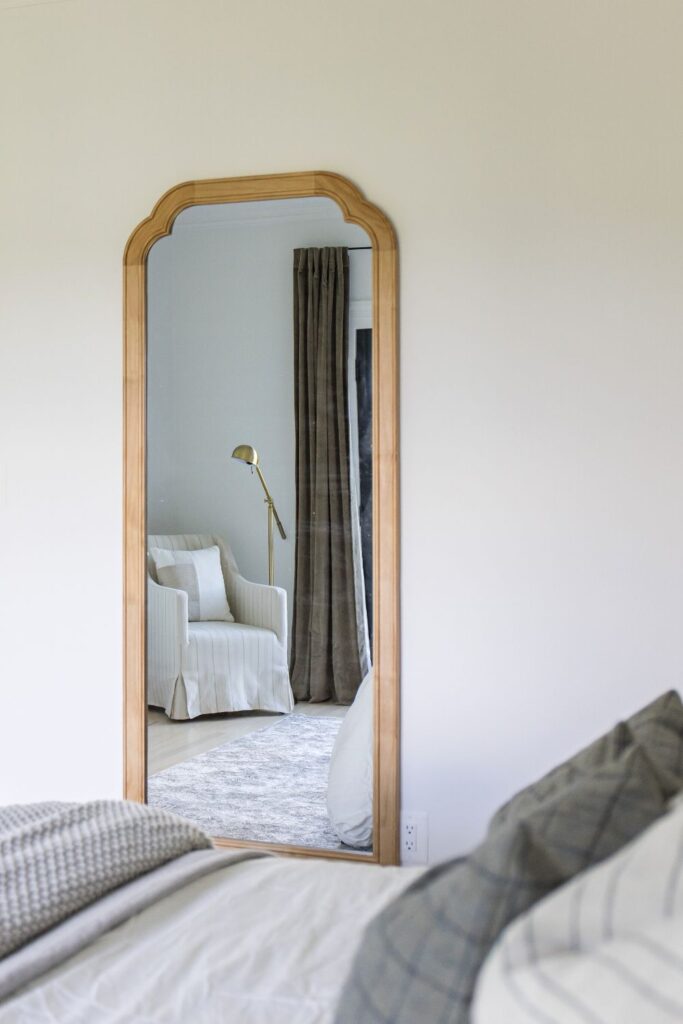
- Mirror – There was one wall that was originally going to be empty but I decided to add a floor length mirror since there would not be a mirror over the dresser. This oversized mirror is a great affordable option and the quality is top notch!
- Floor lamp – I love this classic looking floor lamp that is currently under $70! Such a steal!
Guest room links:

More Guest Room Photos




About The Authors
John and Megan are the founders of Arched Manor, which is a passion-project turned business featuring home design, renovations, DIY tutorials, décor, e-Design, and 3-D rendering services. This married couple lives in Leesburg, Virginia, and is currently renovating The Arched Manor, a brick colonial house built in 2000.
