
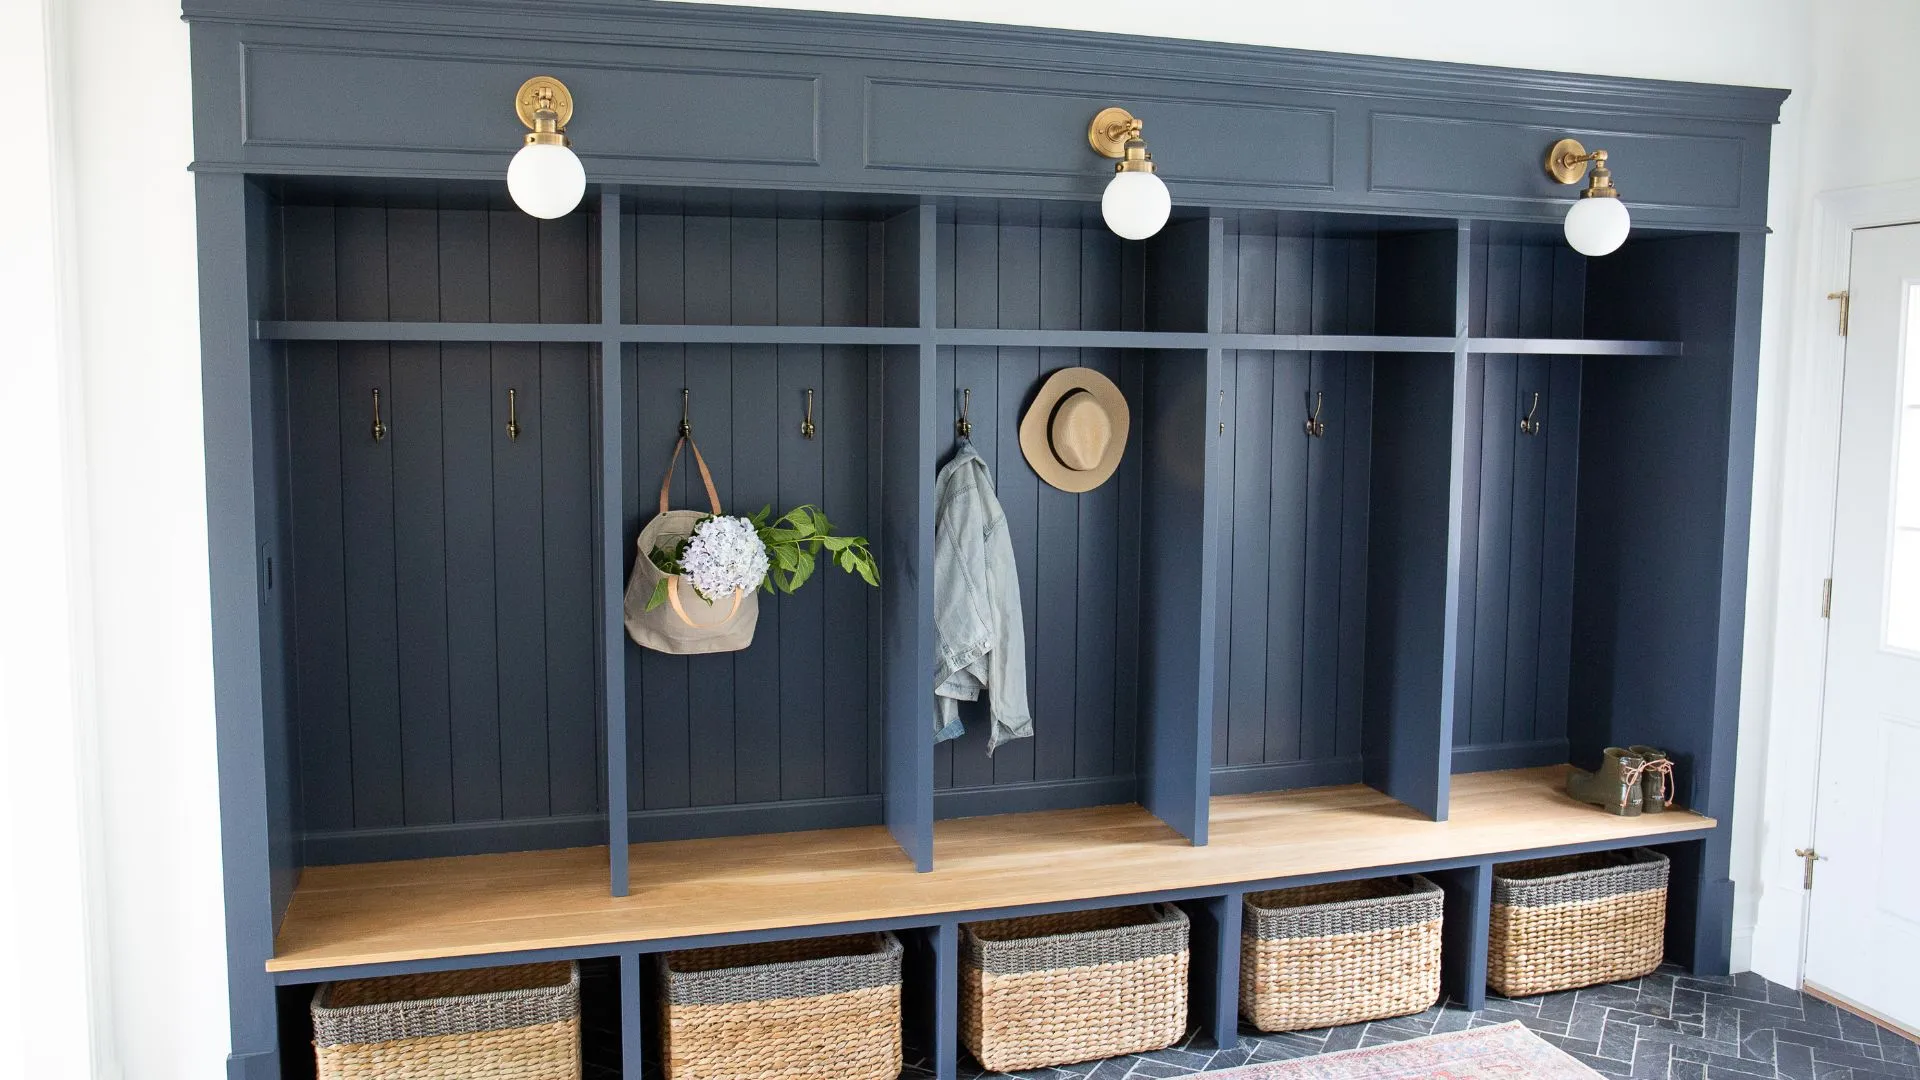
With every room we remodel in The Arched Manor, it usually involves either adding crown molding or installing new baseboards. We prefer the baseboard work – it doesn’t require ladders and holding large spans of molding up to install (like crown molding). We also like it because the installation process is very DIY friendly! We get asked quite often about our custom baseboard trim and how to install it, so we are creating this blog post to share our installation process, discuss the tools we use, and provide some tips to help other DIYers tackle this project!
Affiliate links may be used throughout this blog post – read our policy here.
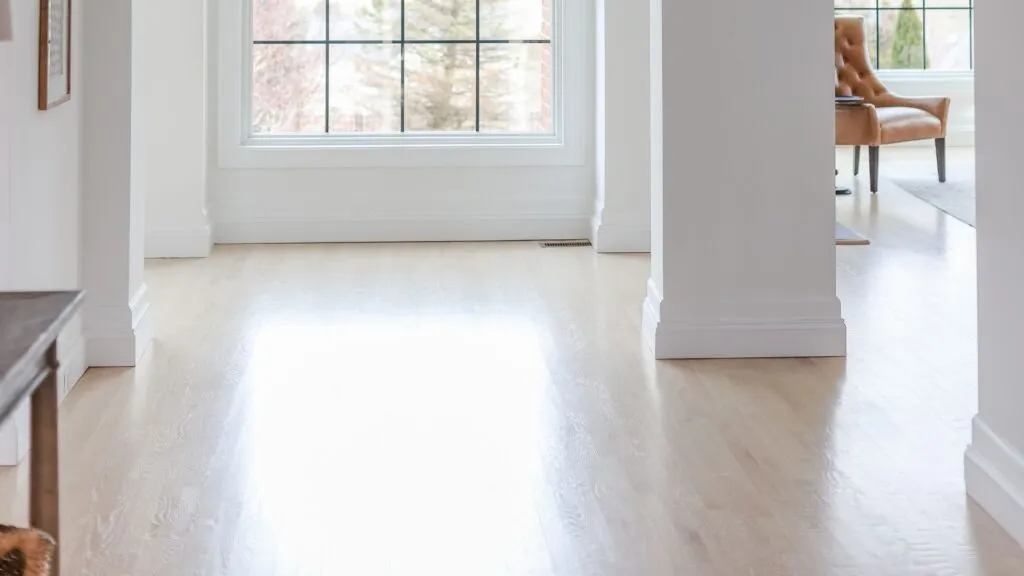
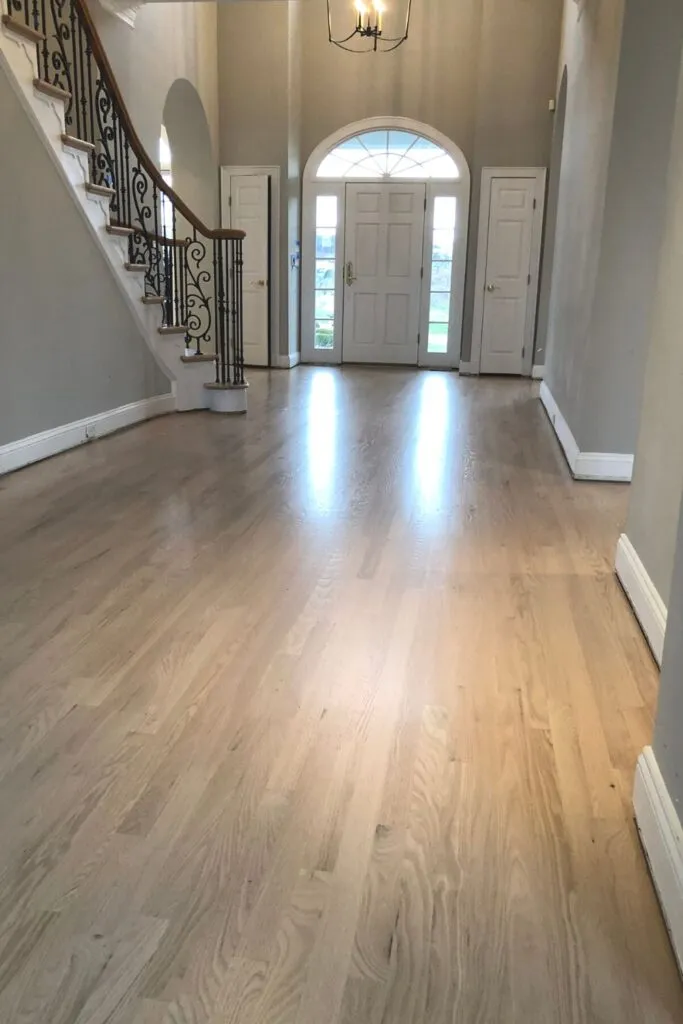
Before we dive into some of those details, we wanted to back the trolley up (beep, beep…) and share why we decided to start changing our baseboards in the first place. We started updating the baseboards in our home after we had all the hardwoods in our home refinished. There were originally 5.5-inch baseboards with matching red oak quarter round (aka shoe molding) to transition into the floors. Since all of the baseboard trim had to be removed to refinish the floors, we thought it was an opportune time to change it up. We also prefer the simplistic look of the baseboards directly on the floor (no quarter round), but another function of the quarter round is to hide the ends of the wood floor that may have been cut too short to fit under the baseboards. This was another problem we needed to address (spoiler alert – we used a two-piece design, more on that later).
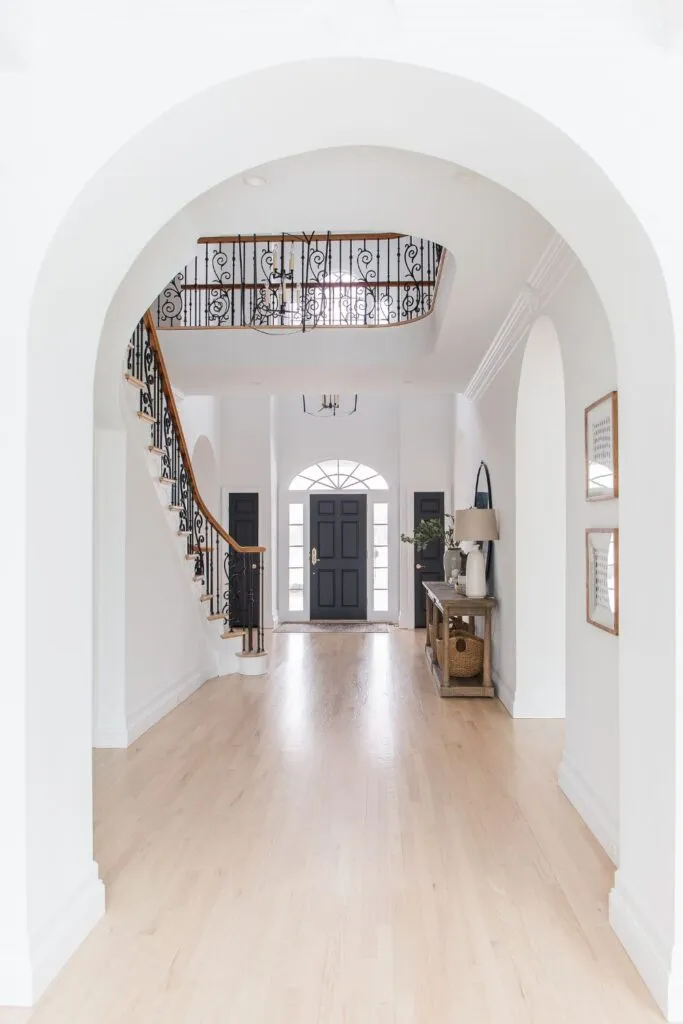
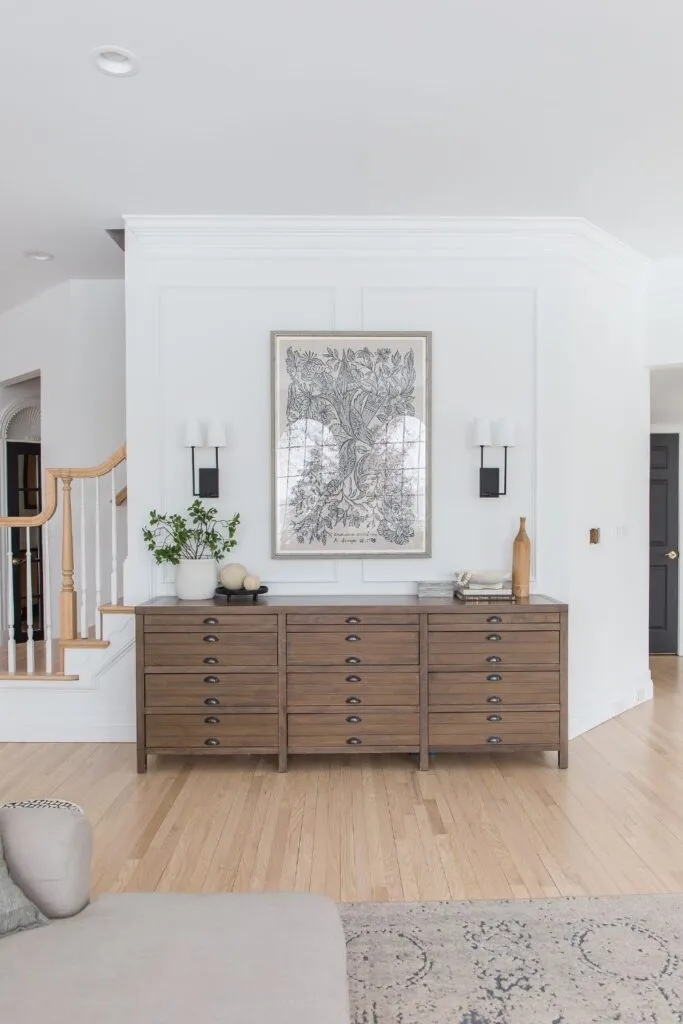
With the tall ceilings in our home, especially the main level, we felt like the original 5.5-inch baseboard felt disproportionate and short. Instead of just one taller piece of baseboard and shoe molding, we decided to build out a custom two-piece baseboard to give the height we wanted, and solve the issue mentioned above with hiding the flooring that was cut too short). We have been very happy with the results and amazed at what a difference the upgraded baseboards have made to the aesthetic of the first floor!
What is the purpose of baseboard trim?
One of the main reasons to install baseboard trim is to cover up the joints where the wall and flooring meet. If you have hardwood floors like us, the wood rarely lines up perfectly against the wall and by adding trim, you can disguise the imperfections. This can also apply to carpeted rooms.
Another reason is they can protect the drywall behind them from being damaged. Drywall is a softer material and could be chipped much easier than baseboards. A lot of wear and tear comes from accidental kicks, pets, vacuum cleaners, etc.
Lastly, baseboard trim can be aesthetically pleasing. You can go as simple or modern as you like, or layer it up with detailed traditional molding. It is important to include trim if you are wanting a finished looking space.
How to install custom baseboard trim
Step One: Gather up all your tools and supplies
For our custom baseboard trim we chose to use 9/16 in. x 4-1/4 in. Primed Finger-Jointed Base Moulding on the top half and then 5-1/4 in. Primed Finger-Jointed Pine Base Moulding on top of the first boards for the bottom half. Both of these boards are common designs and can be found at most local hardware stores.
Here are other tools and supplies you will need to complete the installation of your custom baseboard trim:
- Safety Glasses (protect your peepers!)
- Dust Mask
- Box cutter
- Pry bar
- Stud Finder
- Tape Measure
- Level
- Laser Level (especially if your flooring is very unlevel).
- Miter Saw
- Finish Nailer
- Caulk
- Caulk Gun
- Wood Filler
- Sandpaper
- Pencil
- Primer (if using unprimed baseboards)
- Paint (we recommend Eggshell or a Satin finish).
Step Two: Remove old baseboard trim
Remove any existing baseboard trim and shoe molding that is currently installed. The best way to do this is to score the caulk between the drywall and the top of the trim with a box knife and then use a pry bar to help remove the boards.
You will then want to remove any excess nails, glue or caulk that are still left on the wall.
Make sure to be gentle with the removal if you are planning on reusing the baseboards somewhere else or in another project.
Step Three: Prep the trim
We recommend buying your trim boards already primed. If you are unable to do so, you can prime them before hand – once the primer has dried, you will want to bring them into the home or space they will be installed and give them a day or two to get acclimated to the climate.
Next you will want to find and mark all the studs in the wall. This is an important step that most people ignore – marking the studs will show you where to nail your baseboards so they are secured to the studs instead of just drywall.
This is optional, but some people choose to make all the cuts before actually installing them. We don’t recommend this since the length of each board may differ slightly once you adhere it to the wall (think of bowed walls and wrapping the baseboard to fit).
Pro Tip: If you are working on an outer corner, we recommend cutting slightly longer and then making adjustments when you are ready to secure it to the wall. Also, for inside corners, miter the boards at 44 degrees (instead of 45 degrees) to ensure a tight fit. Conversely, for outer corners, miter the boards at 46 degrees.
Step Four: Install the baseboard trim
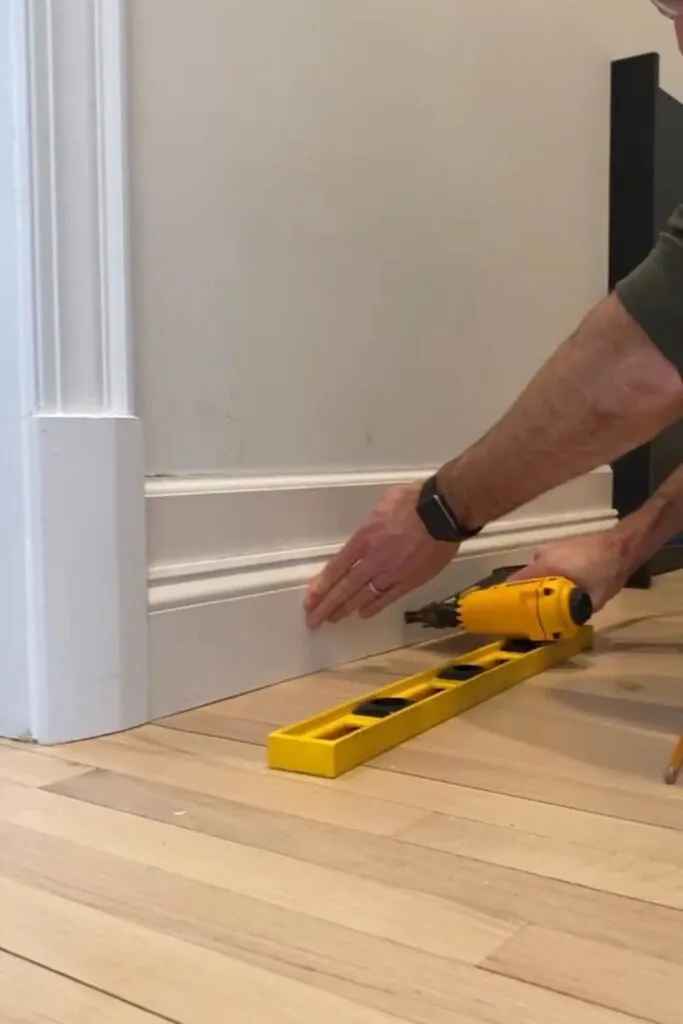
Whether you are installing a single layer baseboard design, or a custom milti-layer design, the installation process is pretty straightforward. Start at the edge of a room and work your way around the room sequentially. Please do not attempt to install baseboards (or any other type of trim) without a pneumatic nailer. The results you achieve will be poor when compared to using air tools.
Pro Tip: It’s optional, but using construction adhesive in addition to nails for securing the baseboards to drywall will provide a better quality job (less bowing, shifting, or sagging). Also, wood gluing the areas where two trim pieces meet (corners or against door frames, etc.) is recommended for a strong bond.
Pro Tip: For outer corners, I may also use a combination of wood glue and brad nails to ensure a tight and sturdy fit.
The steps below are geared towards our two-piece baseboard installation, but they also are relevant to one-piece baseboard designs as well – just ignore the top piece install steps.
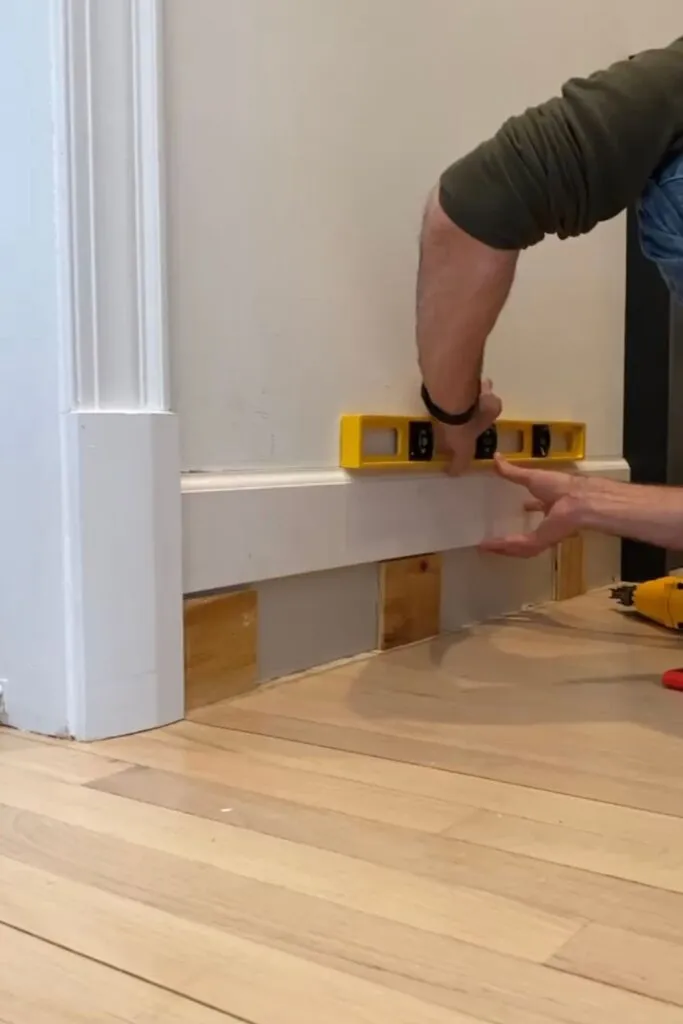
Locate where you want the top of the trim to be. If you have flat floors and you have only one piece of trim, you can rest it on the floor and locate the height. Otherwise, you can use a level to trace the line on the drywall where the baseboards will come up to.
Pro Tip: We strongly recommend a laser level – it will produce a more accurate level line and saves time since you do not have to measure and mark the level line around the room.
If you are working with a two piece design like ours, you first install the top piece of trim, making sure it aligns with your level line (or laser). Use your nail gun and start nailing the first piece of trim into the studs that you previously marked. Work your way around your space and finish installing the top trim before moving on to the bottom piece.
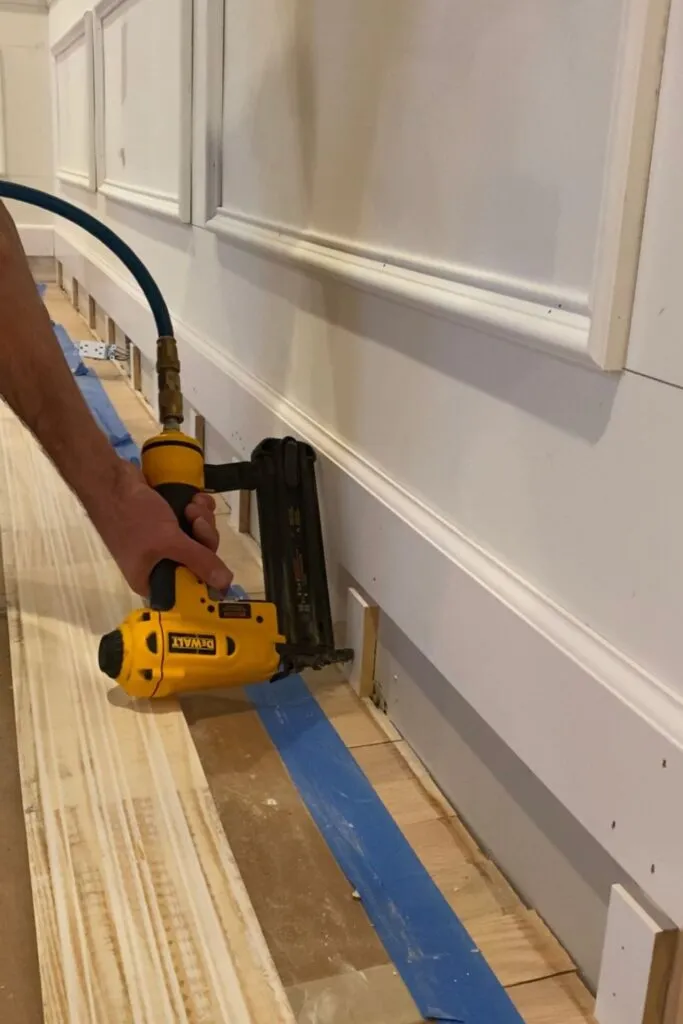
Next you will want to install support pieces for the second trim panel. The purpose of these small support pieces are twofold. The first reason is they provide extra support for the first piece of trim to sit on. The second and more important reason is so that you have something for the second piece of trim to lay on and be nailed into so it does not buckle under (it sits in front of the first piece of trim).
The support pieces should be the same width as the first/top trim you just installed. We find it easiest to buy a little extra of the first trim and use the scrap pieces of about 3 or 4 inches wide as the support. You will then nail these small support pieces into where the studs are located.
Lastly you will add the second and last trim panel of the design using the same method as as the first piece of trim.
One common issue you may run into, especially in older homes, is uneven floors. If you do happen to come across this, we recommend three things. The first is to shout a healthy amount of curse words, as uneven flooring can be a bear to work with!
The second recommendation is to use a piece of wood (2×4’s work great) at an angle (the end resting on top of the baseboard and the other resting on the floor) to create a bit of leverage. With your nail gun in one hand, stand on the board and use your weight to move the baseboard down. While standing on it, nail the baseboard into the wall (make sure to nail into a stud, which you did earlier in step three).
Need Design Help?
The third recommendation (and one for more extreme cases of uneven flooring) is to scribe the wood. You can do this by using a compass and drag the point along the floor and mark a line on the bottom of the baseboard. This will give you a visual for any cuts you may need to make for a tight fit. Just make sure to find the high point and the low point of the trim in your section and use the lower point as the height to use for your measurements. Use a jigsaw with a wood blade to make the cuts and use sandpaper to smooth the edge once complete.
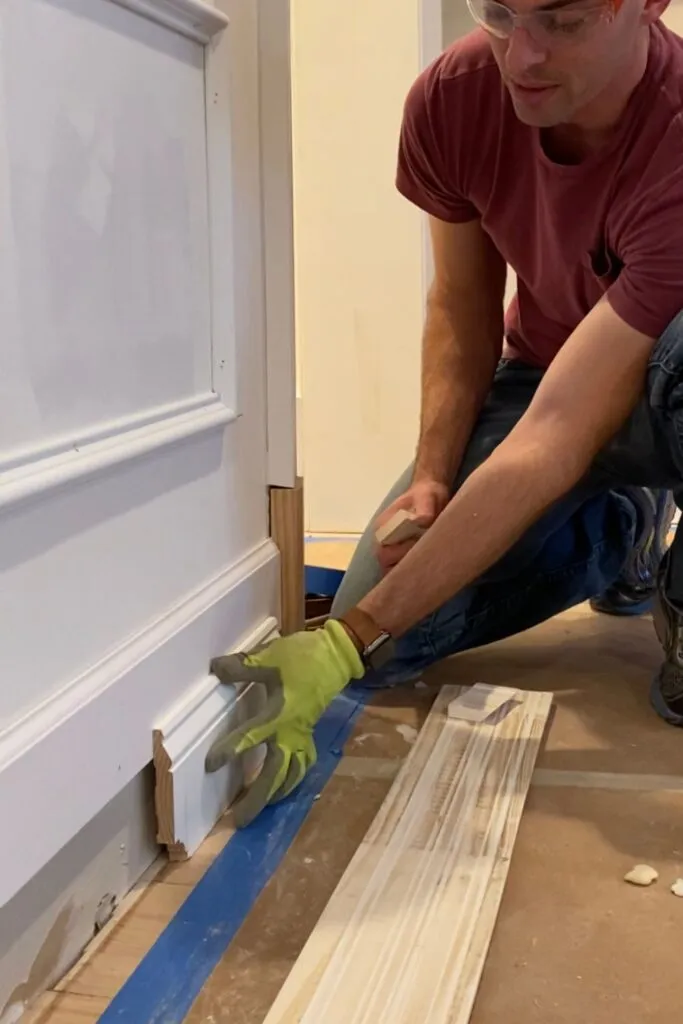
Step Five: Wood fill and caulk
Once you have nailed in the last of the baseboard trim, it is time to add some finishing touches to make it look seamless with the wall. First take your wood fill and fill in all the spots that you nailed and secured the trim to the wall. These holes may be bigger or smaller depending on the size of nails you chose to use.
While the wood filler is drying, you will want to start caulking all the seams. If you installed a one-piece baseboard design, caulk the gap between the baseboard and the drywall. If you are installing a two-piece baseboard, there are 2 seams you will need to fill on every wall. The first is where the top trim meets the wall, and the second is where the bottom trim meets the top trim. Also caulk the joints in the inside and outside corners, and anywhere the trim connects with other trim (like door casings).
Pro Tip: It may be tempting to use caulk to fill the nail holes, but don’t! This is a common mistake that many people make – caulk is not meant to be used as hole filler. Wood filler will give a smoother finish (which hides the nail hole much better) and will contract/expand with the wood.
Pro Tip: Use a high-quality caulk (like this one). The cheaper brands/types (like this one) do not expand and contract as well and will crack much more in the winter months. Invest in quality caulk now to save headaches down the road!
When the wood filler is dry, you will need to sand it down to make sure you have a smooth surface. Also, it is important to vacuum and wipe down the baseboards and clean up all the dust. You will not want any debris getting into your paint in the next step.
Step Six: Paint the baseboard trim
Now that the baseboards are installed, caulked, and hole-free, it is time to slap a coat of paint on it! If you have any raw wood, make sure to apply a primer first and wait 24 hours before applying paint.
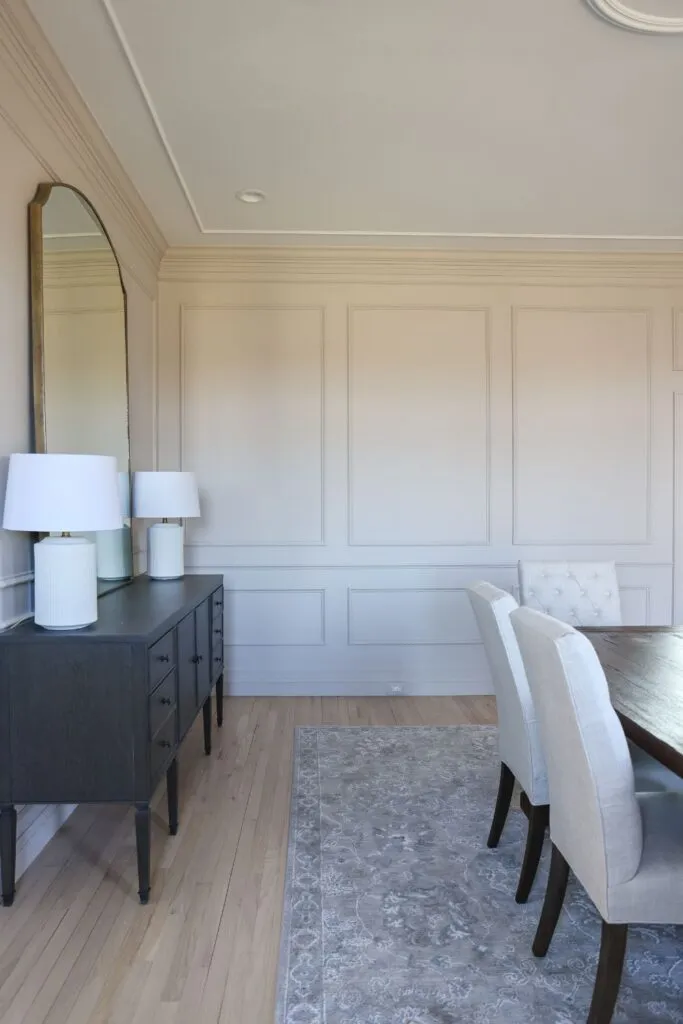
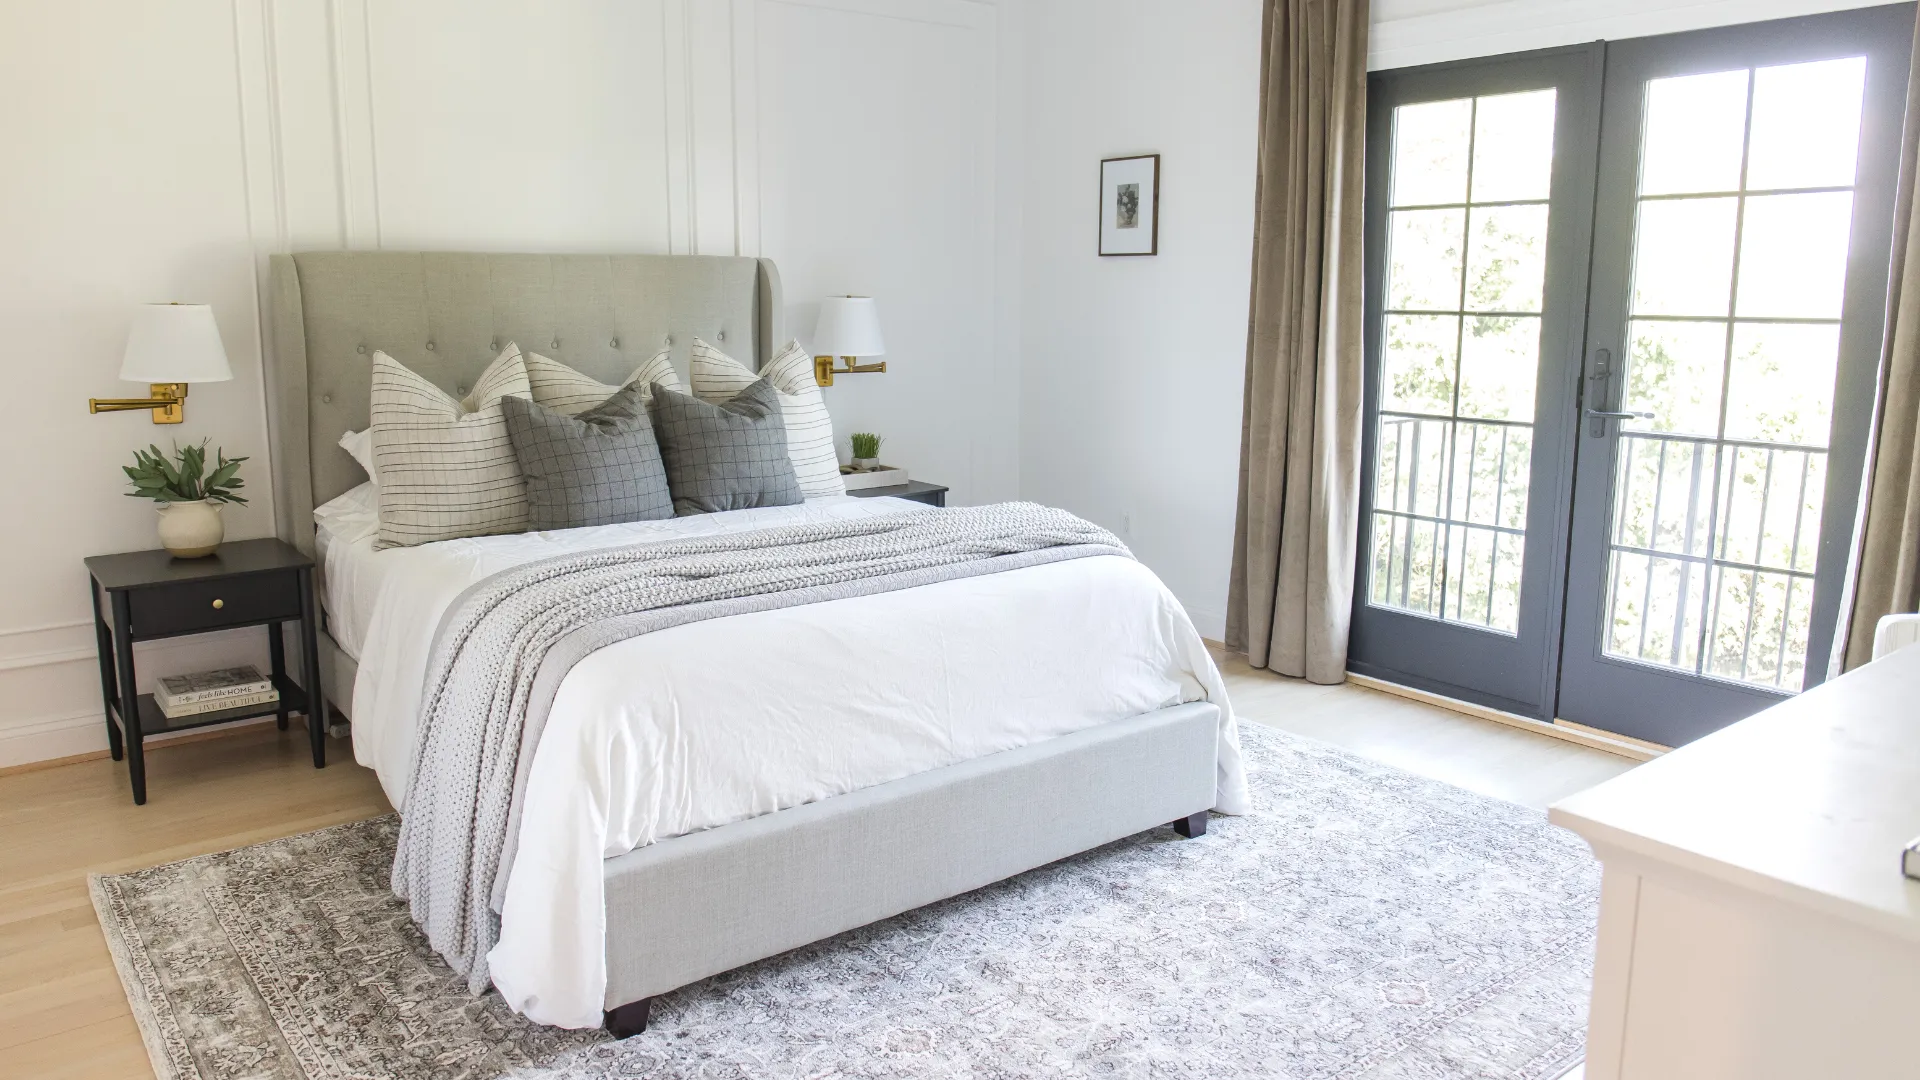
Depending on the style of your home you can either paint the trim white (which is the most common), or paint it a color to accent or highlight your wall color. In some instances, such as what we did in our dining room and office renovation, you can paint the baseboards the same color as your wall for a monochromatic look! We recommend using an eggshell or satin paint finish for baseboards – this will give you more protection from scuffs.
Cleaning baseboards
Now that you have beautiful new baseboards installed in your space, how do we keep them clean and maintain them? It is inevitable that there will be dust that gathers on them so the first thing you will want to do is dust them or vacuum them. Next you can mix some warm water, dish soap, and a splash of vinegar to clean them off from scuffs and other dirt. Word on the street is that magic erasers also work well!
FAQs
You will want to nail baseboards into studs to attach baseboard trim to the wall more securely. You can find studs using a stud finder and mark them with a pencil or chalk line.
The standard size baseboard trim is 3-5 inches tall for an 8ft ceiling. However, we recommend always going taller. Try a 7in baseboard instead!
Yes, it is fine if you do not have baseboards. However, if this is the route you choose to go, you will need to make sure the joint where your wall and floors meet is flawless.
We don’t recommend MDF baseboards because of the moisture issues related to MDF. When it is exposed to moisture, it swells and ultimately has to be replaced. Real wood (or a PVC) is recommended for baseboards because they will not swell when exposed to moisture.
Most standard baseboards are painted white. However, baseboard trim can be painted whatever color you would like. It is also recommended that they are painted in at least a satin/eggshell finish so they are easier to clean.
Absolutely! Follow the instructions above for an easy to install custom baseboard trim look!
We recommend using Dynaflex Ultra Caulk for baseboards and trim. It has the best expansion and contraction properties to prevent cracks in future years.
Yes, for a professional-grade finish, we recommend using a nail gun for baseboard installations.

About The Authors
John and Megan are the founders of Arched Manor, which is a passion-project turned business featuring home design, renovations, DIY tutorials, décor, e-Design, and 3-D rendering services. This married couple lives in Leesburg, Virginia, and is currently renovating The Arched Manor, a brick colonial house built in 2000.


")
