
Paying someone to paint is something that kills us to our core. Painting is not only something that we enjoy doing, but it is relatively easy and a heck of a lot cheaper doing it yourself than paying professionals. With two toddlers though, time our my biggest enemy. That being said, there are cases where we bite the bullet and hire someone – mostly when we need it done to stay on schedule or to free our time to focus on higher priority tasks. Also, if it’s something that requires a really tall ladder, especially outside with the wind and uneven ground, we’ll gracefully throw in the white flag and pay someone instead. But I have been painting houses for years – I (John) began when I was about 9 or 10 and my brother and I would help my dad paint his rental townhomes after a tenant moved out. My dad taught me the basics and great painting tips, and I have been polishing my skills ever since. Megan helped her parents paint their house and has honed her skills at The Sweet Suburban and in our current home.
This blog post is not a “how to paint” guide – that would be equivalent to writing a blog post about how to ride a bike. You just have to do it, practice it, and perfect it. This blog post instead focuses on 5 DIY painting tips that we will pass on in hopes that it helps you in your next painting endeavor. For information about the paint type, colors, and sheens that we have used in The Arched Manor, check out this blog post. I’m also including links below to the painting supplies, tools, and products that we actually use (and love)!
Disclosure: We are happy to share products and links with you! Some of the links in this post are affiliate links and if you use them to make a purchase, we may earn a small commission on the sale. This helps us fund the reoccurring fees and expenses that go along with running a blog site.
Tip 1: You Get What You Pay For
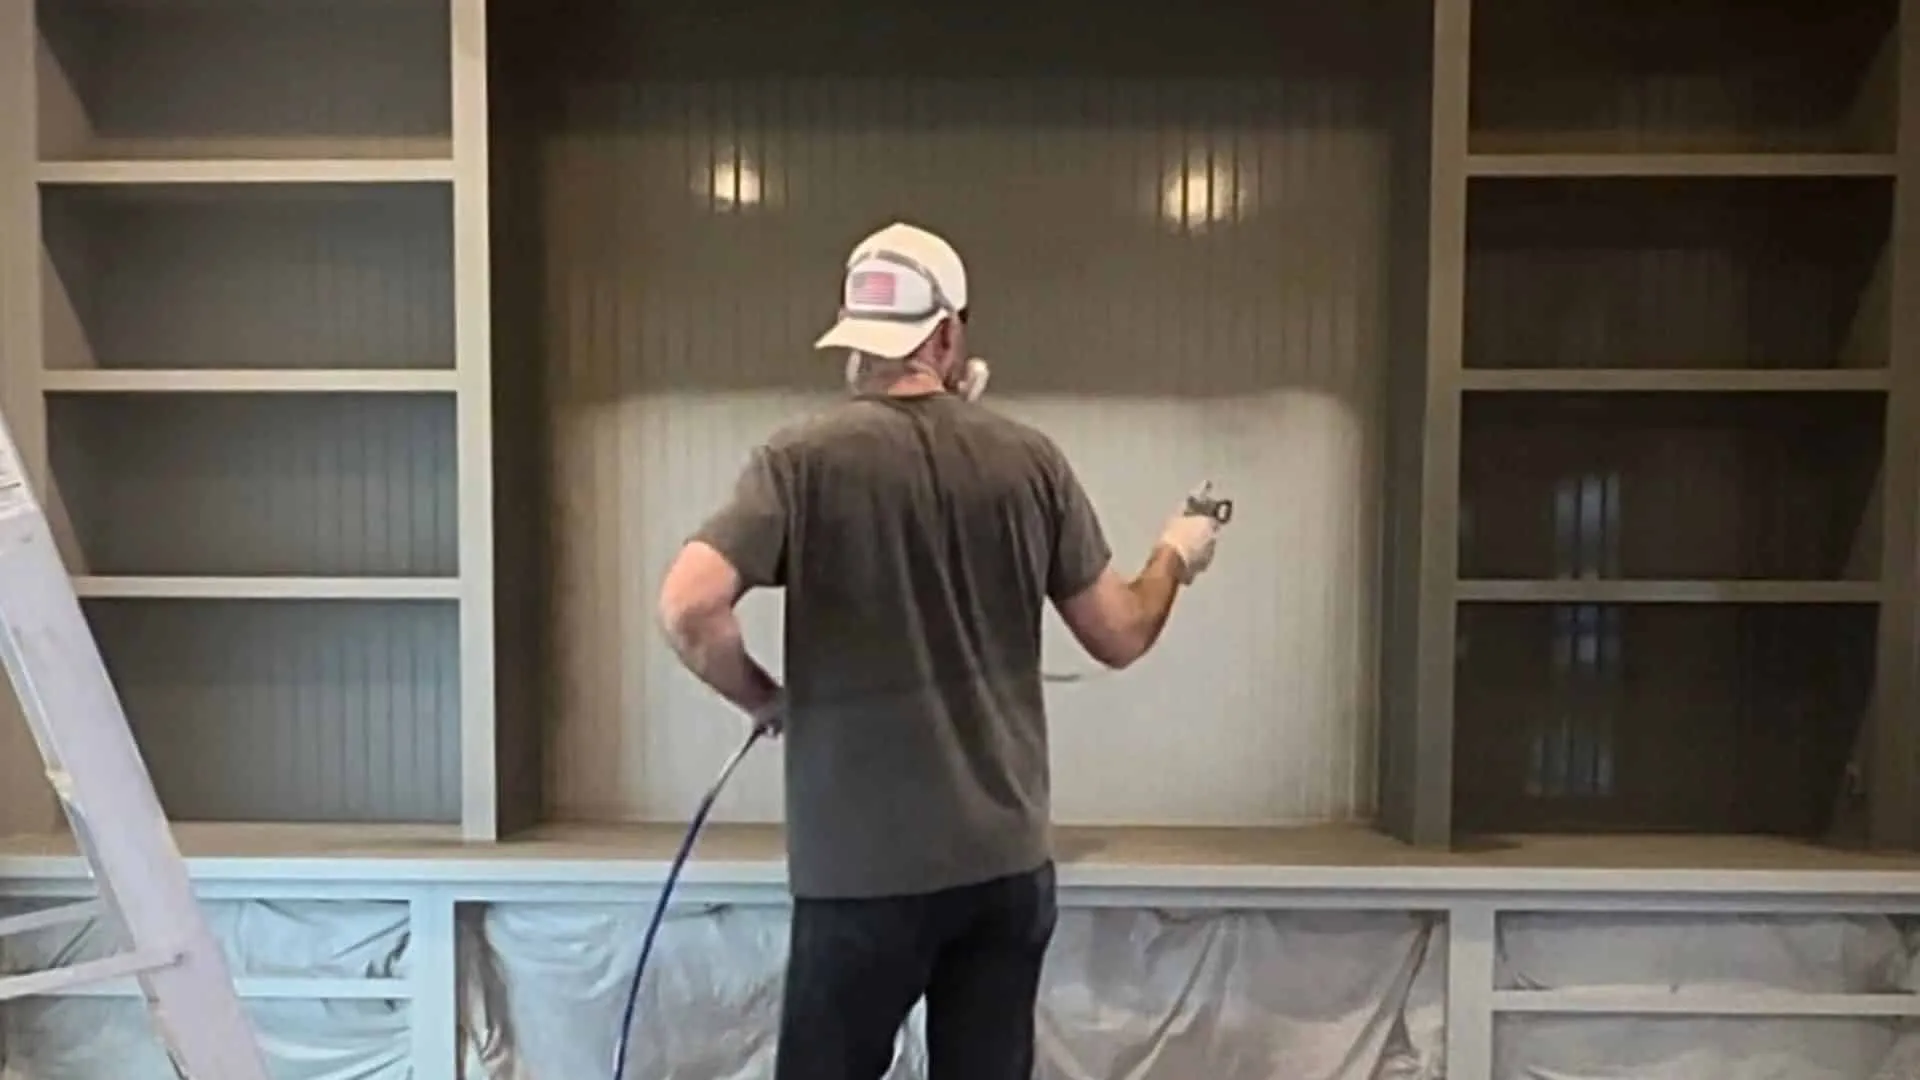
Don’t skimp on contractor or economy grade supplies. Paint rollers come in different qualities – spring the extra dollar and get the premium options. These absorb the paint much better than the cheaper versions and they will help in applying an even coating on the walls without the pesky “roller marks”. Also, don’t buy the cheapest paint either – these often have terrible coverage and may require three coats, which means it will probably cost the same as two coats of mid-grade paint, but will cost you hours of time rolling that third coat. Also, may sure to use premium caulk – cheap caulk tends to crack when the temperature changes. I prefer to use DAP Alex Flex Premium Molding and Sealant.
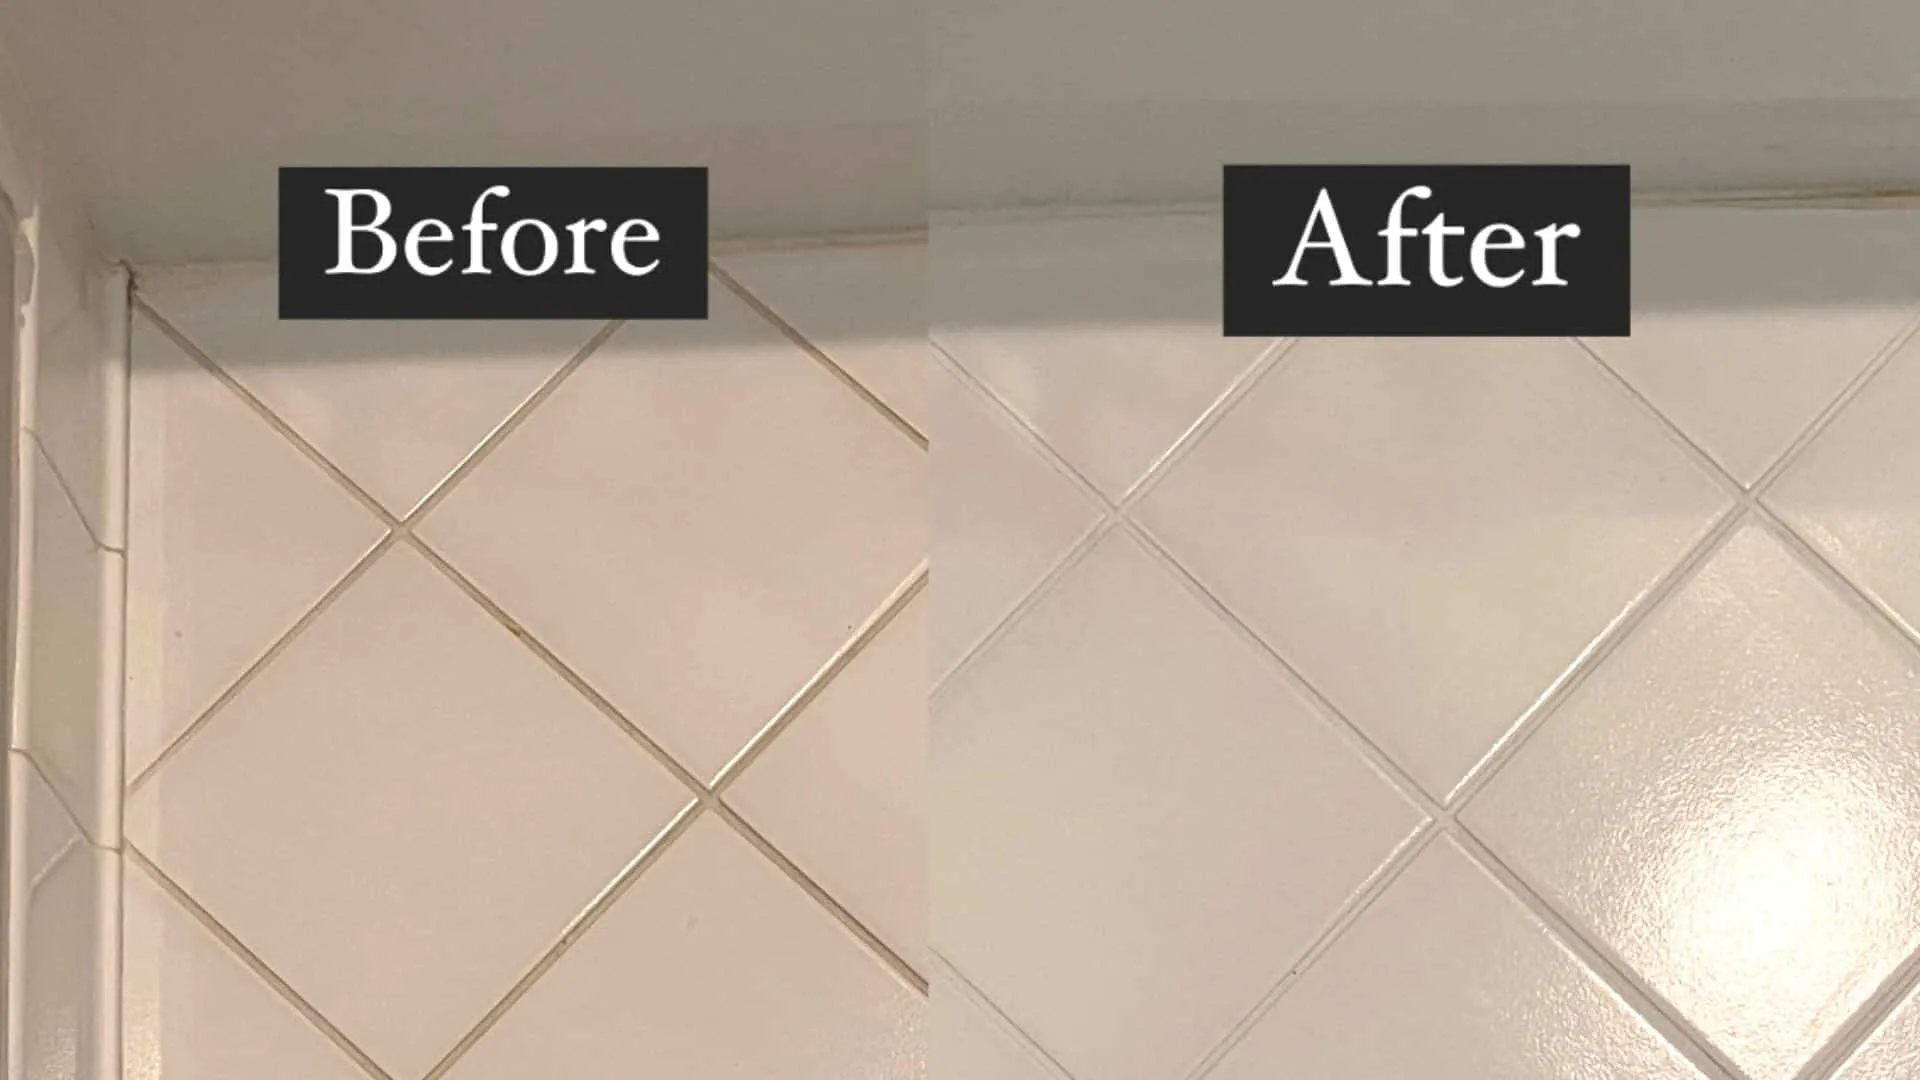
Tip 2: The 8-P Rule
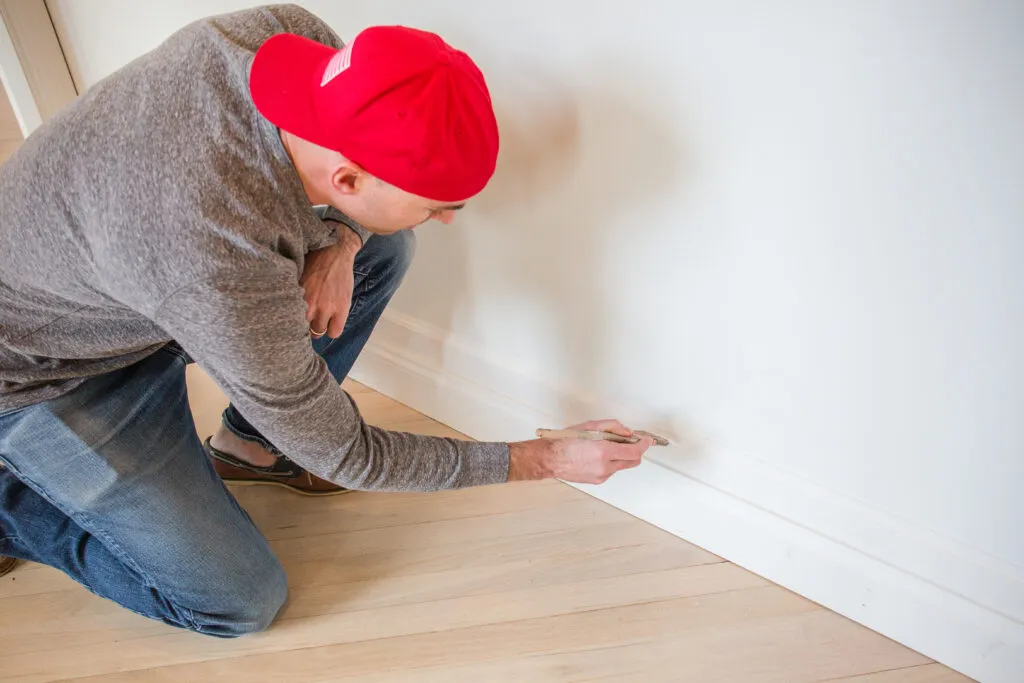
Prior Proper Prepping Prevents a Piss Poor Painting Project. Before you invest the time and money in painting, you need to make sure your room is fully prepped. This means filling all nail holes in trim (use proper wood filler, not caulk), repairing any drywall holes or imperfections, caulking seams between trim and drywall, and wiping down all surfaces that you are about to paint. You will be surprised by the amount of dust/dirt/hair that you remove. Also make sure to prime any unpainted drywall areas, raw wood, or other problem areas (marker drawings from kids, etc.) before painting.
Tip 3: Don’t Rely Too Heavily on Tape
We don’t use a lot of tape when we paint. Not because we are perfect painters, but we found that if we use a good brush and take our time, we can paint a consistent, straight line on most areas without tape. Tape is expensive, time consuming to apply and remove, and is not always guaranteed to give you a clean paint line. There have been times when the paint seeps under the tape and ruins the line. For us, we prefer to paint by hand and only use tape when necessary. If you find that you need tape to get that clean line, then by all means. use it!
Tip 4: Top Down Approach
Paint your ceilings. Please. There is nothing worse than seeing freshly painted walls and an old dingy ceiling above. We like using Behr white ceiling paint – it is consistent and goes on easily. Paint your ceiling before painting any of the walls or trim underneath – there is always some brush splatter from the roller. Invest in a good paint pole as well – this is key in ensuring even pressure is applied to the ceiling, so the application is consistent. Consider changing out any dingy lighting fixtures during this step as well.
Tip 5: Don’t Fall for ‘One Coat’ Products
Most of the big paint brands now offer their “One Coat” product – I’m sure you have seen the commercials. Don’t fall for the hype – especially if you have a bold or dark color. These products are usually the most expensive lines of paint you can buy, and the paint itself is thick and harder to apply a consistent finish. Save your money (and probable frustration) and stick to the mid-grade paint lines. Expect to apply two coats. Three may be needed for certain scenarios (especially for dark colors going over light colors and vice versa) but most applications only need two.
There you have it – five DIY painting tips that hopefully you can utilize and apply to your project. Please leave a comment if you have any questions or insight, and good luck on your painting project!
Shop My Favorite Paint Supplies
[gkit id=32]


")
