We have been meaning to get this blog post up for awhile as our cabinets for both the pantry project and this dry bar project just arrived!
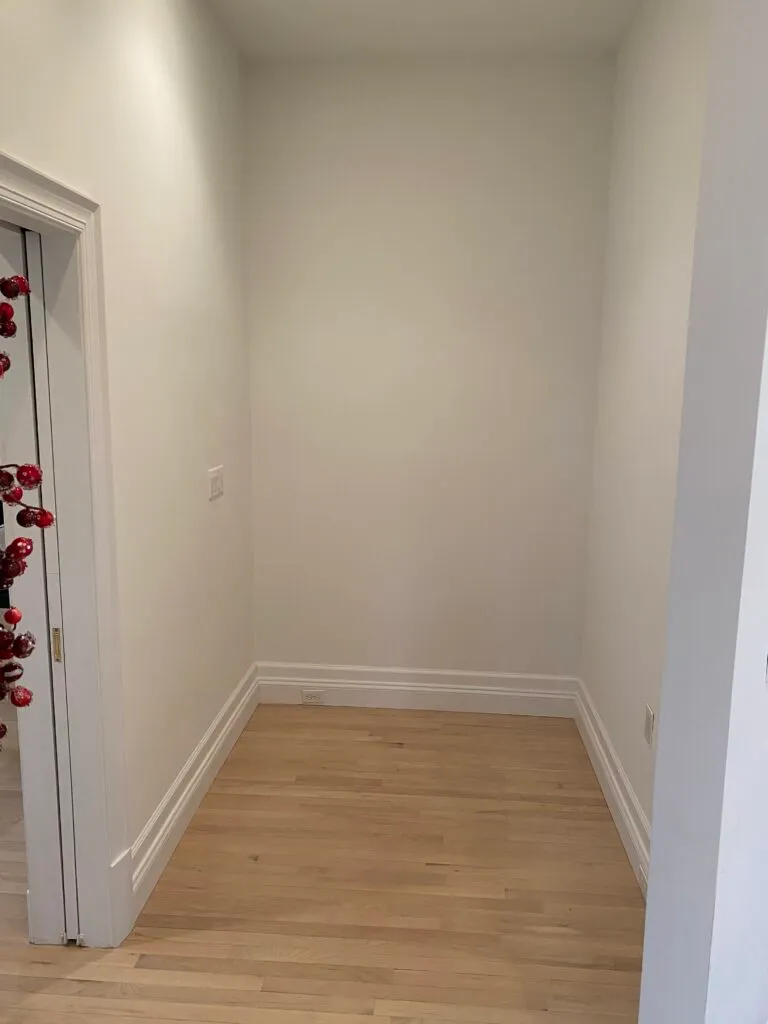
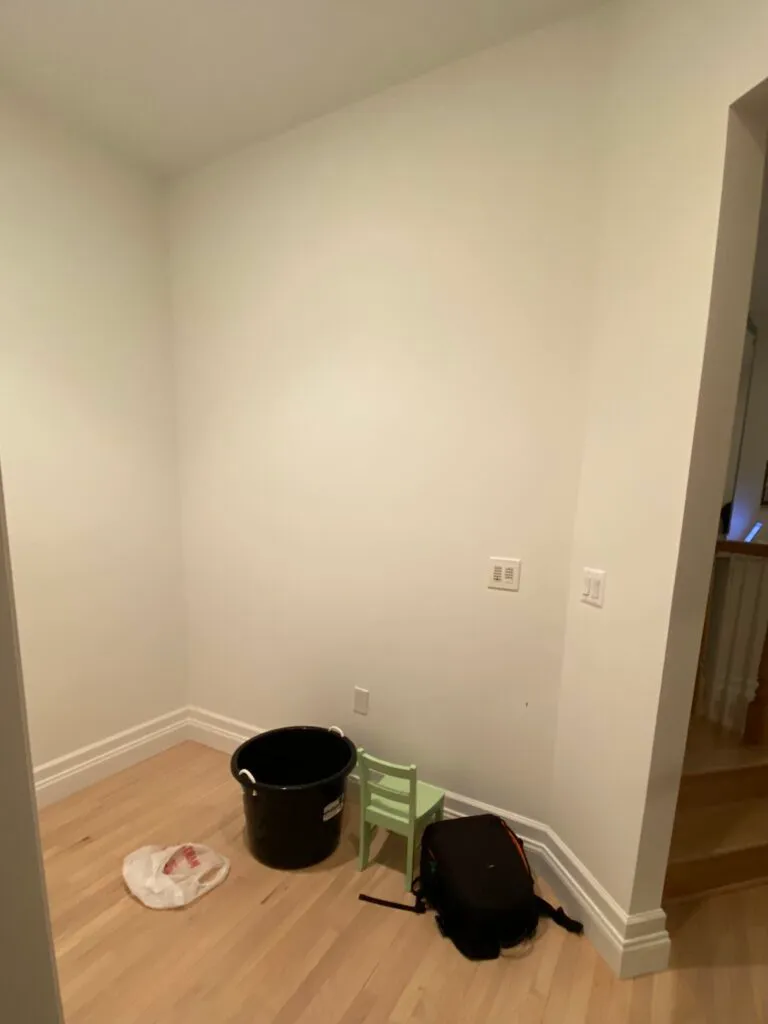
We have had this unique space between our kitchen and dining room that has been empty since we moved in, and we have been contemplating how to best use it. There was a rumor that this nook may have been an area where an elevator shaft could be placed (possibly an option available when first built), but we don’t have much faith in that theory since the space directly above this area on the second floor leads to a narrow hallway. Since this space is between the kitchen and the dining room, it may have been designed for a butler’s pantry, but there was no existing cabinets or shelving – maybe that was another upgrade option the original buyers declined. All that aside, we thought long and hard about what purpose this space should have and what would make sense for our family. Doing all that thinking made us extremely thirsty, and we longed for a nice cold glass of white wine…that was our ‘ah-ha’ moment, and we decided a dry bar is just what we need!
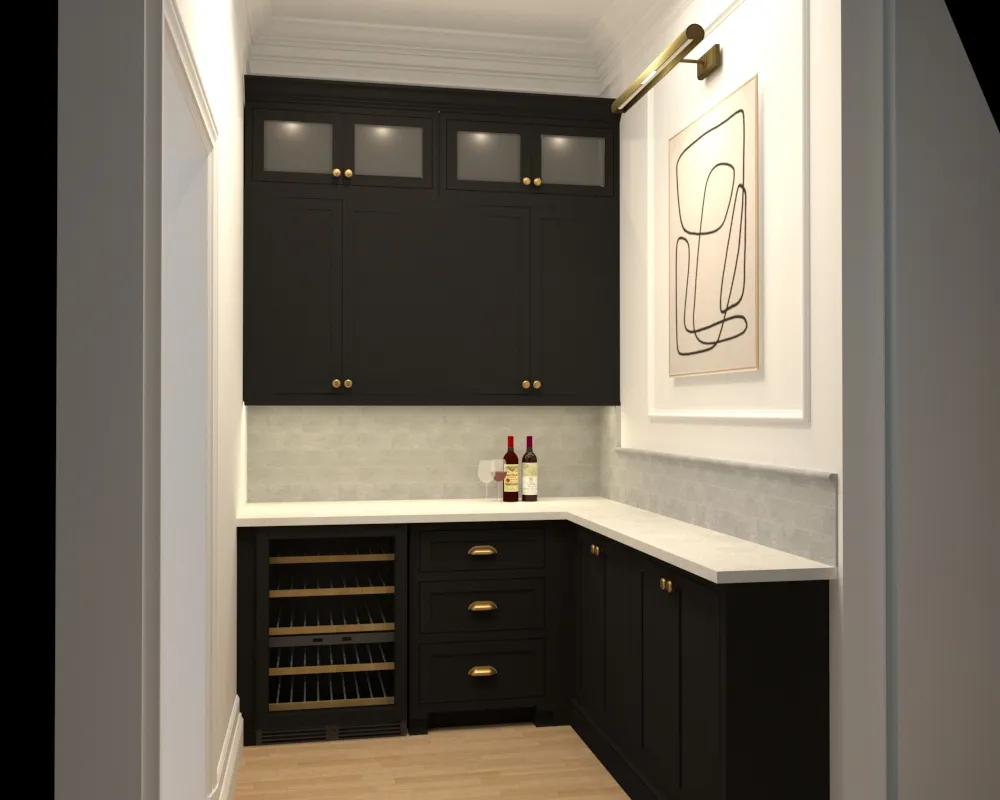
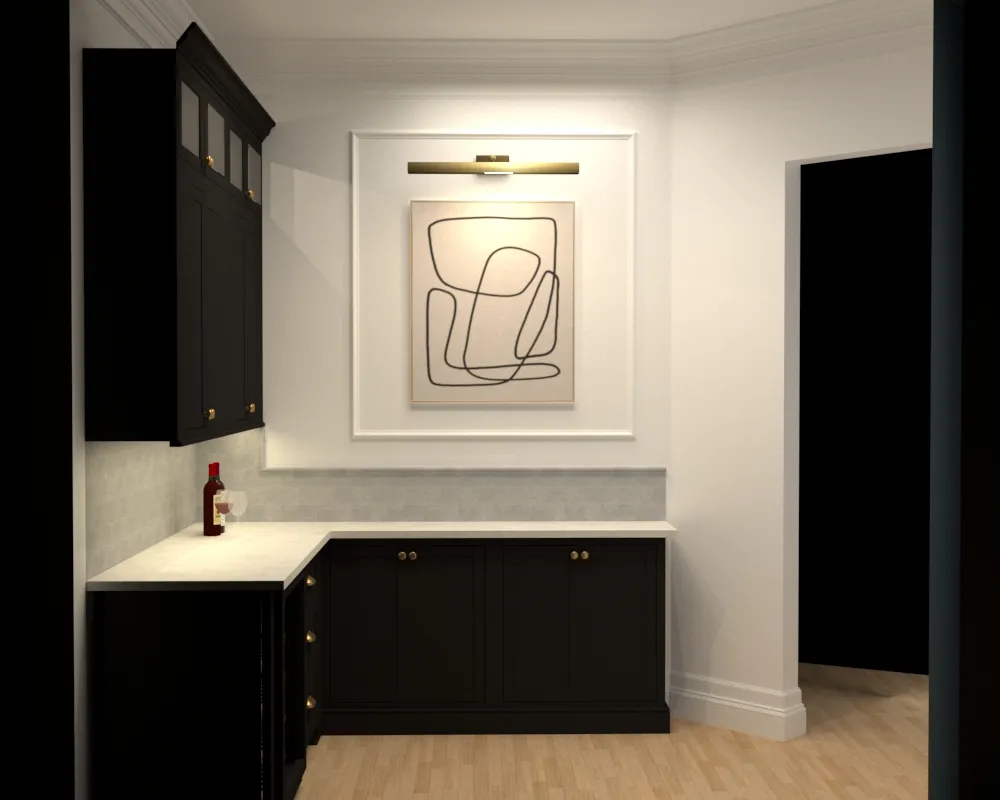
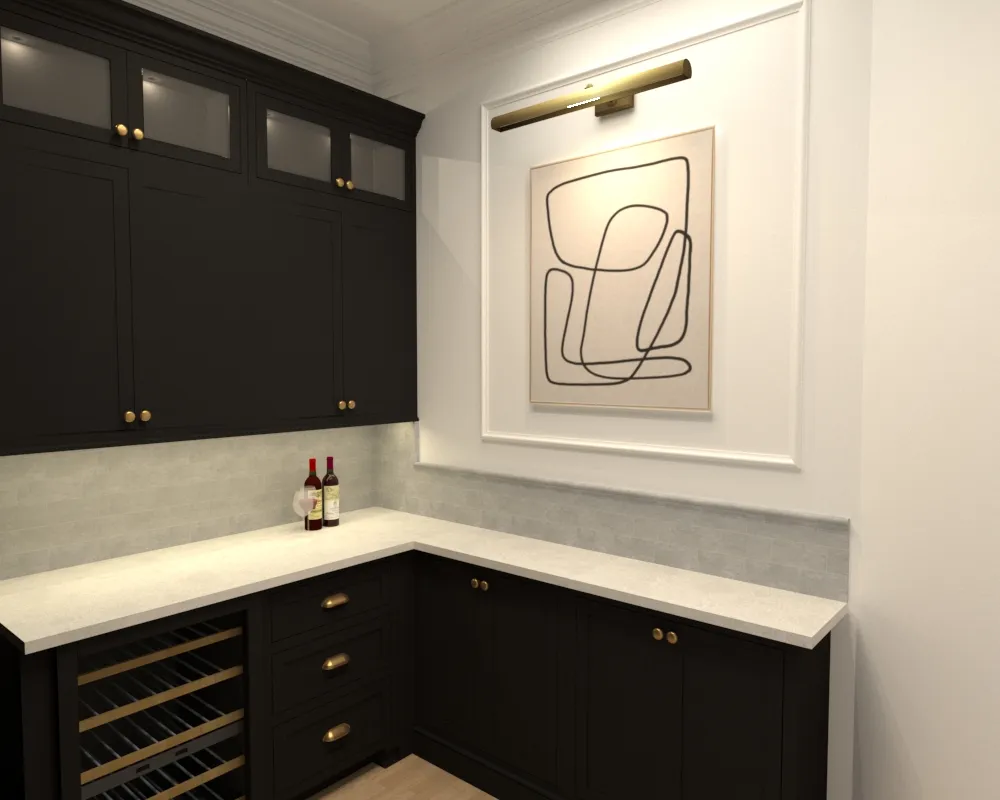
In terms of aesthetics, we wanted this space to be very classic, so we chose black cabinetry, brass hardware, quartz countertops, and a marble subway tile backsplash. We built a space on the left for a wine fridge, and we purchased a panel ready wine fridge (with glass) that will match our cabinetry.
Since the space is a little narrow, we agreed that the best way to maximize the space was to add uppers and lowers against the back wall and then thin lower cabinets along the right side. We wanted to accentuate the tall ceilings in this space, so we added a second set of uppers with glass doors. These will feature lights inside and will draw your eye up, making the space seem larger.
To turn up the “classy dial” another notch, we are installing crown molding in the two-piece design that matches the rest of the first floor. This will get a fresh coat of our favorite white paint, as will the other existing trim. The two recessed lights in the ceiling will be upgraded with our favorite retrofit LED lights from CREE.
Next up is the brass hardware. We decided to stick with the same cup pulls we are using in the pantry because they are just so beautiful! However, we did decide to mix up the pull for the wine fridge and also the knobs for all the cabinet doors which have a more decorative edge to them.
When it comes to the marble tile, we decided to go with white honed italian cararra marble. We also added matching marble trim (they call it ‘crown molding’, which seams weird) on the upper edge of the backsplash on the right wall.
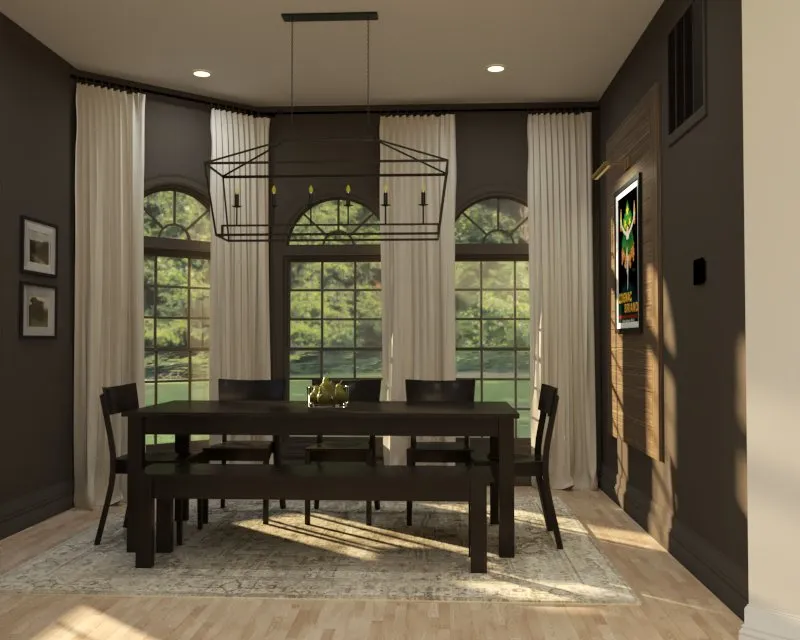
Last but not least, we wanted to dress up the wall on the right side with picture molding, a picture light and a beautiful piece of abstract art!
We used our handy-dandy 3-D software to create some realistic renders of what the finished space will look like! Using renders ahead of construction is something we cannot recommend ENOUGH. It helped us to get the exact measurements right for the picture molding, which helped us figure out the size for the picture (30″x40″). We can’t wait to start installing the cabinets and finishing this project so we can begin stocking the wine fridge full of the finest bargain wines Costco has to offer!


")

The Comments
Dry Bar Renovation – The Reveal! – Arched Manor
[…] reveal our new dry bar! We have been working on the design since November 2020 (which we shared in this blog post) and the actual renovation started at the end of January 2021. We did this project in parallel with […]