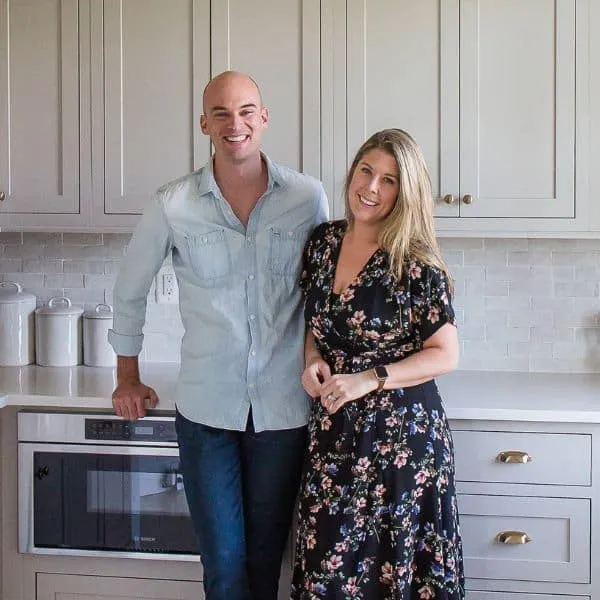
How to Install Brick Wall – Step-by-Step Instructions

Brick wall on basement bar

Brick veneer accent walls are a popular design feature that can add warmth and character to any room in your home. Whether you’re looking to create a classic, rustic or a modern look, brick veneer can be a timeless choice. In this blog post, we’ll go over how to install a brick wall in your home and grout it.

Before we dive in, we chose to install a brick wall in our basement bar to give the outdated space a makeover. For our design, we wanted the brick to look historic and tried to achieve that look as best we could. Below are the steps we took to achieve this organic, classic look.

Table of Contents
    Add a header to begin generating the table of contents

    Affiliate links may be used throughout this blog post – read our policy here

    choose grout color and style for brick wall

    Materials Needed When Learning How to Install a Brick Wall

    Step 1: Prep the Wall

    Before you start to install a brick wall with brick veneer, you need to prepare the wall. This involves cleaning the surface of any debris, dirt or oil, as well as ensuring the surface is smooth and flat. If there are any holes or gaps in the wall, you will need to repair any drywall, fill holes with spackle and/or sand the surface smooth.

    Step 2: Lay Out Pattern and Cut Tiles

    Measure the height and width of the wall to determine how many square feet of brick veneer you will need. Once the brick is in hand (or in our case the brick web), find the center of your wall and lay them out on the floor to find your pattern. This is an important step so you are not left with a sliver of a brick on either end of your wall.   

    Once you have decided on your pattern, you will then know how many bricks will need to be cut and to what size. You can proactively cut your tiles or do what we did which is cut them in real time as you are installing each row.

    layout brick pattern

    Step 3: Apply Adhesive

    The third step on how to install a brick wall is to apply your adhesive to the wall in small sections at a time so that it does not dry. First scoop the adhesive out of your bucket with the trowel and smear it (also known as buttering it) on the section using the flat sides of your trowel. 

    Once a good layer has been applied, take the notched side of your trowel and scrape it across the wall to create ridges which will give you a more even base for the brick veneer to adhere to. For a brick application like this, we recommend a 1/4″ notched trowel.  

    We created a short Instagram Reel on the adhesive and brick installation process you can view to learn more.

    How to install brick wall - apply adhesive
    Use trowel to install brick wall

    Step 4: Install Brick

    Place the brick web or single brick onto the wall and if necessary, use a laser level to ensure it is straight. You can use tile spacers or in our case scrap wood to keep a consistent gap between the panels and to ensure that they don’t sag down on the wall. 

    We purchased a combination of brick webbing and singles. The brick webs were used in the center of the wall and the single bricks we used for the tiles at the end of the wall that would need to be cut. (They also sell corner bricks if you may need those in your project)

    When you get to the end of the row, you’ll likely need to cut some tiles to fit. We used a wet saw to cut the tiles to size. It is important to remember to wear safety glasses while making these cuts.

    Repeat this process with the remaining panels until the wall is complete. Let the mortar dry overnight.

    how to install brick wall
    using a laser level to keep brick straignt

    Step 6: Grout

    Mix the grout you selected according to the manufacturer’s instructions. We mixed ours in a bucket using the mixer attachment for our drill. Once mixed, scoop into a grout bag, twist the bag and start piping the grout filling in the gaps between the bricks.

    When learning how to install a brick wall you may notice there are many grout styles, colors and finishes to choose from. Before we began, we tested both different grout colors and styles to see what we wanted to go with. To achieve the look we used in our basement bar, we put on rubber gloves and used our fingers to scoop out some of the wet grout (we wanted to make sure to see all the tumbled edges on the brick) and then tapped the grout to give it a rough, organic look. Don’t be afraid to also get some grout on the edges of the brick to give it a timeless look. 

    mixing up grout for brick wall
    Piping grout on brick wall
    Grout style

    Step 7: Finish Up

    Allow the grout to dry for a few hours before cleaning up any remaining grout residue with a damp sponge. Then, step back and admire your new brick veneer accent wall!

    We hope these steps were helpful in instructing you on how to install brick wall. A brick accent wall is a great way to add character to any room. By following these simple steps, you can create a beautiful and durable feature wall that will last for years to come. Just remember to take your time and follow the manufacturer’s instructions for best results. Good luck with your project!

    basement bar makeover
    About The Authors

    About The Authors

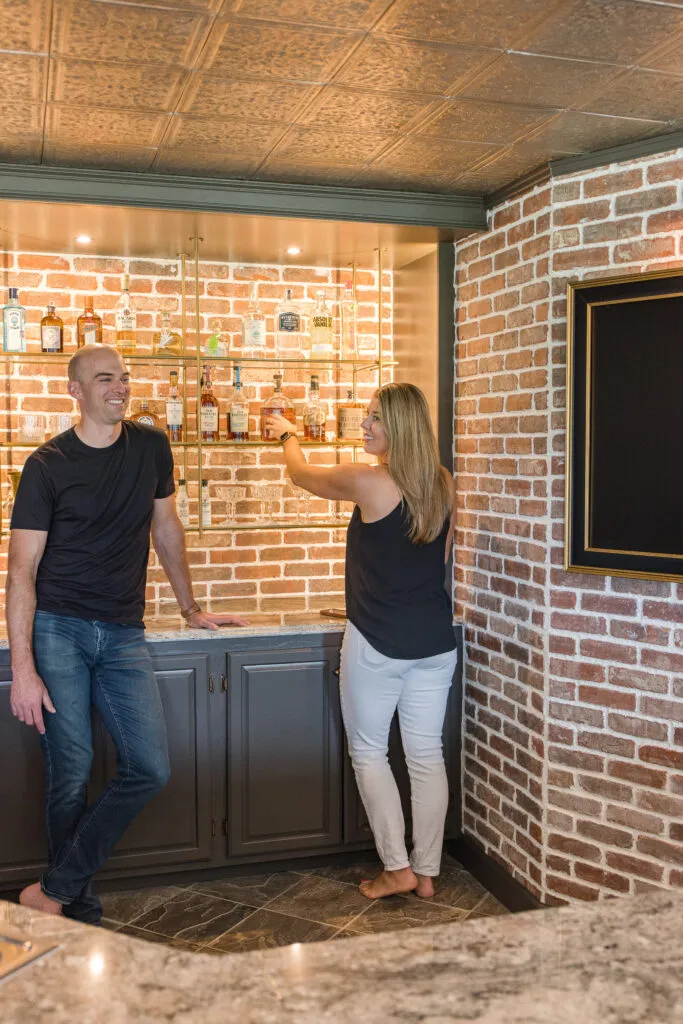
    John and Megan are the founders of Arched Manor, which is a passion-project turned business featuring home design, renovations, DIY tutorials, décor, e-Design, and 3-D rendering services. This married couple lives in Leesburg, Virginia, and is currently renovating The Arched Manor, a brick colonial house built in 2000.

    Learn More

    Leave a Comment

    Meet Megan & John

    Hi there! We’re a married couple with a passion for DIY, decor, and home improvement! We’re currently renovating The Arched Manor in Leesburg, VA.