We help people all over the country with their design needs and project questions. From simple zoom consultations all the way to full kitchen designs, we do it all!
Wait, there's more!
Checkout Our Resources
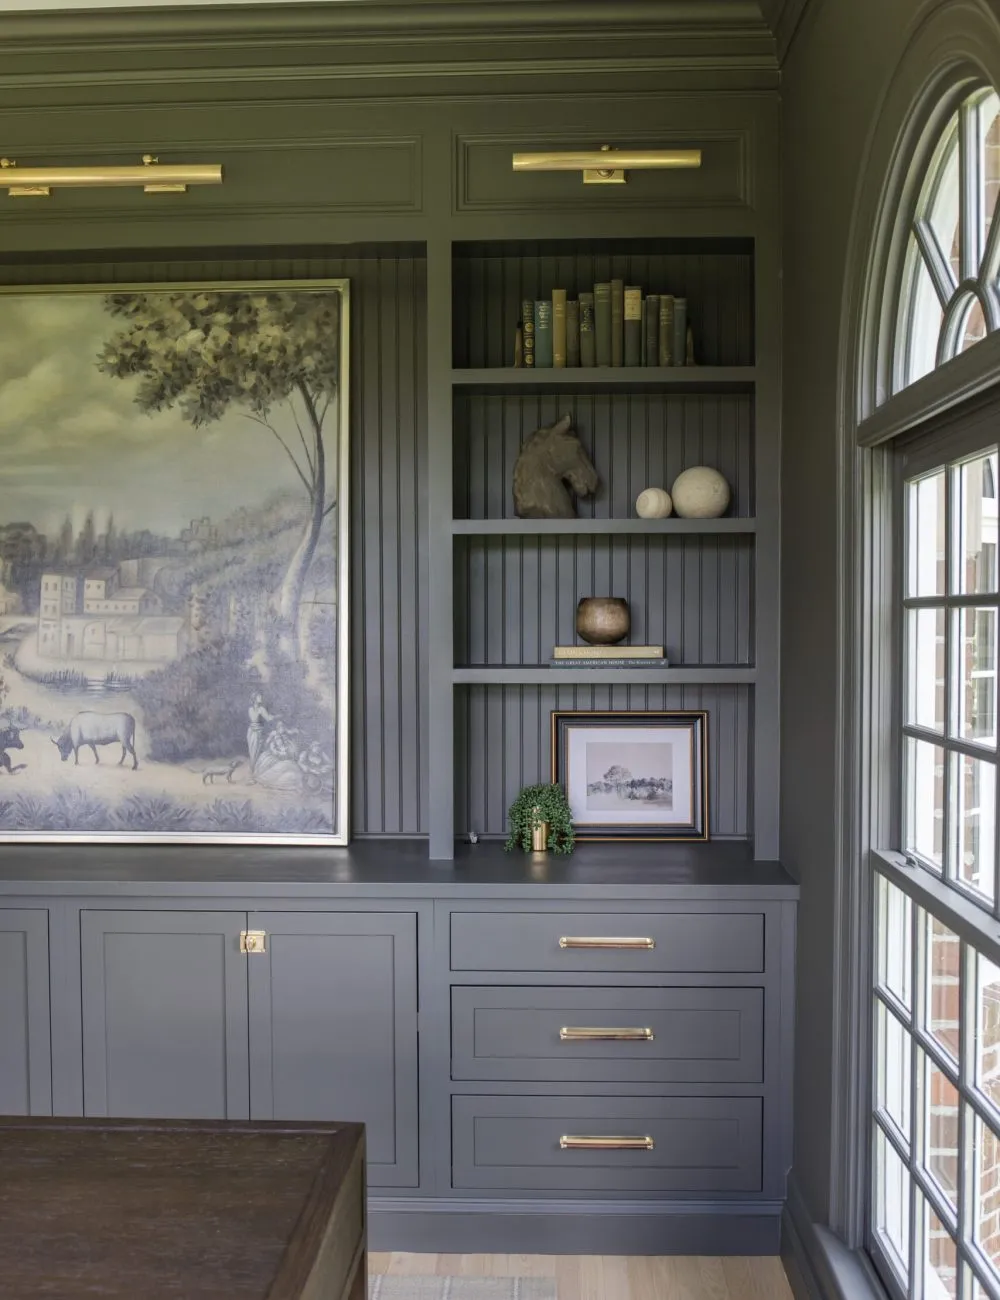
We’ve put together a few tangible goodies for you to download that will hopefully help you in your DIY projects! From cabinetry trips to flooring guides, curtains to built-ins, we’ve got you covered!


")