Pantry. Is. Done. This pantry renovation project has literally been in some sort of construction stage since the day we closed on the house. This space was originally two cramped pantry closets that were uninviting and not very functional. As part of our original renovation project, we removed the wall between the two spaces and added red oak flooring to remain consistent with the rest of the house. We bought some wire shelves and used those for two years. In November 2020, we designed a new pantry, purchased the cabinets, and waited. The cabinets came in later January and we quickly began work on this space (and our Dry Bar, which we did in parallel).
Table of Contents
Add a header to begin generating the table of contents
Affiliate links may be used throughout this blog post – read our policy here.
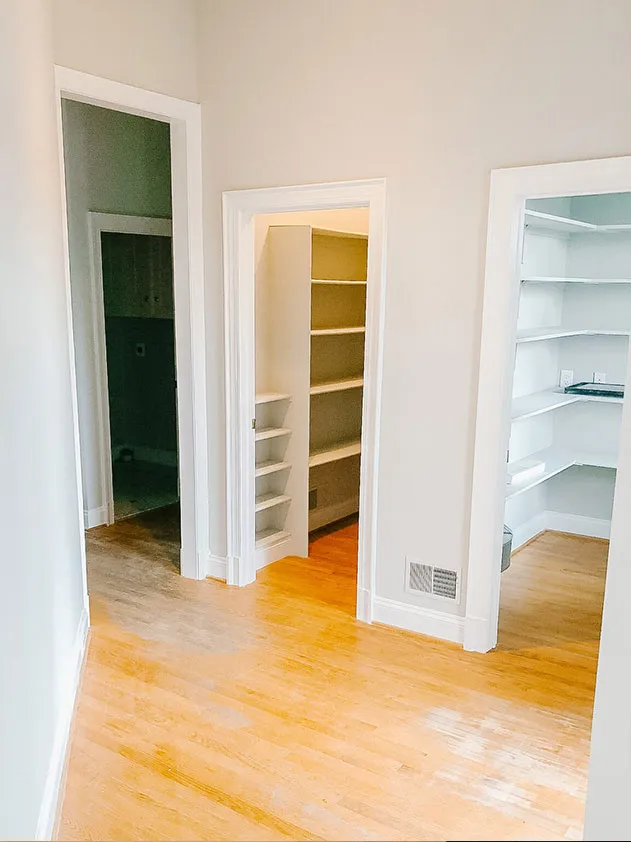
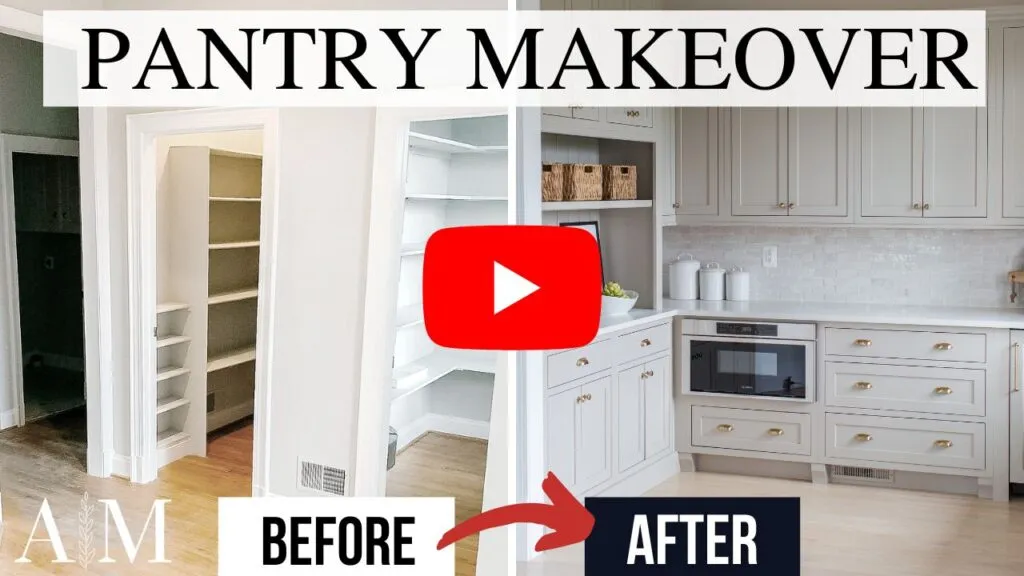
Before we get into the good stuff, let’s take a step back and remember how this area looked when we first purchased it. As you can see below, it was two pantry closets with some basic shelving in each. We decided to combine the two different rooms into one! An added bonus was the window that was in one of the pantries would now brighten up the entire space!
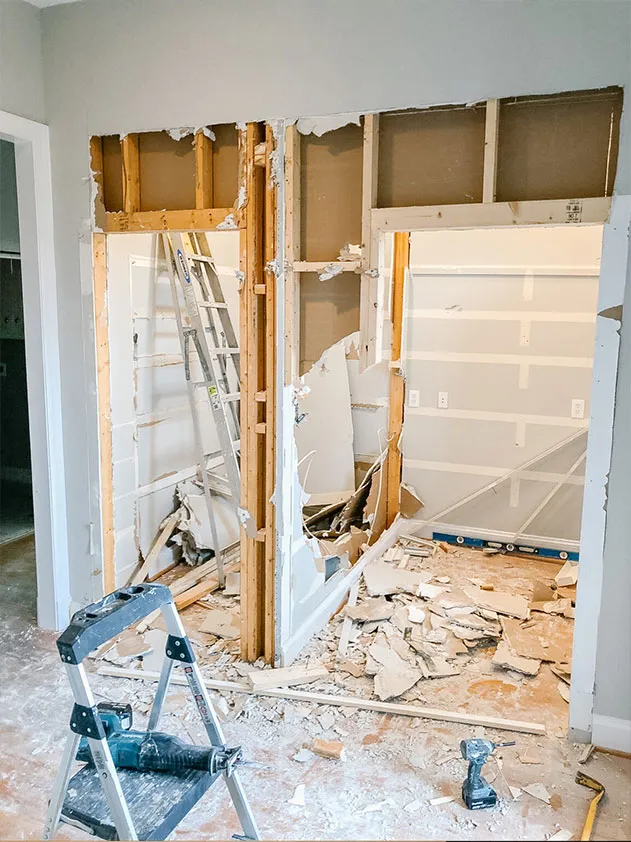
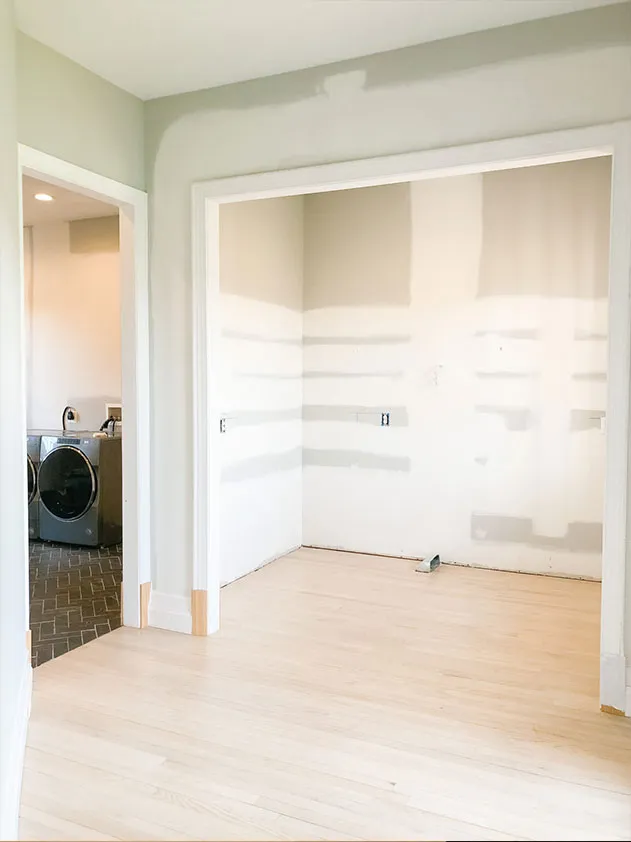
We first removed the wall in-between and converted the two doorways into one large opening. We had to also relocate the air duct from the center of the space to the back. Finally, we installed matching red oak flooring, repaired the drywall, and added two recessed lights in the ceiling.
Pantry Renovation Breakdown
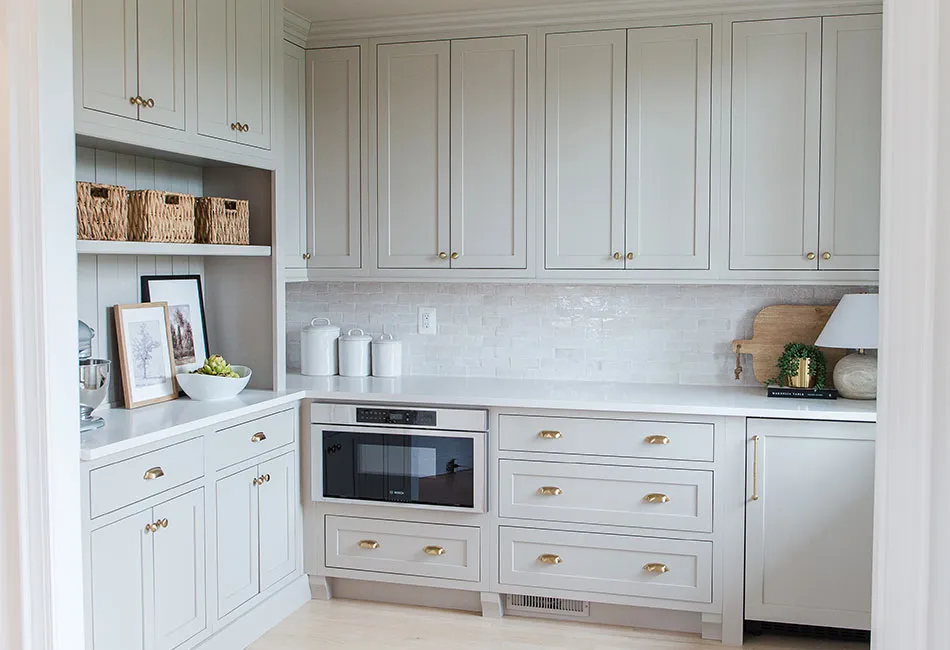
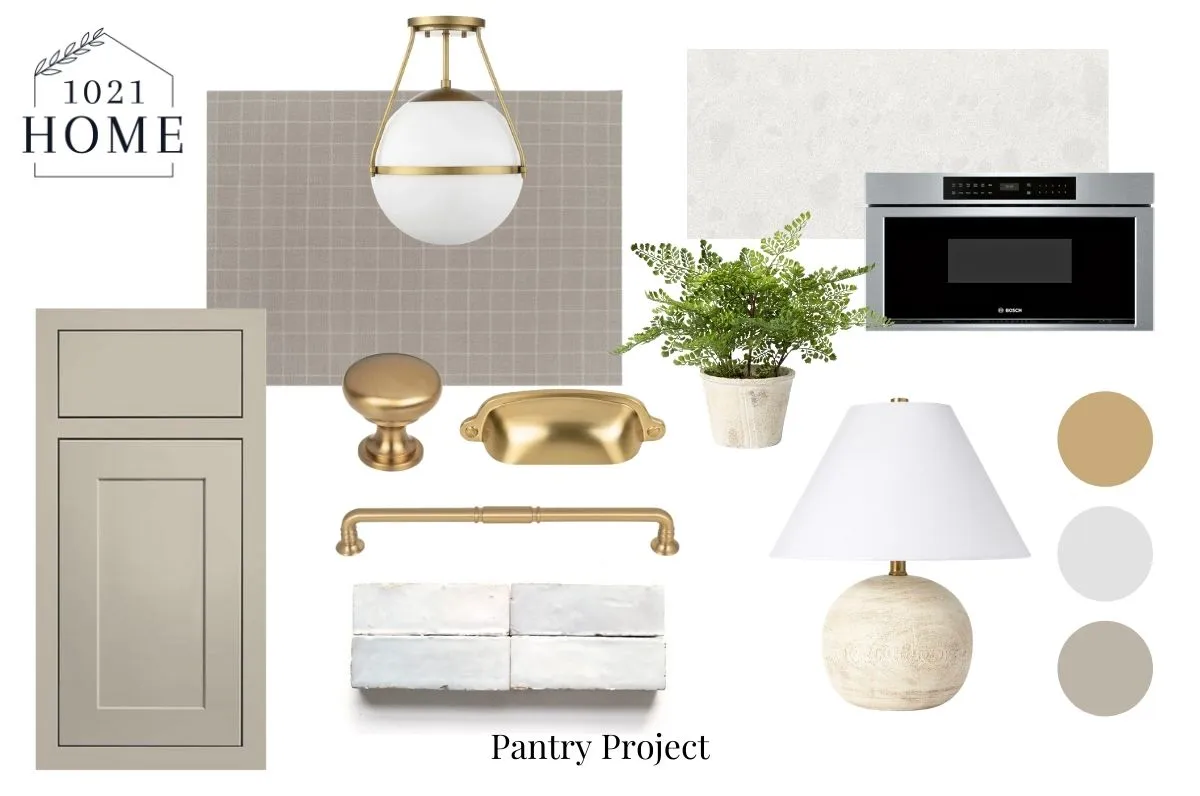
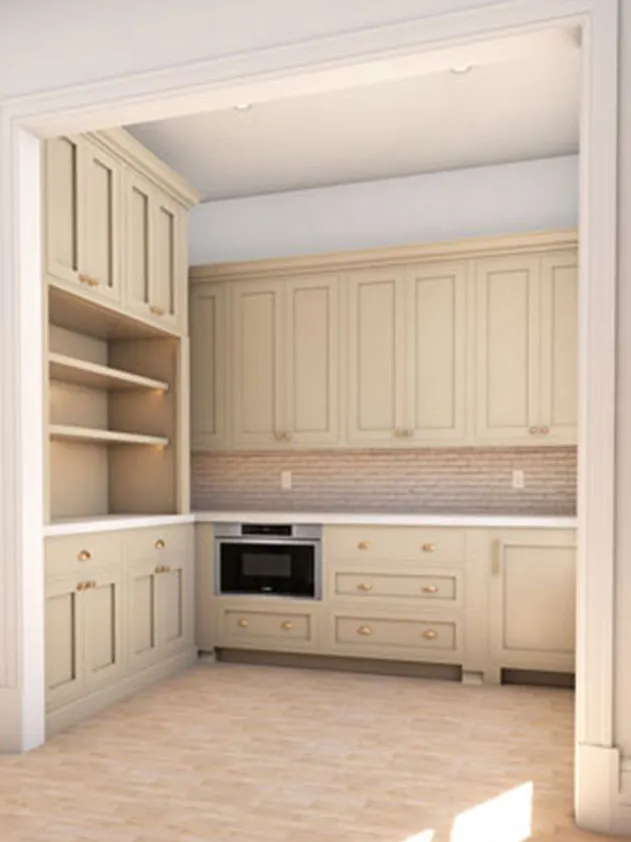
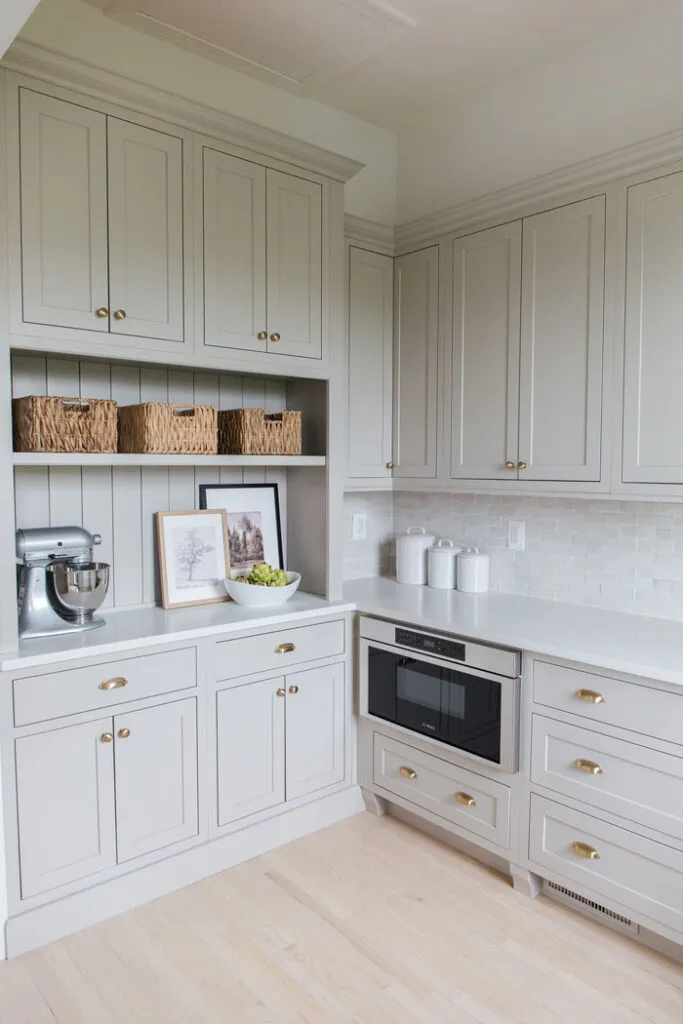
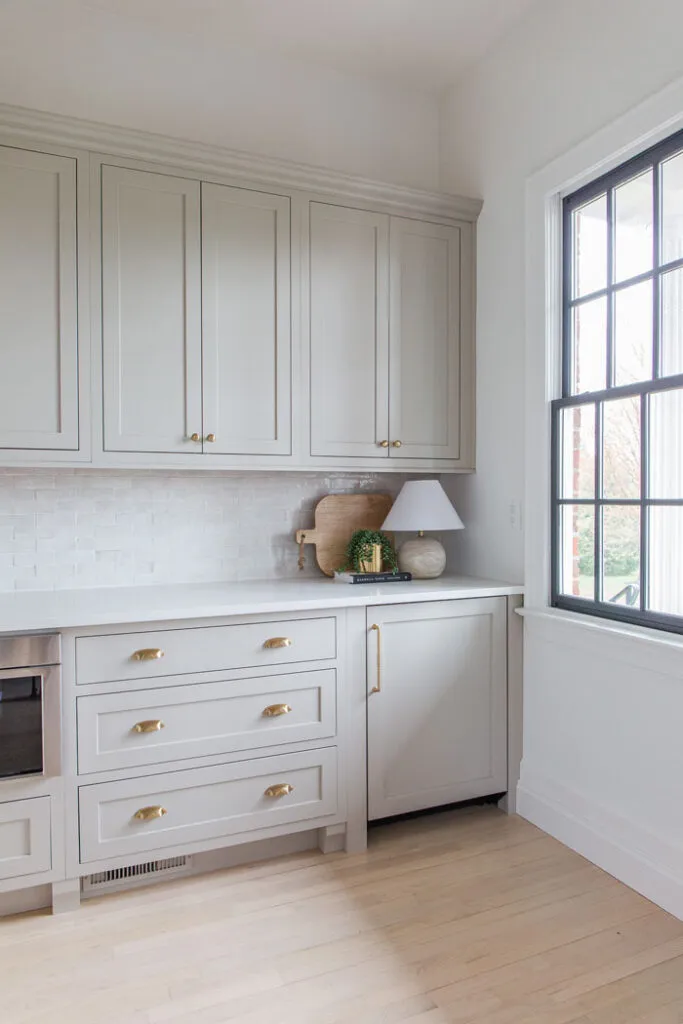
We wanted an elevated look to this pantry – since there is no door to it, we wanted a design that hid as much of our food and equipment as possible, and had a clean, inviting look. We sketched out a design with a built-in hutch on the left wall. The finishes we chose for this pantry renovation are gray and neutral, and the brass hardware and accents compliment them beautifully. You can shop all the items in our pantry here.
Overall, we are thrilled with the end result and how on point the final look was to our original rendering:
Cabinets
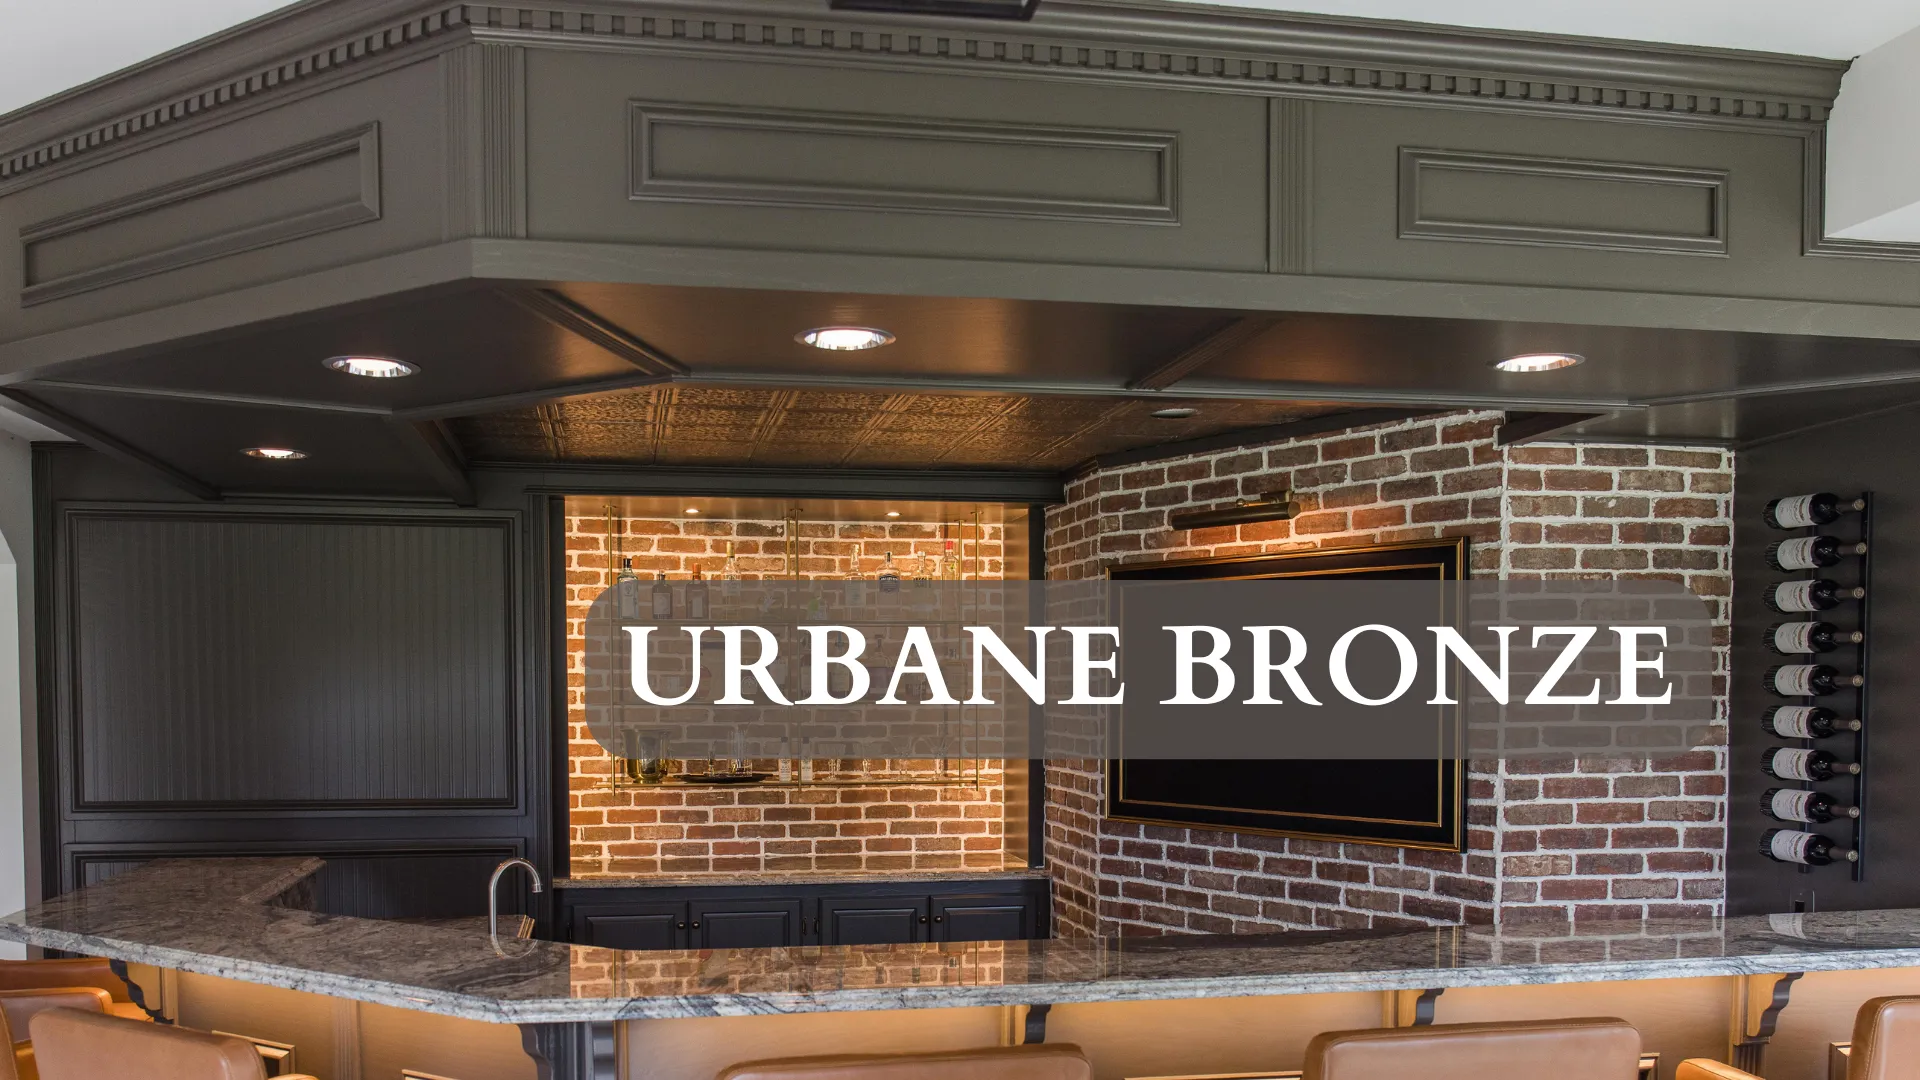
With white cabinets in our kitchen, black in the dry bar, and with the pantry not being a huge space, we wanted to take the opportunity to add a new cabinet color to our home. We opted for the same inset cabinets we used in the dry bar from Cliq Studios (their “Austin” style) but in the color “Urban Stone”.
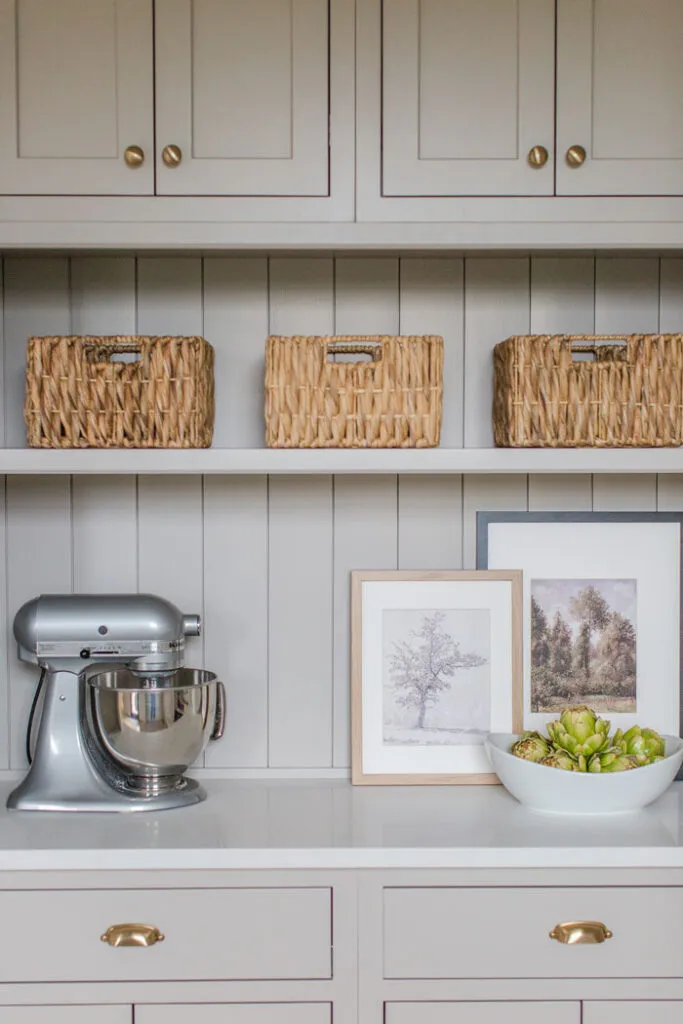
In our design, we wanted to have cabinets line two of the walls in the pantry area. We decided that the back wall would have traditional uppers and lowers (with some custom elements), and the left wall we designed to look like a piece of furniture, specifically a hutch.
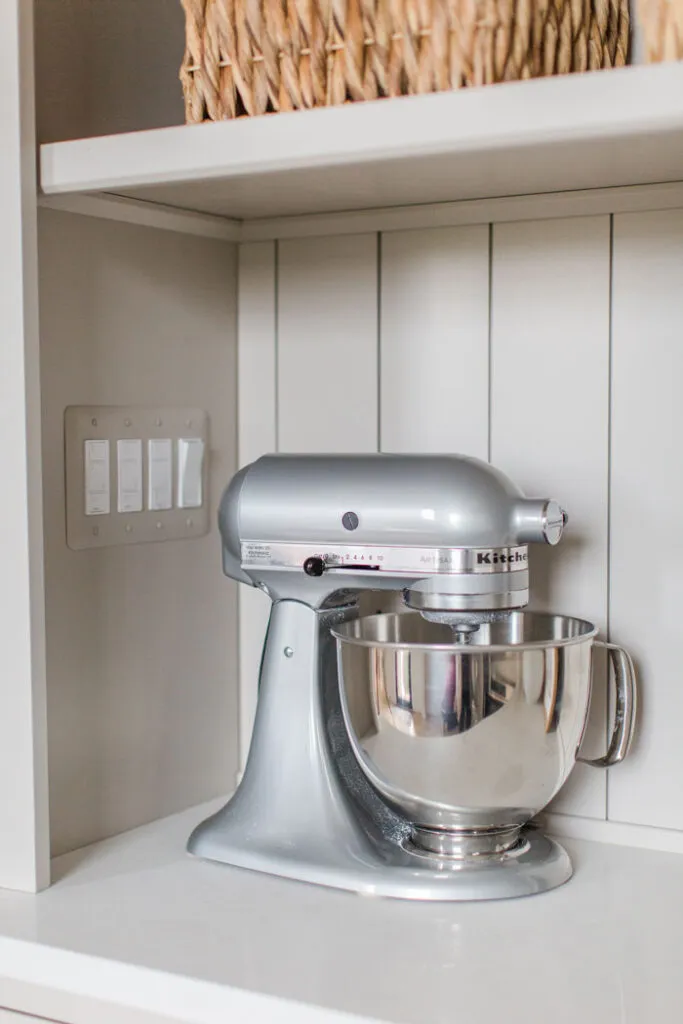
To give the hutch a more furniture feel, we decided to have side panels sit on top of the countertop and also add vertical shiplap to the back to differentiate it from the backsplash. We also added baseboard at the bottom instead of a typical toe kick.
Hardware
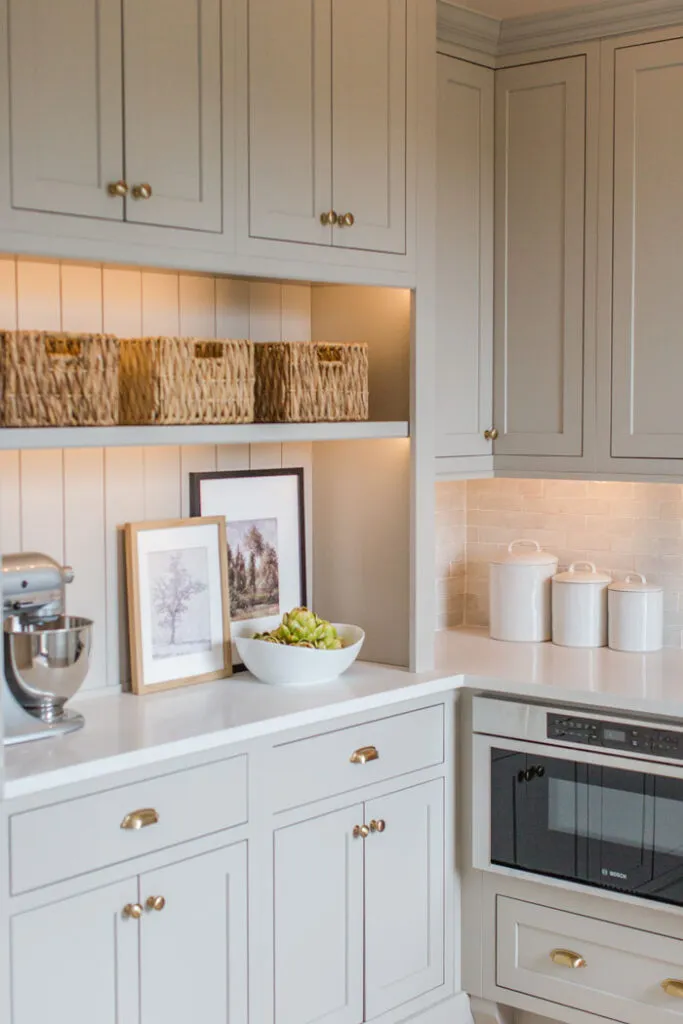
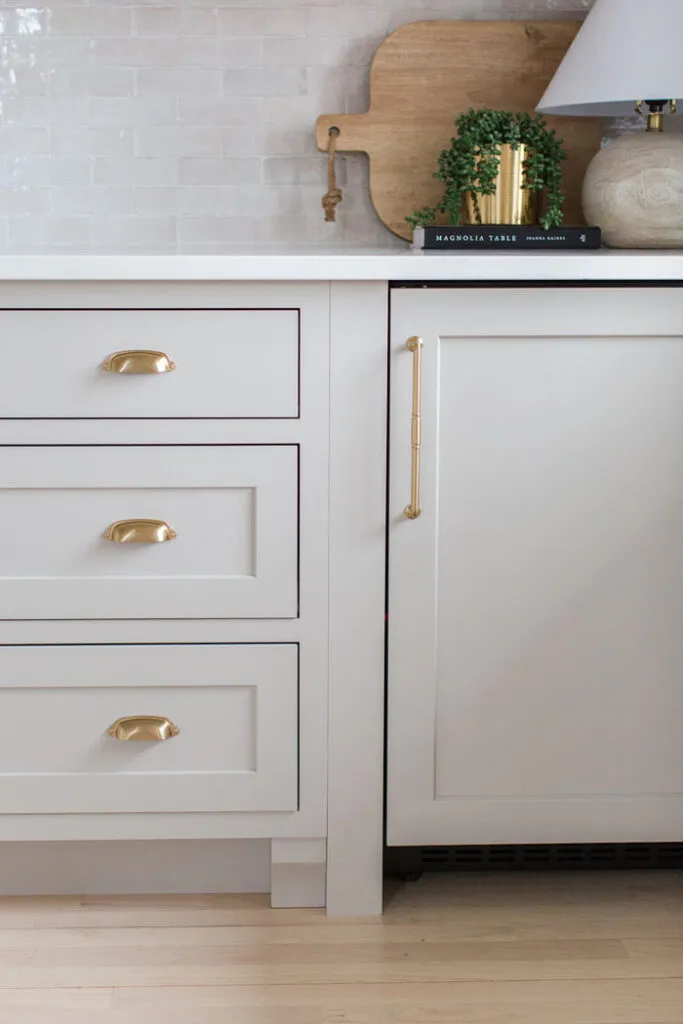
To “class up” the space we went with brass hardware. Just like the dry bar, we wanted to make things a little interesting by going with 3 different styles. It was a challenge finding a hardware company that had the three styles we needed in the brass tone that was not too gold and not too copper. We finally found what we were looking for from Top Knobs! On the drawers we chose cup pulls and for the doors we used knobs. For the drink fridge, we selected a pull handle that has a beautiful decorative edge. All of these are in the finish “Honey Bronze”.
Countertops
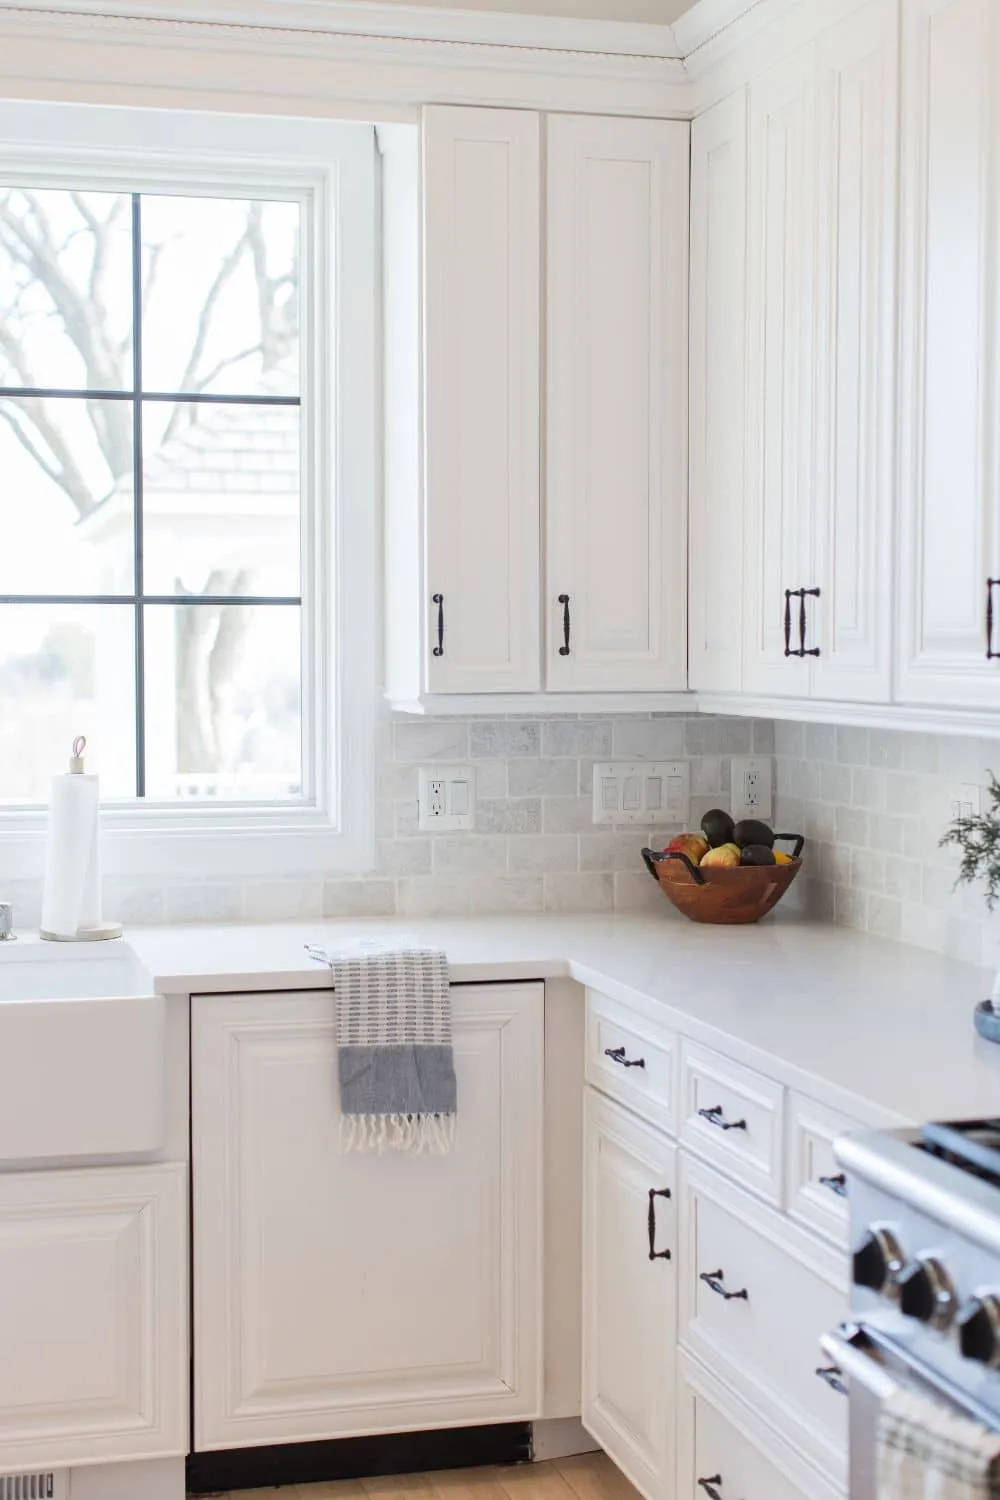
We used the same quartz countertop that we have in our kitchen – Organic White from Caeserstone. This is also what we used in our dry bar, and this helps tie all the cabinet areas together
Backsplash
For this unique space, we used Zelliege tile from Cle Tile in the color “Weather White”. This was a first for us – Zelliege tile is a handmade tile and with the particular tile we chose, while the color is “weather white”, it is actually made up of dozens of shades of white. What is so beautiful about this is that no one tile is alike and when laid out all together, gives the most beautiful and organic backsplash! Installation is a bit tricky since every tile is different, but once you get the hang of it, it all falls into place. The grout is Mapei Unsanded Grout in Avalanche.
Lighting
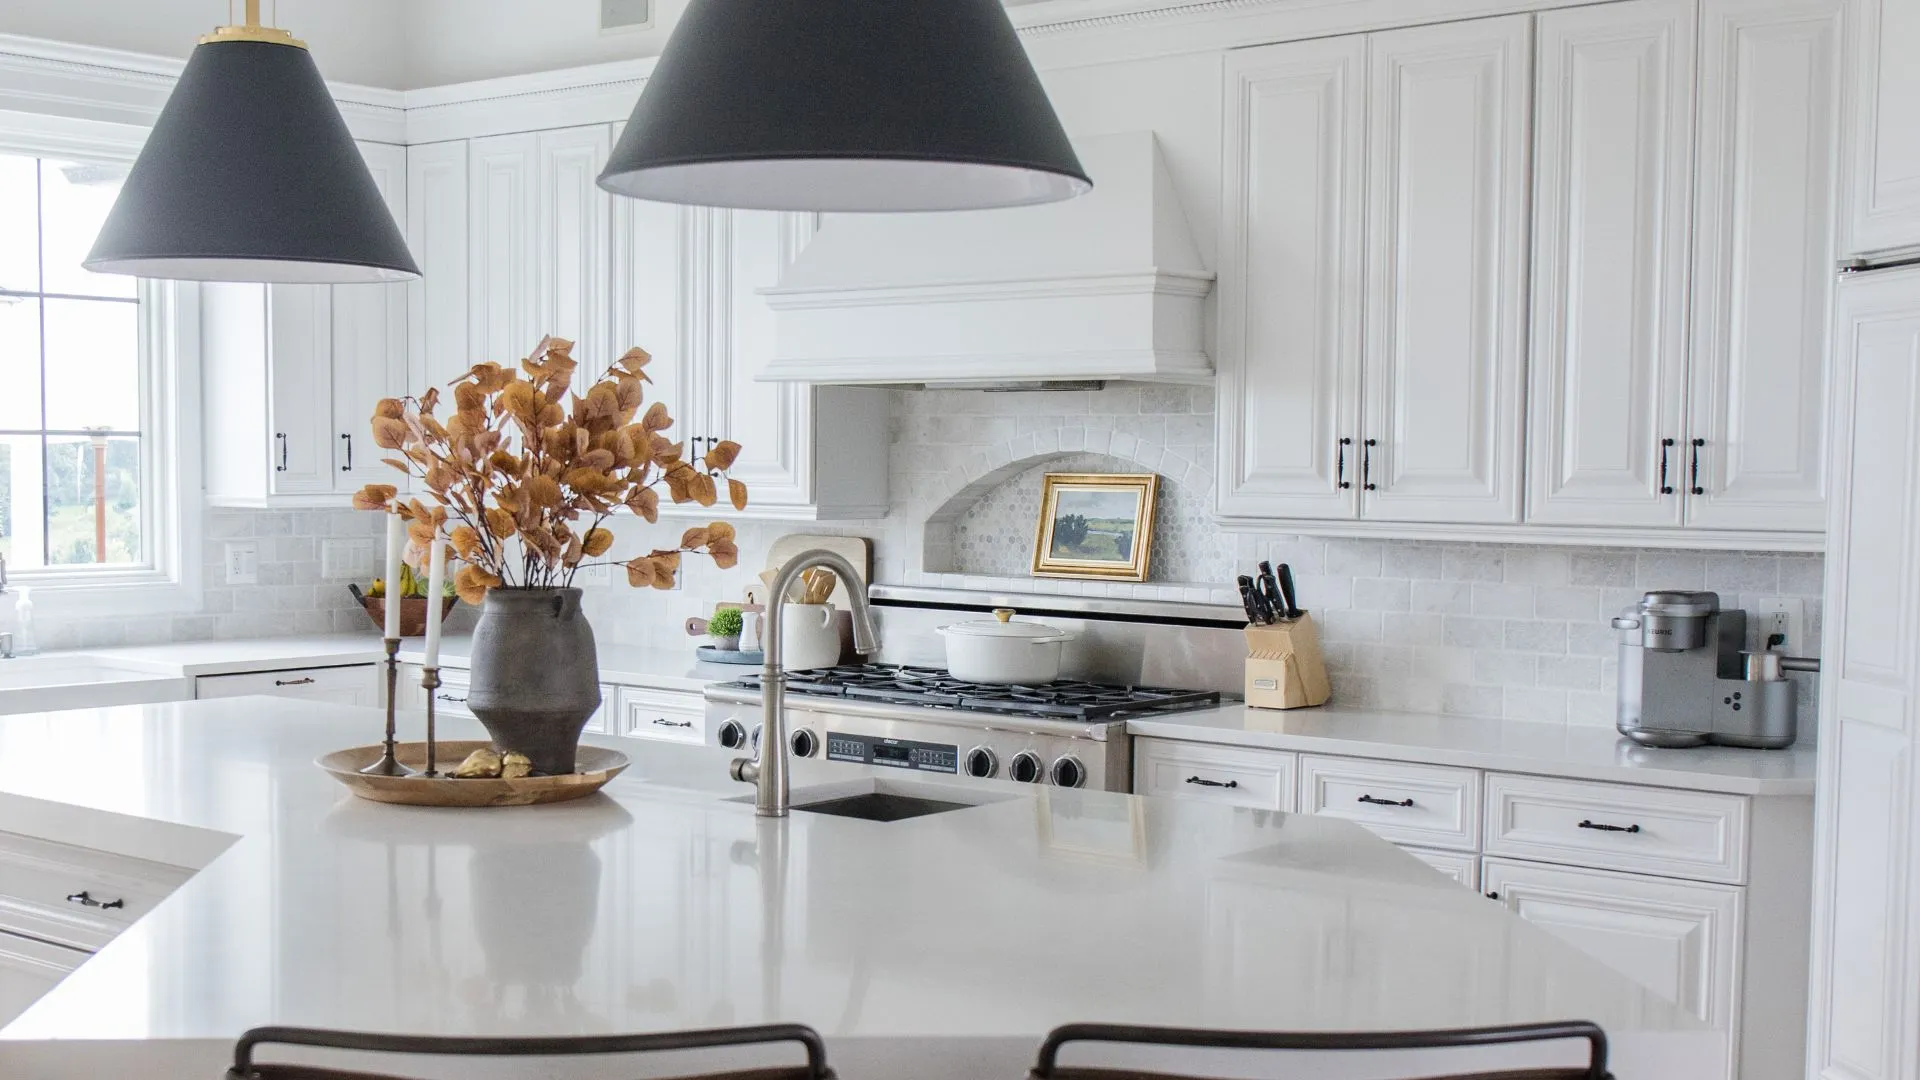
Lighting: Lighting in a space is so important and can make or break the ambience of a room. First, we selected Armacost LED tape lighting for undercabinet lighting and under the shelves in the hutch. We went with the 3000K temperature tape lights, which are a bit whiter than the 2700K tape lights we used in the dry bar. The room already had two 6″ recessed lights, but, once the cabinets were installed they would have been in an awkward placement, so went ahead and moved them to a new location that was more centered to the cabinets. We then swapped out the original baffle and trim with our favorite CREE retrofit LED bulbs (2700K). For an added touch, we decided to install a semi-flush mount chandelier in-between the 2 pendants. The brass on this fixture also ties into the brass on the cabinet hardware. All of our lighting is run through Lutron Caseta dimmers linked to our smarthome system.
Microwave
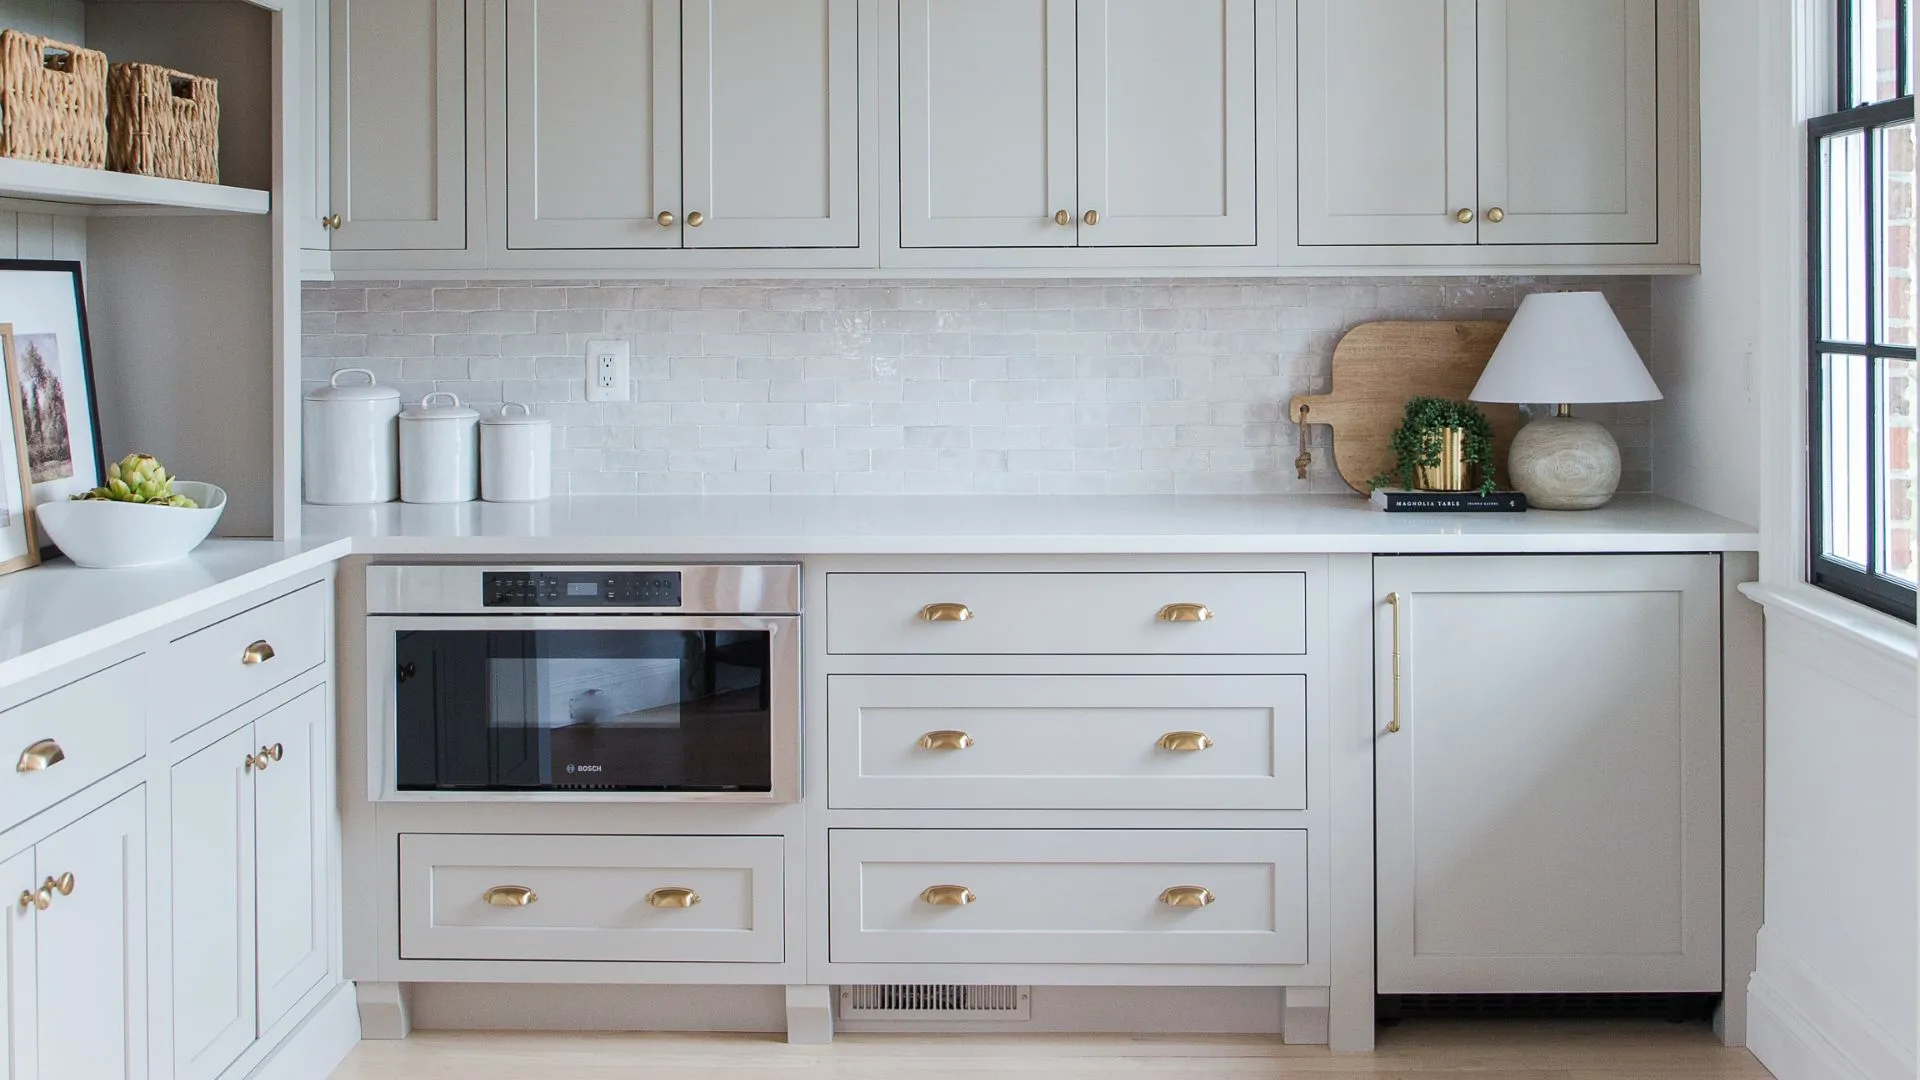
Since there was never a built-in spot for a microwave in our kitchen, it was important we included one in our pantry design. We had a microwave in the island of our previous home and really liked not having it in the upper cabinets (in our direct line of site). We decided to go with the same approach here, and we opted for the under cabinet microwave. However, in our last home, the door was an oven style that opened downwards. This time around we went with a microwave drawer that opens and closes with a touch of a button and so far, we love it.
Drink Refridgerator
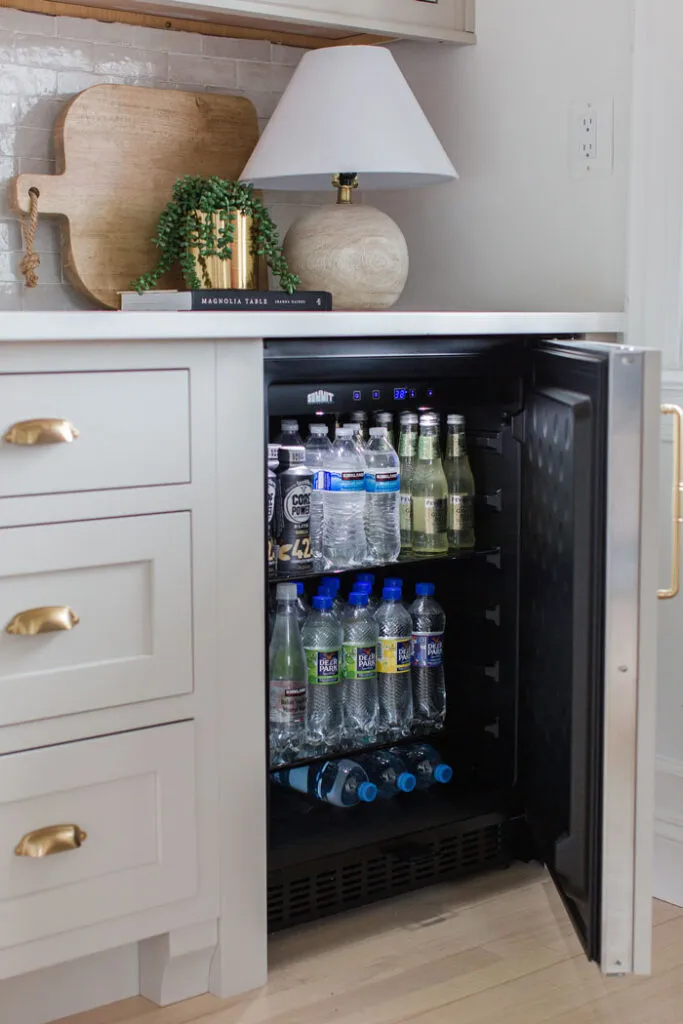
In our pantry renovation, we decided to incorporate a drink fridge. While we drink a lot of water, we also love to indulge in seltzers, protein drinks, and a few other random drinks that were starting to take over our main refrigerator. Because we knew the microwave was going to stand out against the cabinets, it was important to us that the drink fridge looked like the cabinets as to not have appliances dominating the small space. The unit we chose is a 24″ undercabinet panel-ready drink refrigerator and has turned into one of those “we never realized how much we needed this until we had one” items.
Trim and Paint
Against the one wall without cabinetry, we carried the same 2-piece baseboard molding style used throughout the rest of the house. We used McCormick Advantage eggshell paint in “Super White” for the trim and McCormick Matchpoint matte paint in “Super White” for the walls and ceiling. Check out all the paint colors in our home here.
So what do you guys think of our pantry renovation? Do you love it? Would you have changed anything in the design or the finishes? We would love to hear your thoughts – use the comments section below to let us know!
[…] at the end of January 2021. We did this project in parallel with our custom pantry (read the project reveal blog post here) which saved us money on cabinets and material. Overall, we could not be more thrilled with how […]


")

The Comments
Dry Bar Renovation – The Reveal! – Arched Manor
[…] at the end of January 2021. We did this project in parallel with our custom pantry (read the project reveal blog post here) which saved us money on cabinets and material. Overall, we could not be more thrilled with how […]
Microwave Drawer – Should You Consider One? – Arched Manor
[…] purchased a free-standing countertop unit to carry us through until we had the time and budget to renovate the pantry into what it is […]