
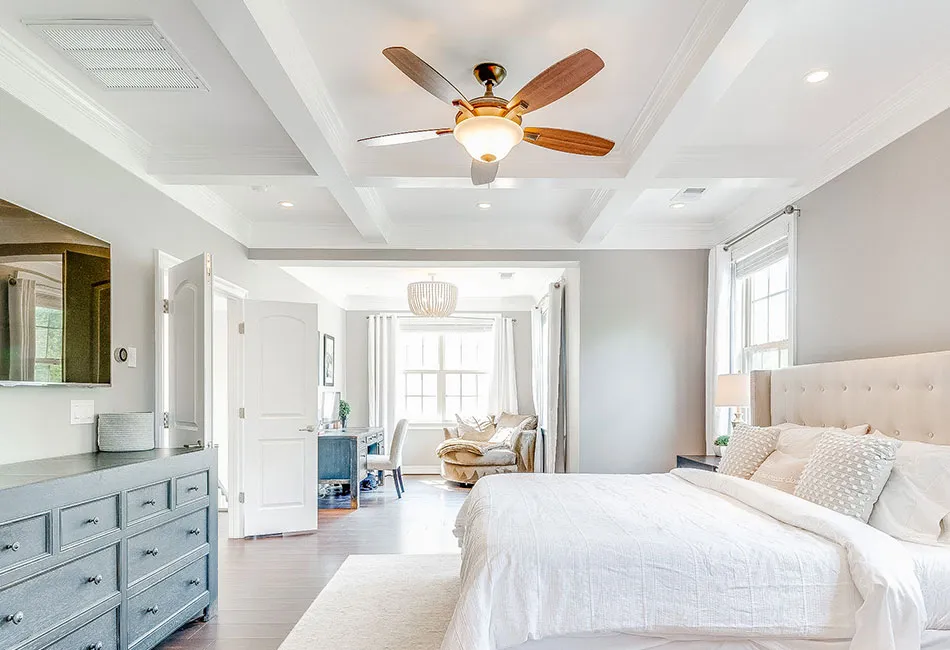
A coffered ceiling is a great way to add depth and visual interest to a naked ceiling. Best part is, you can totally do it yourself and it won’t break the bank! However, like any home improvement project, you must have the right tools for the job. See below for a full list of the tools you will need – many can be rented if you don’t already own them. Be sure to also read the consolidated tips – they may save you time and/or money on your project. The photos below are from our install of a solid wood coffered ceiling in a 15’ x 12’ master bedroom with 9-foot ceilings. This project can be completed in 12 steps as outlined below.
Disclosure: We are happy to share products and links with you! Some of the links in this post are affiliate links and if you use them to make a purchase, we may earn a small commission on the sale. This helps us fund the reoccurring fees and expenses that go along with running a blog site.
1. Choose your Style
Do some research online and choose the style that best fits your home and personal preference. If your home is modern, choose a simple design with minimalistic crown molding. If your house is more traditional, choose molding that matches existing molding in your house, or just choose one that YOU like. Utilize online resource like Pinterest, Houzz, and Google to see what other people have done so that you can hone-in on the look you are going for within your space. For my specific project, I chose a classic box style with standard crown molding.
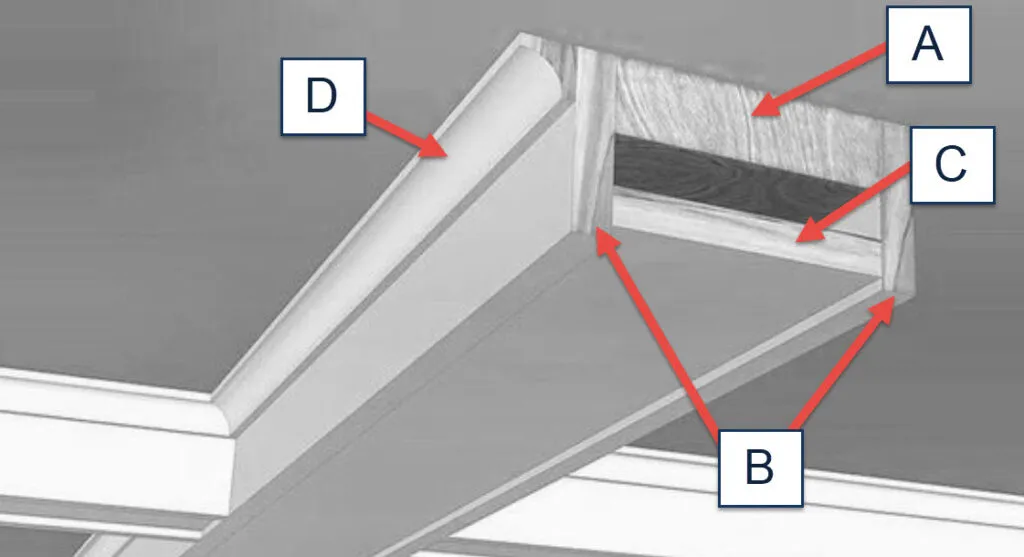
A: Ceiling Supports (I used 2×6 pine)
B: Side Trim (I used 1×6 pine)
C: Face Trim (I used 1×8 MDF planks)
D: Crown Molding (I used 5 inch classic pine)
Note: My design/application varies slightly than what this diagram shows. I chose to secure C to the bottom of B. This gives a cleaner look that is a bit more modern.
2. Analyze Your Room
Physically look at your walls and ceiling and make note of any obstacles or objects. This includes HVAC vents, fire sprinklers, fire alarms, recessed lights, ceiling fans, and any weird angled walls. Also, measure the height of your ceiling. If you have higher ceilings, you have more freedom to consider a “deeper” coffered ceiling. If your ceilings are 7 or 8 feet, you don’t have a lot of vertical space to work with, so you will need a shallow coffered ceiling design that is 5 or 6 inches in depth. If you plan to have recessed lighting within your coffers, make sure to measure to ensure the area has no obstacles and that the lights will be consistently placed within each box.
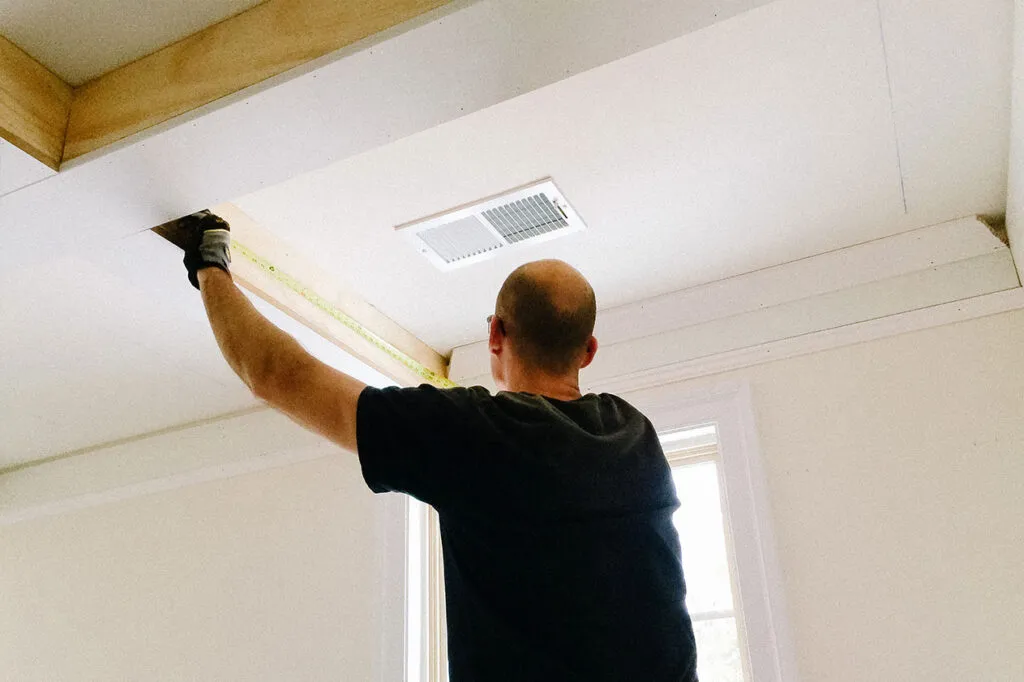
3. Measure and mock-up
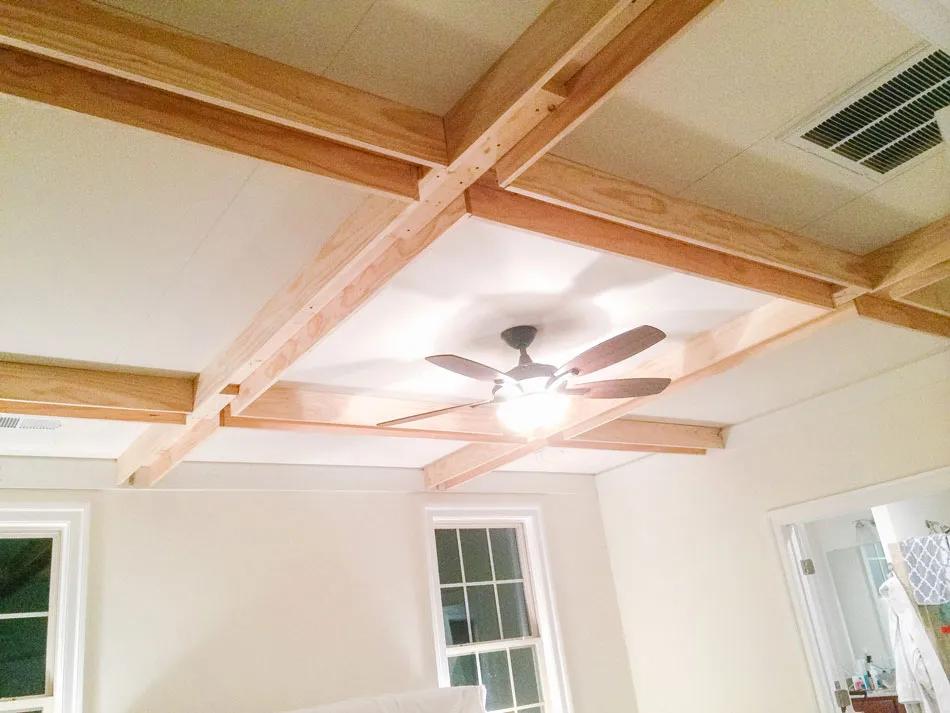
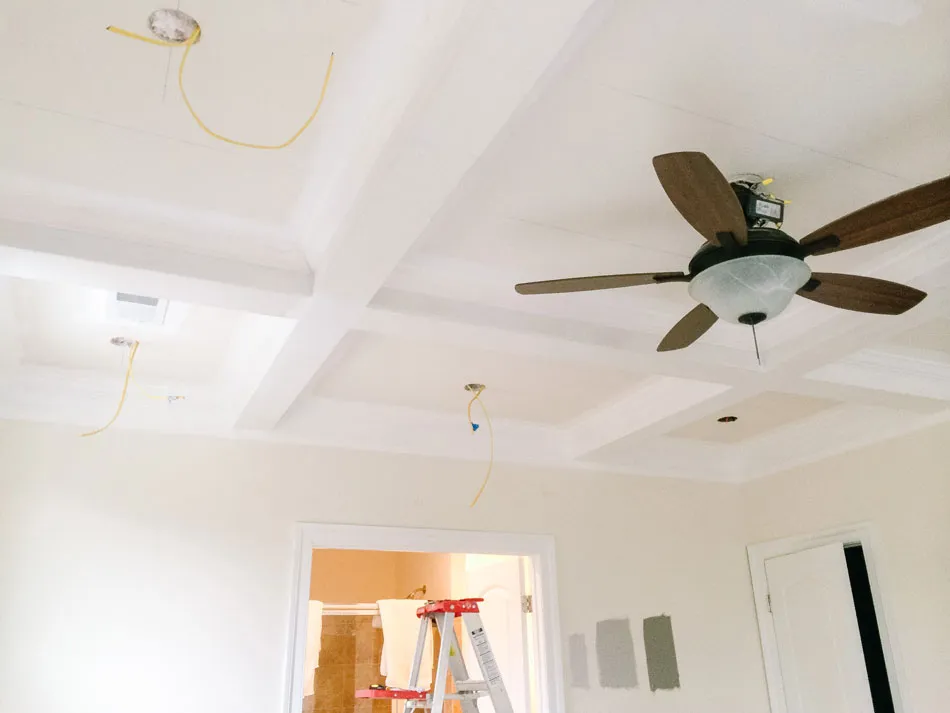
Break out the tape measure and calculate the dimensions of your room. Sketch the layout (including measurements), making sure to include any of the obstacles or objects you noted in the previous step. Now that you have that drawn, mock-up where your beams will go to form your coffers. This will give you a visual of your coffer layout and you can adjust the measurements up or down (bigger coffers vs. smaller coffers) to get your desired look. Keep in mind that the more coffers you have, the more materials you will need and the more cuts you will have to make. This means more money and more time, so keep that in mind during this step. Also, your coffers do not all have to be identical in shape and size. As you can see from the pictures, I adjusted the coffer size/shape to fit around the ceiling fan and HVAC vent. As long as your design is mirrored correctly for each side of the room, it will be visually balanced when looking at it.
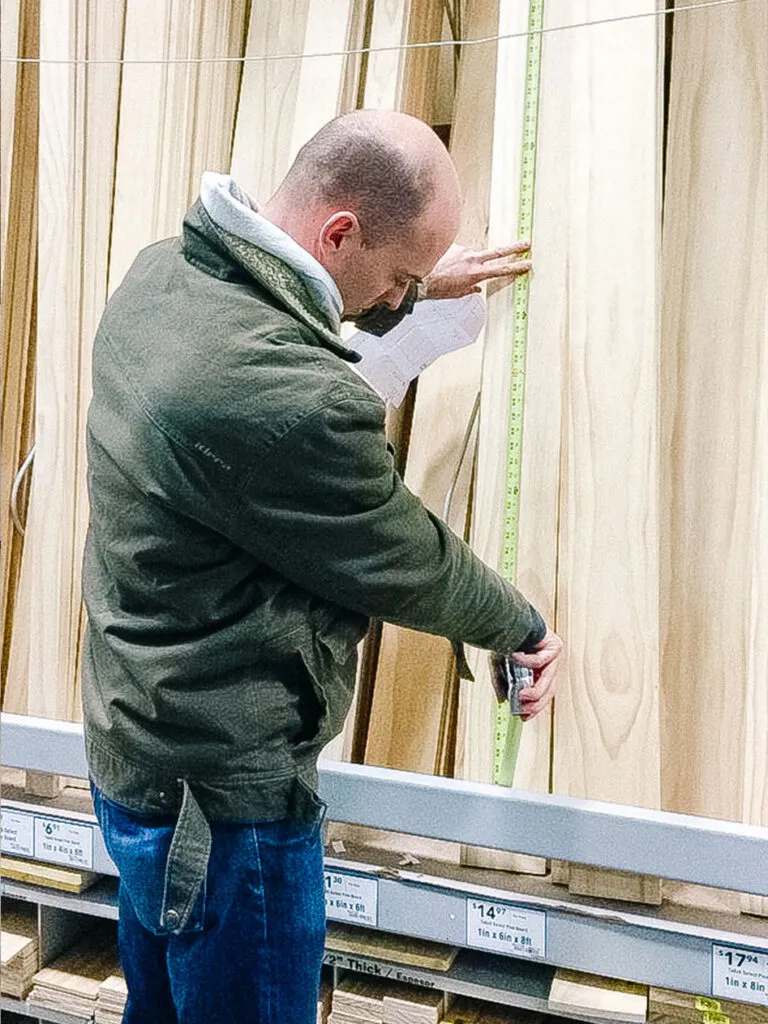
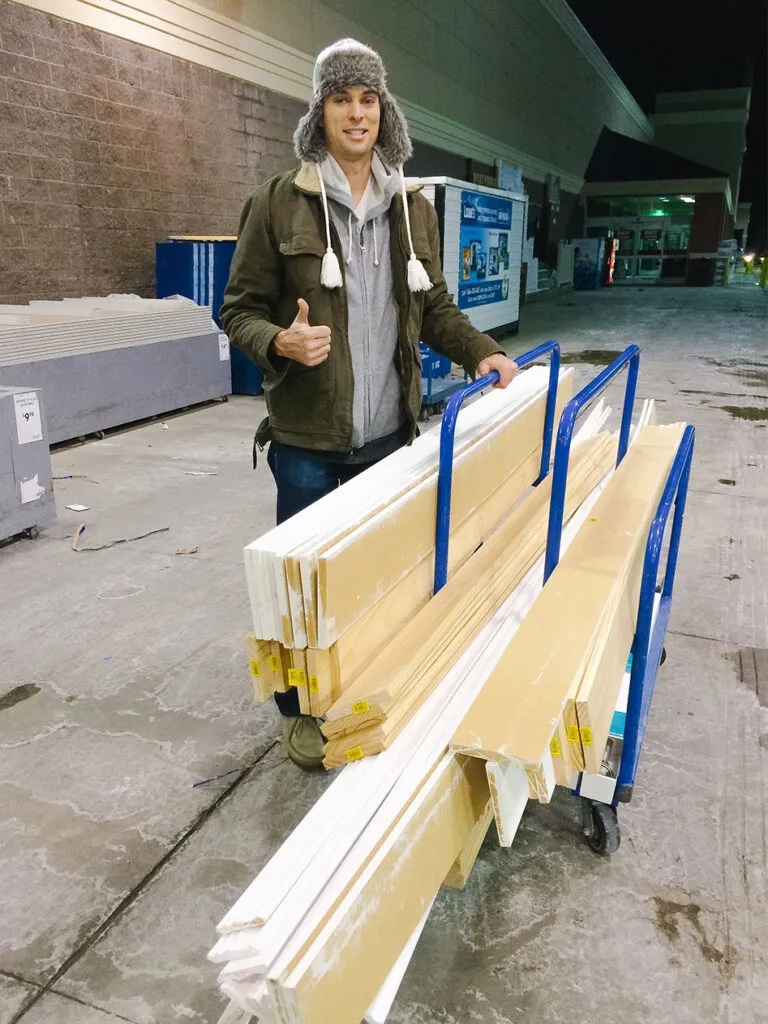
4. Buy the materials
Once you have your design finalized and your measurements established, you can figure out how much wood and trim to buy. You can either order this online from a supplier, or head to your local Lowes or Home Depot to purchase yourself. I prefer physically going to a store to select my wood and trim so that I know I am buying quality pieces of wood that are straight and “ding free”. Make sure to pick up any tools or supplies you need (full list is at the bottom of this post). One big decision you will have is whether to use real wood or MDF. I recommend using real wood (pre-primed if available) for most (if not all) of the coffered ceiling. MDF will work, but real wood has more structural integrity than MDF and for a project like this where wood is literally hanging from the ceiling, you want it to be as strong as possible. For those with a sharp eye, you will notice that I used MDF for the face trim (C) of the coffers – this was because the MDF planks were offered in much greater lengths than real wood, which meant I could run one plank from edge to edge of my room. This gives a cleaner look since there are less cuts/seams on the face trim.
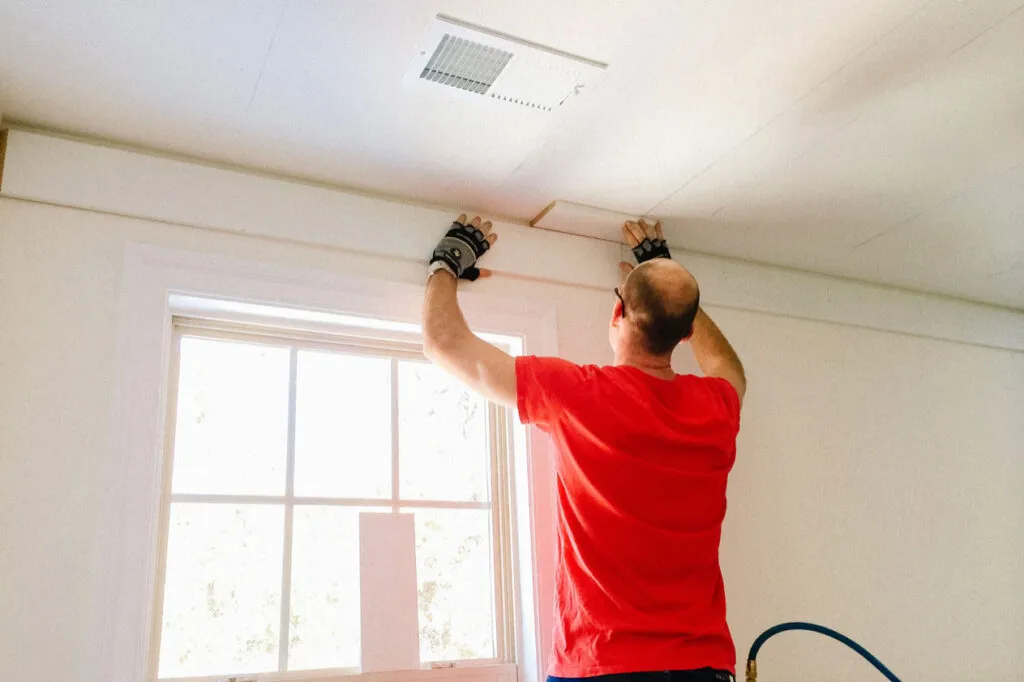
5. Prep the Room
Remove all obstacles from the room, take down pictures on the walls, and lay down plastic tarps on the floor and furniture. Use a stud finder to mark all the ceiling joists behind the ceiling drywall and the wall studs on the outer perimeter of the ceiling. Snap a chalk line on each ceiling joist so you know where to drill later (important). Measure and mark where the ceiling supports (A) will go (snap a chalk line) and mark where your recessed lights will be (if you are installing them). Now is a great time to check your recessed light placement to ensure that there are no obstacles in the ceiling (or attic) that would prevent you from installing a recessed light can (pipes, HVAC, or other random things). If that happens, you may have to adjust your coffered ceiling layout to accommodate your obstacles.
6. Install perimeter trim
Some coffered designs do not have trim around the border of the room, which is fine. However, I prefer the classic look of having every box in your coffered ceiling be consistent, which is why I installed a trim piece around the edge of the room to match the height of the coffers (this is important). Use a finish nail gun along with an air compressor to fasten the trim piece to the wall, being careful to nail into the wall studs you marked previously.

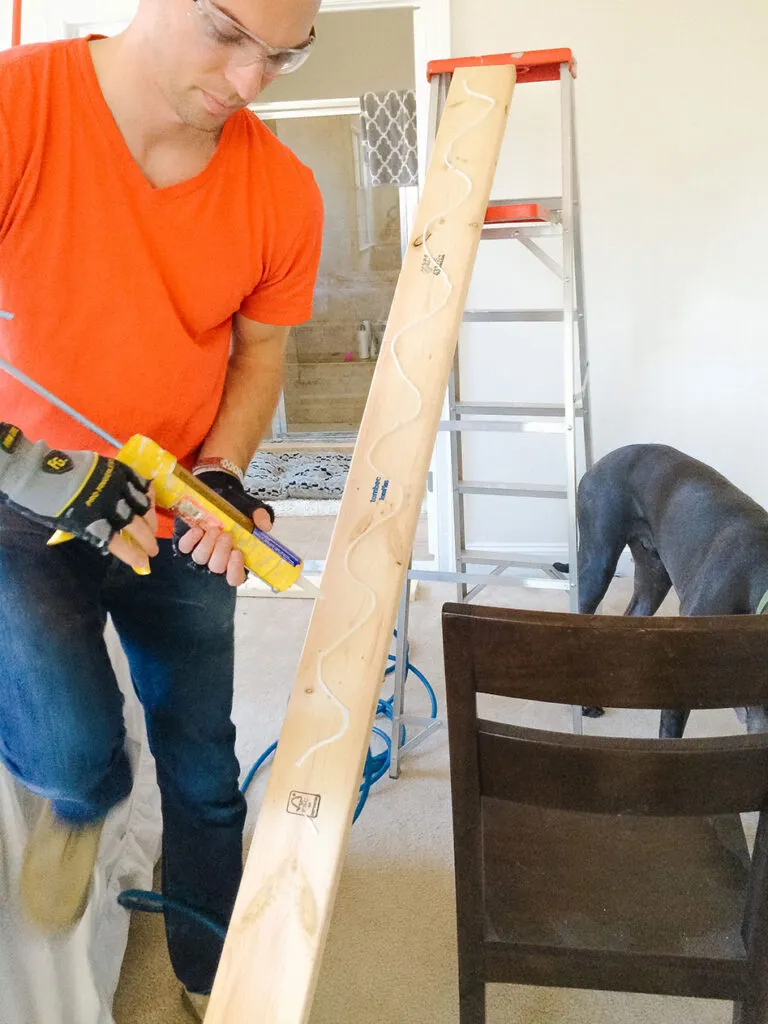
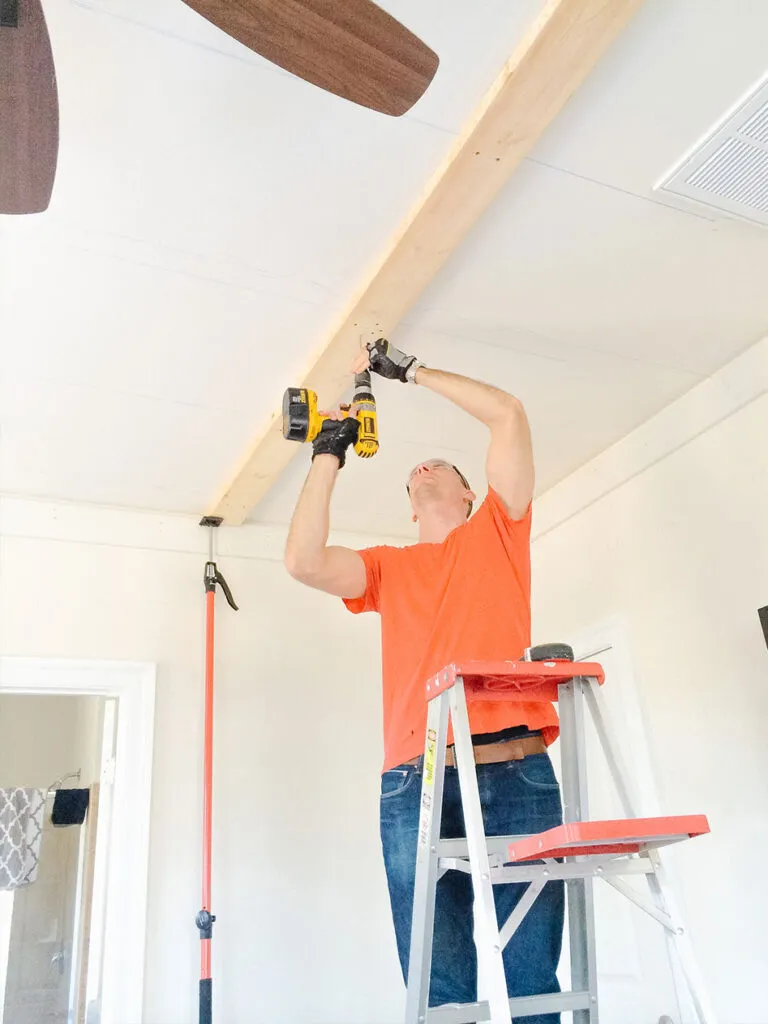
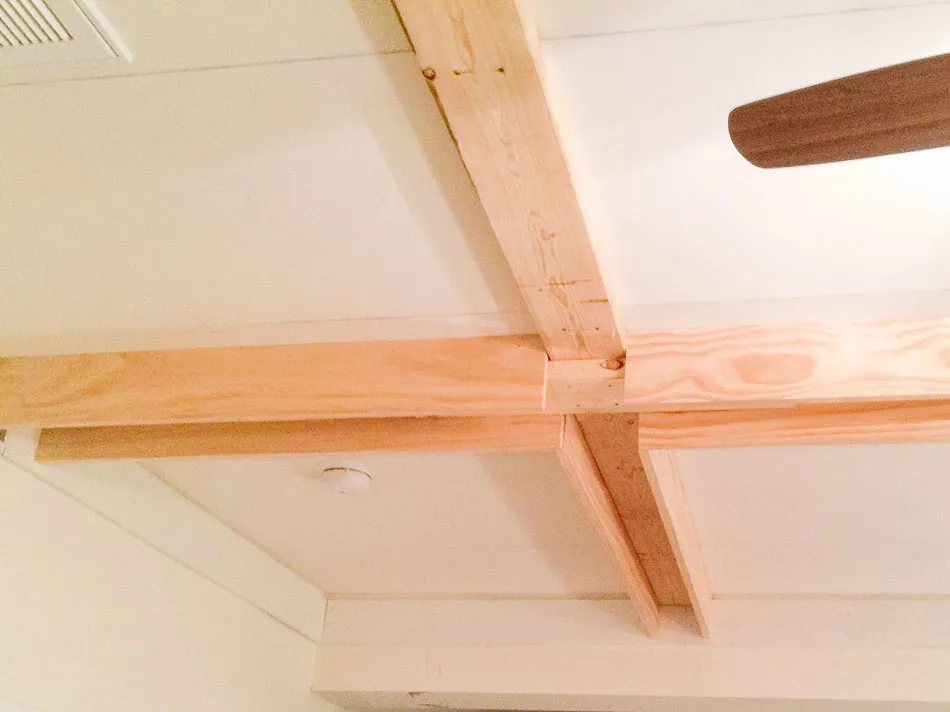
7. Install the Ceiling Supports
Use the chalk lines you snapped on the ceiling and secure the ceiling supports (A) to the ceiling using both construction adhesive and 5-inch screws. Drilling small pilot holes for the screws will make it easier to drive these large screws into the supports, drywall, and ceiling joists. Make sure to screw ONLY into the ceiling joists you marked with a chalk line. This is a critical step and will prevent your coffered ceiling from falling off your ceiling. I highly recommend using the 3rd Hand Heavy-Duty Support Tool. This will allow you to place the beams exactly where you want them (using pressure) so that your hands will be free to screw the beams without having to also hold up the weight of the beam.

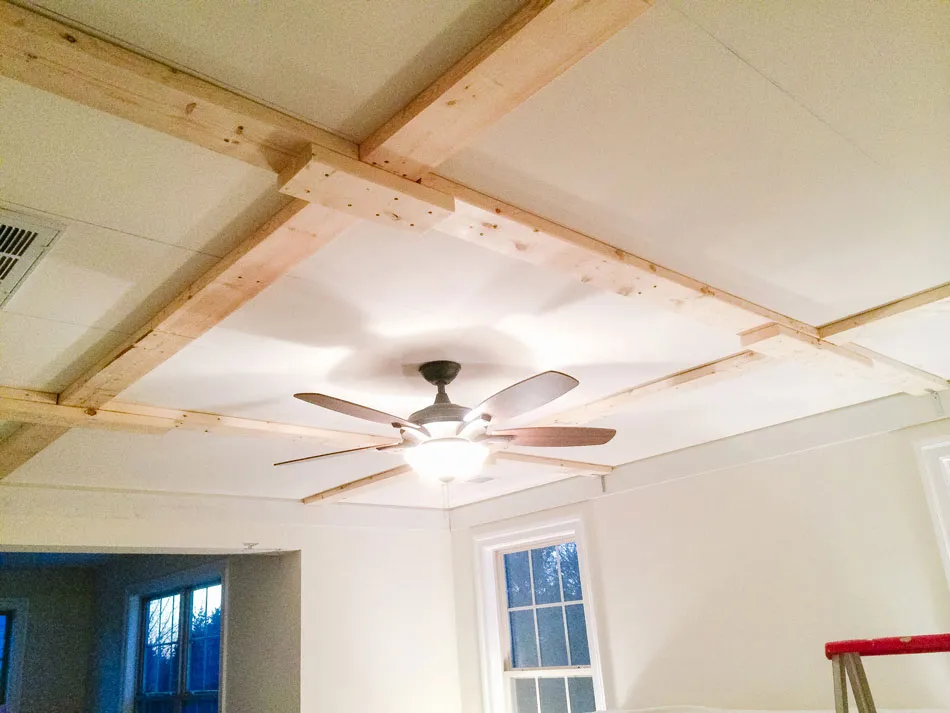
8. Attach the Side Trim
Once the ceiling supports (A) are secured to the ceiling, cut the side trim (B) to fit the outside of the ceiling supports (A). This will form the coffered boxes. Using construction adhesive and a finish nail gun, secure the side trim (B) pieces to the ceiling supports (A). Don’t worry about making these plum (vertically level) at this stage – this will happen later when the face boards (C) are attached.
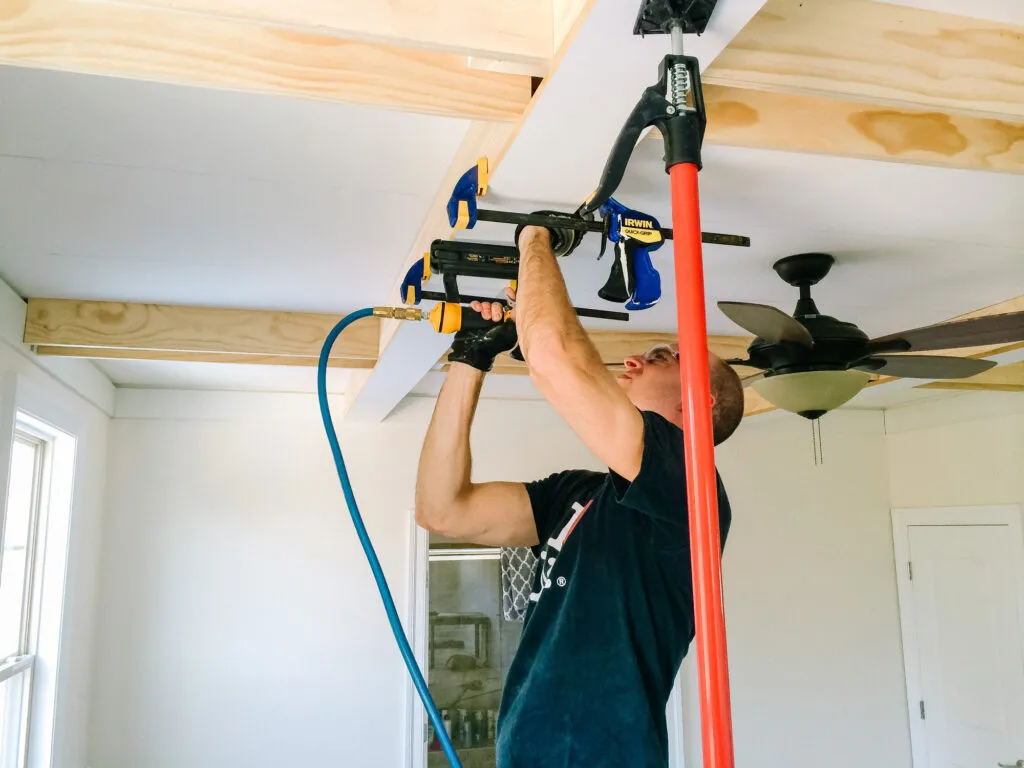
9. Attach Face Trim
For the face trim (C), cut the first piece to fit the longest span possible. Apply construction adhesive to the bottoms of the side trim (B) in this span and use the 3rd Hand Support Tool to keep the face trim in place (vertically) while you use trigger clamps to secure it horizontally. Once in place, use a finish nail gun to secure the face trim (C) to the side trim (B). You can work your way down the span doing this (unless you have a ton of trigger clamps). Do the same process on all the parallel sections of your coffers so that the seams will be consistent throughout. Once the parallel sections are done, move to the adjacent sections and do the same process. These will be easier to secure to the ceiling since the face trim pieces are shorter than your longer spans.
10. Install crown molding
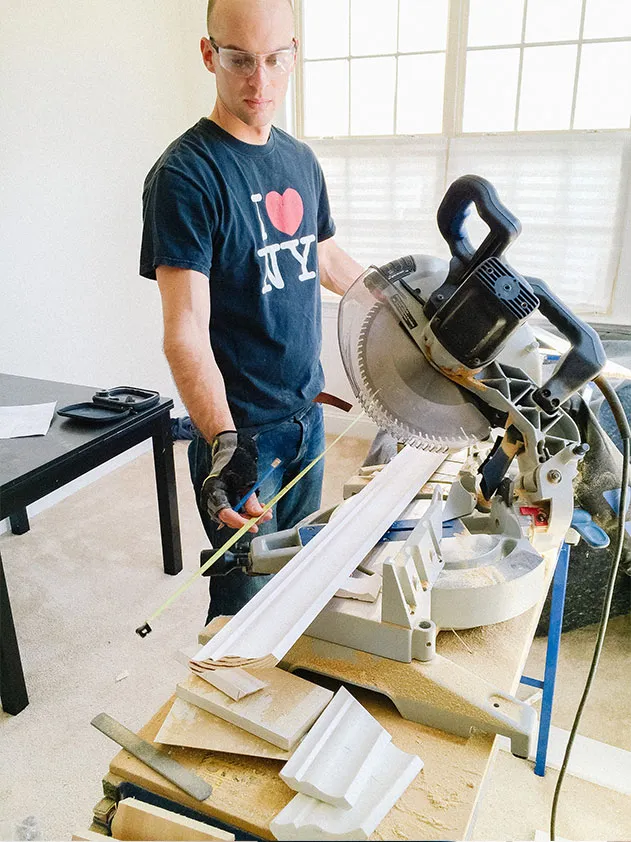
In each coffer, install crown molding (D) using a finish nail gun (no need for construction adhesive here). This can be a tedious process because of the large number of cuts, so make sure you allow yourself enough time to get the job done right. Also, I highly recommend using a compound miter saw – it makes cutting crown molding much easier than using a traditional miter saw. In addition to the crown, I also installed a small piece of base cap molding, flipped upside down, under the perimeter trim. I secured this to the wall using a finish nail gun.
11. Caulk and Fill Holes
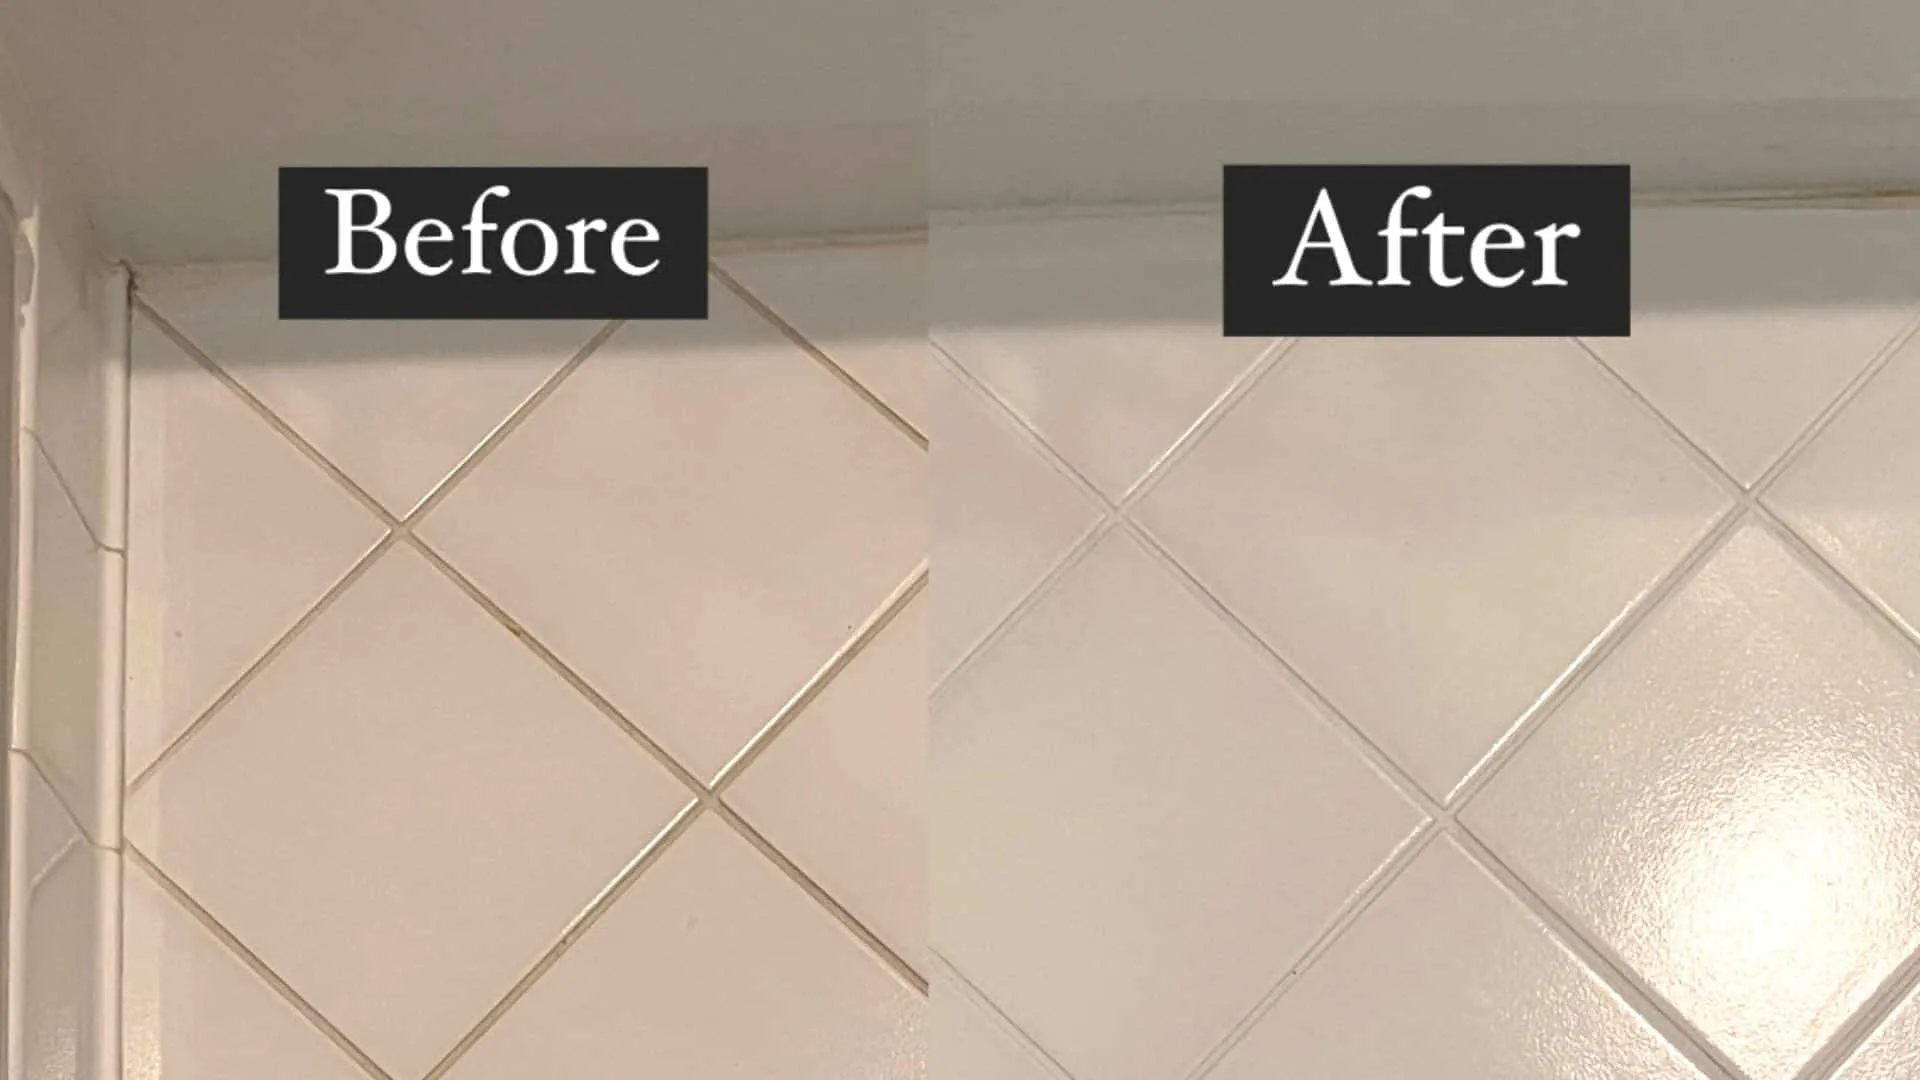
For the nail holes, use wood filler, not caulk. Using caulk is quicker but does not give you a flat fill – caulk expands and contracts with temperature and humidity. Filling the holes with wood filler and sanding will give you the permanent flat fill so that you won’t be able to tell there was a nail hole at all. Next, caulk all the seams using a high-quality caulk. The cheaper caulk options tend to crack with temperature change, so invest the extra money now to buy the premium caulk to avoid having to re-caulk and repaint down the road.

12. Paint
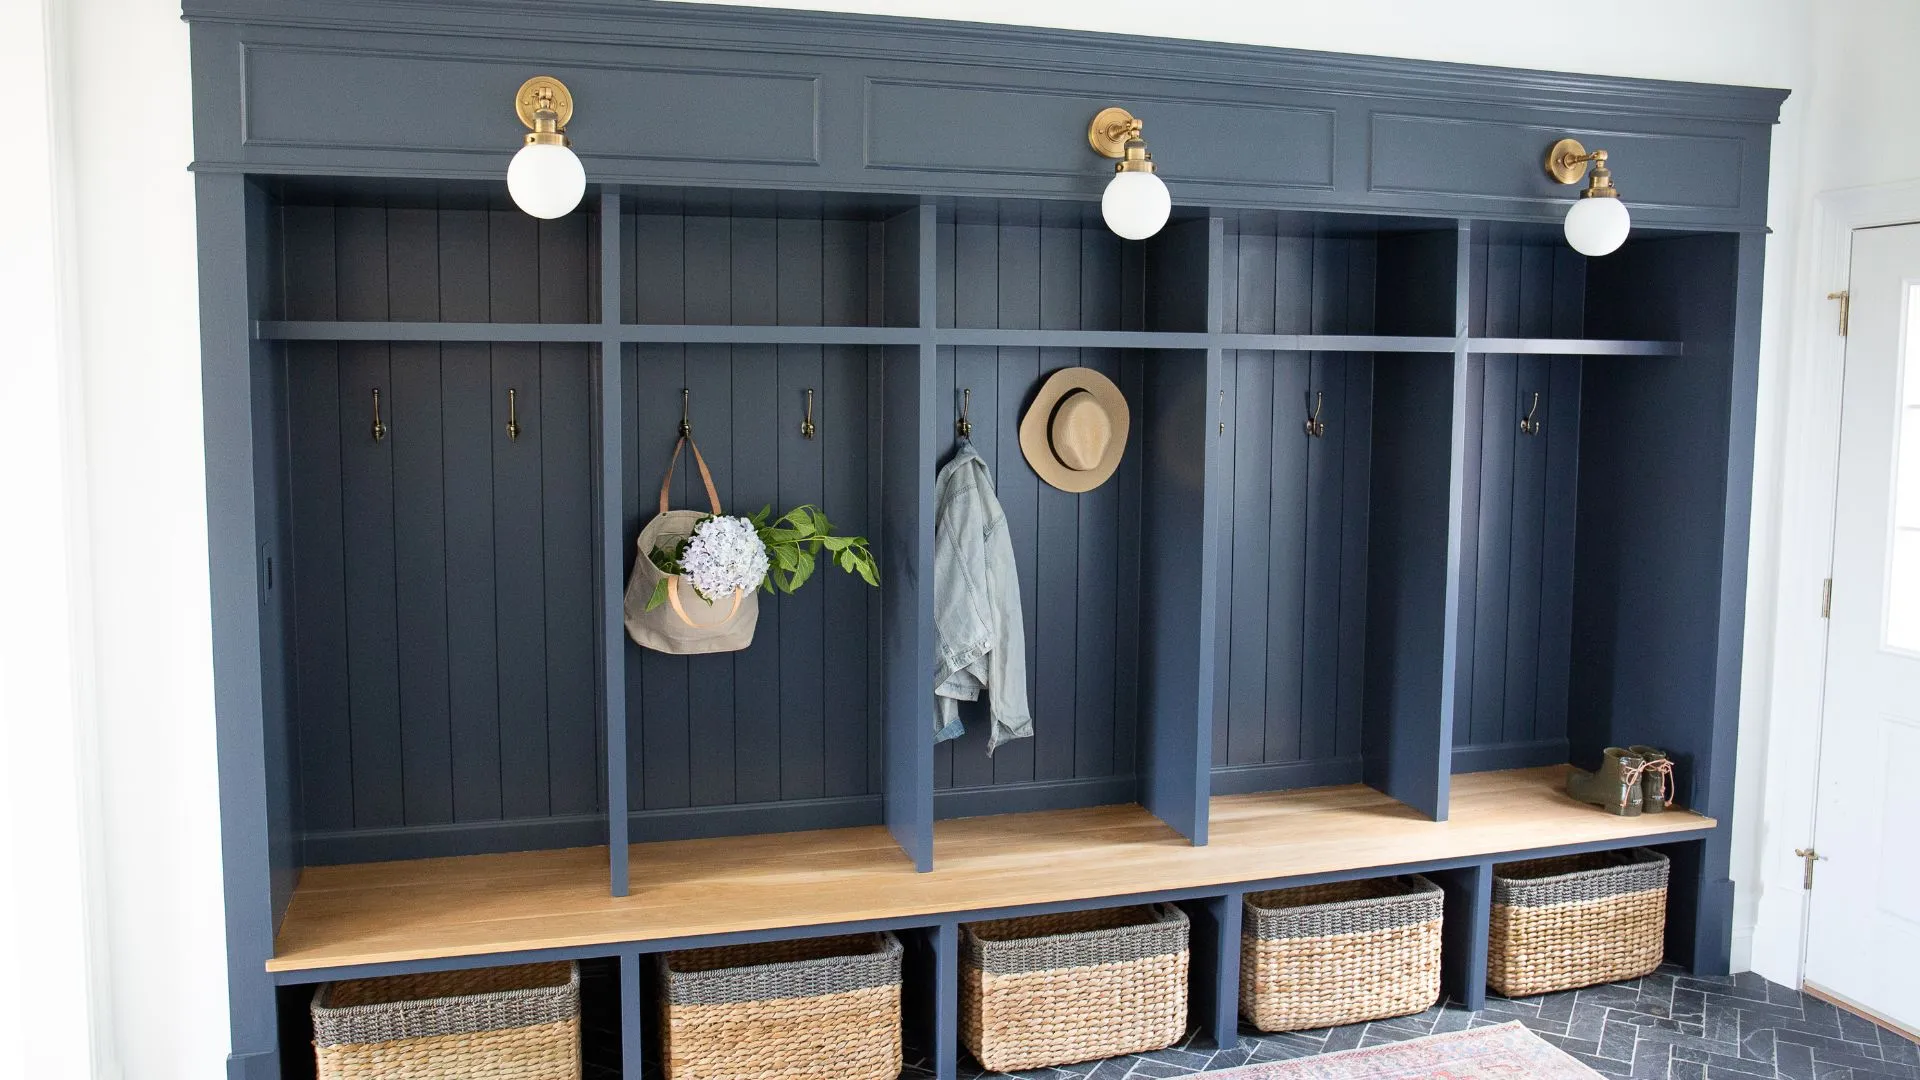
The last step is to paint everything! Make sure to prime any bare wood before applying paint. Choose your paint color and sheen to match the look you are going for. Some people like to paint the ceiling a solid, darker color with the coffer trim painted white. This gives the appearance of more depth and is definitely a bolder look. For this project, I chose to paint everything white, which gives a classic, consistent look that matches the style of the home. I used a white semi-gloss interior paint and applied two coats using a combination of a brush and a small roller. If you are also installing recessed lights, now is the time to install them (once the paint is dry). Now step back and admire the beautiful coffered ceiling you just installed!


Tips
- If you are on a tight budget, consider a coffer layout that uses larger coffers. This will reduce the amount of material you need.
- Physically look at each piece of wood you buy to ensure it is straight and free from dings or imperfections.
- If available, buy wood that is pre-primed. This will save you time down the road since you don’t have to prime the bare wood.
- Invest in either buying or renting the tools you need for this job. Not having the right tools may cost you valuable time and may affect the quality of the installation and final product.
- Ensure the ceiling supports are secured to ceiling joists (behind the drywall) and you use a screw that is long enough to penetrate through the drywall and into the joist.
- If you are installing recessed lighting, measure and mark exactly where they will go on the ceiling. Use a drill and make a hole in the center of where the circular can will go. Use a flattened coat hanger and bend one side to the dimension of the radius if your light. Insert it into the hole and move it upwards – if you feel any obstructions, you may need to adjust the light placement or the ceiling coffer placement.
- Use wood filler to fill nail holes (do not use caulk).
- For the trim seams, invest the extra money now to buy premium caulk to avoid having to re-caulk and repaint down the road
Tools & Supplies
[gkit id=26]


")
