
We were excited to score a used console table off of Facebook Marketplace. It had wear and tear on it, but we were intentionally looking for an inexpensive piece of furniture for us to makeover – thankfully this one had good bones and we were excited to get started this mission of refinishing a console table!
Here are the steps we took to refinish the table to the look we wanted, as well as some tips we learned along the way (and things we would have done differently). Also, check out our ‘Decor Rehab’ highlight on Instagram to see more pictures and video feed of the project.
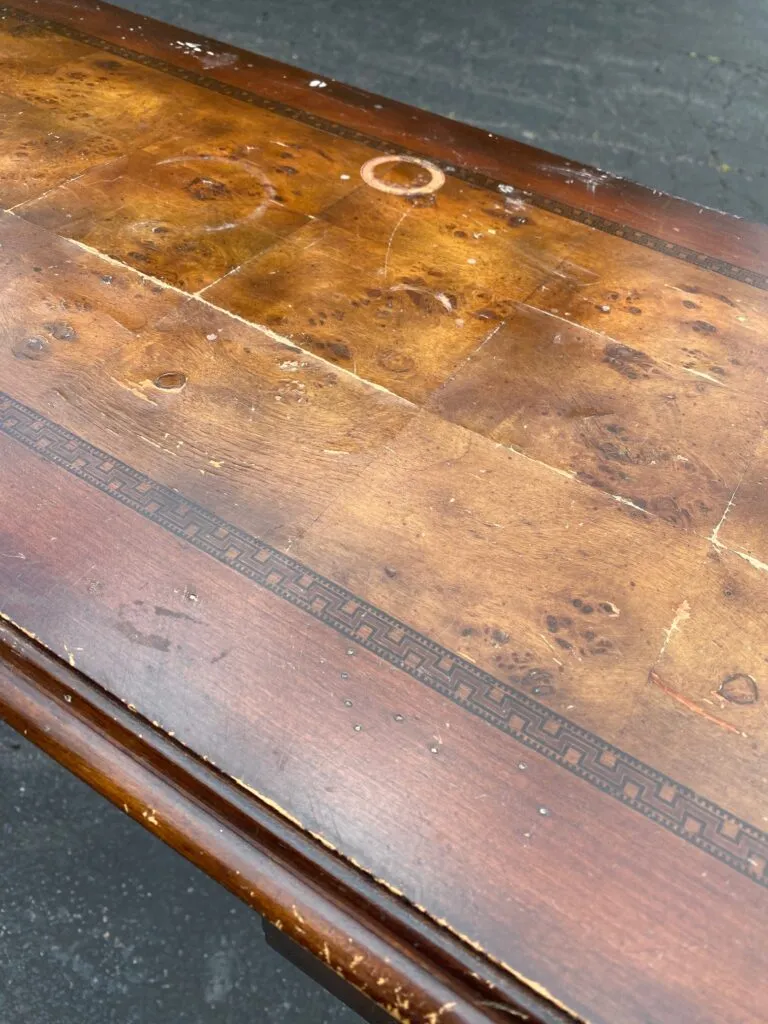
Here is what the table looked like it when we bought it:
Wood Filler
Once we were done sanding, we noticed that there were a few small holes and seams that needed to be filled in or they would have been noticeable once the table was painted. We filled these imperfections with wood filler and once dry, gave it a light sanding to ensure everything was smooth.
Primer
Before applying the primer, it is important to give the the console a thorough wiped down, especially because there may be a lot of debris from all of the sanding. Applying primer to a clean surface allows it to adhere better and will provide a stronger finish. We used one coat of the Zinnser Bullseye 1-2-3 primer, which is a premium primer that can be applied over bare, stained, or painted wood.
Paint
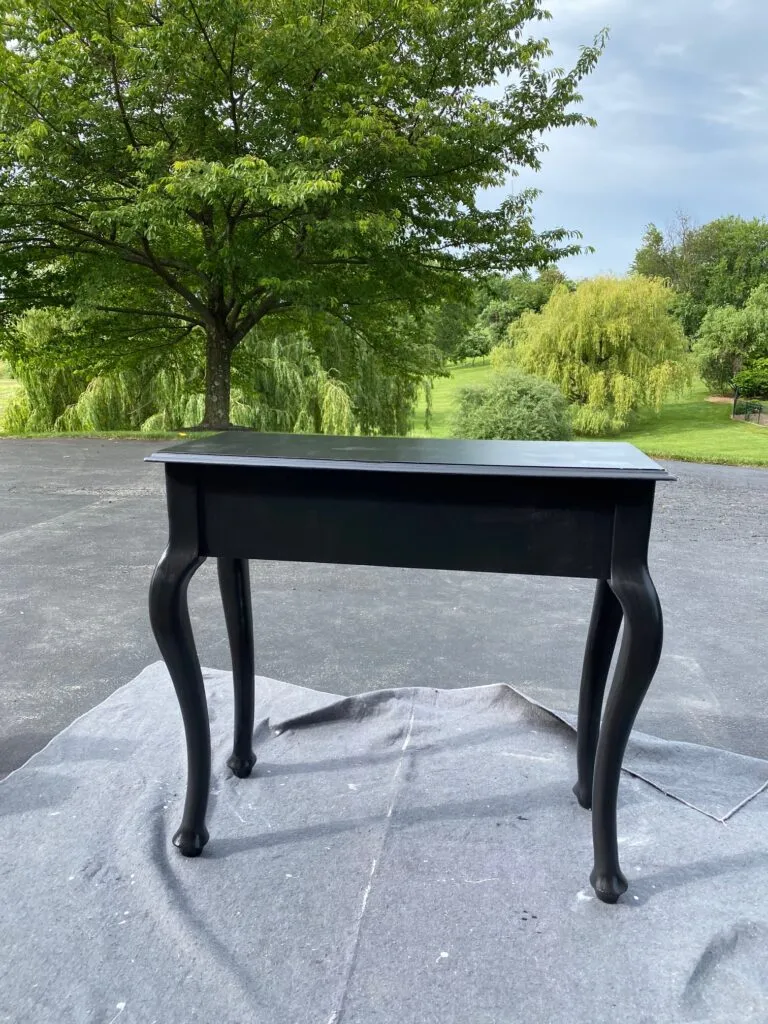
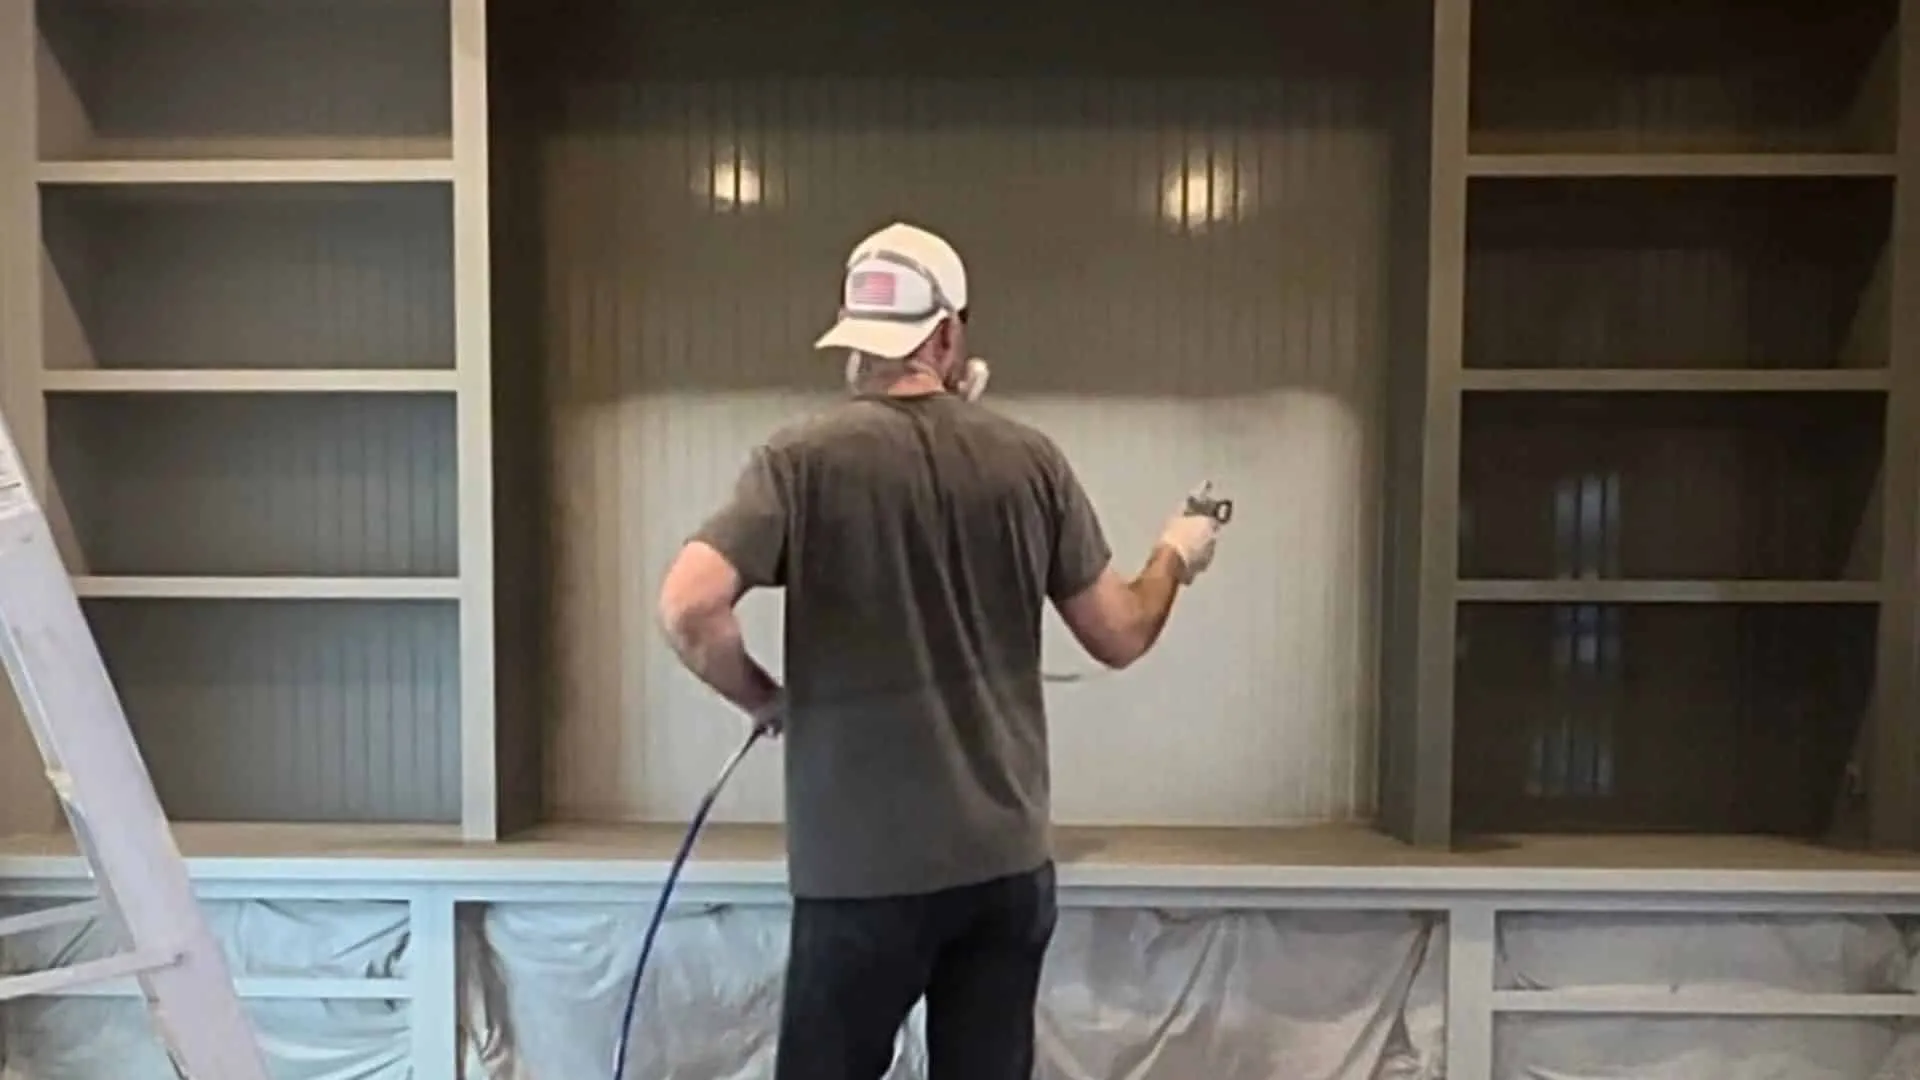
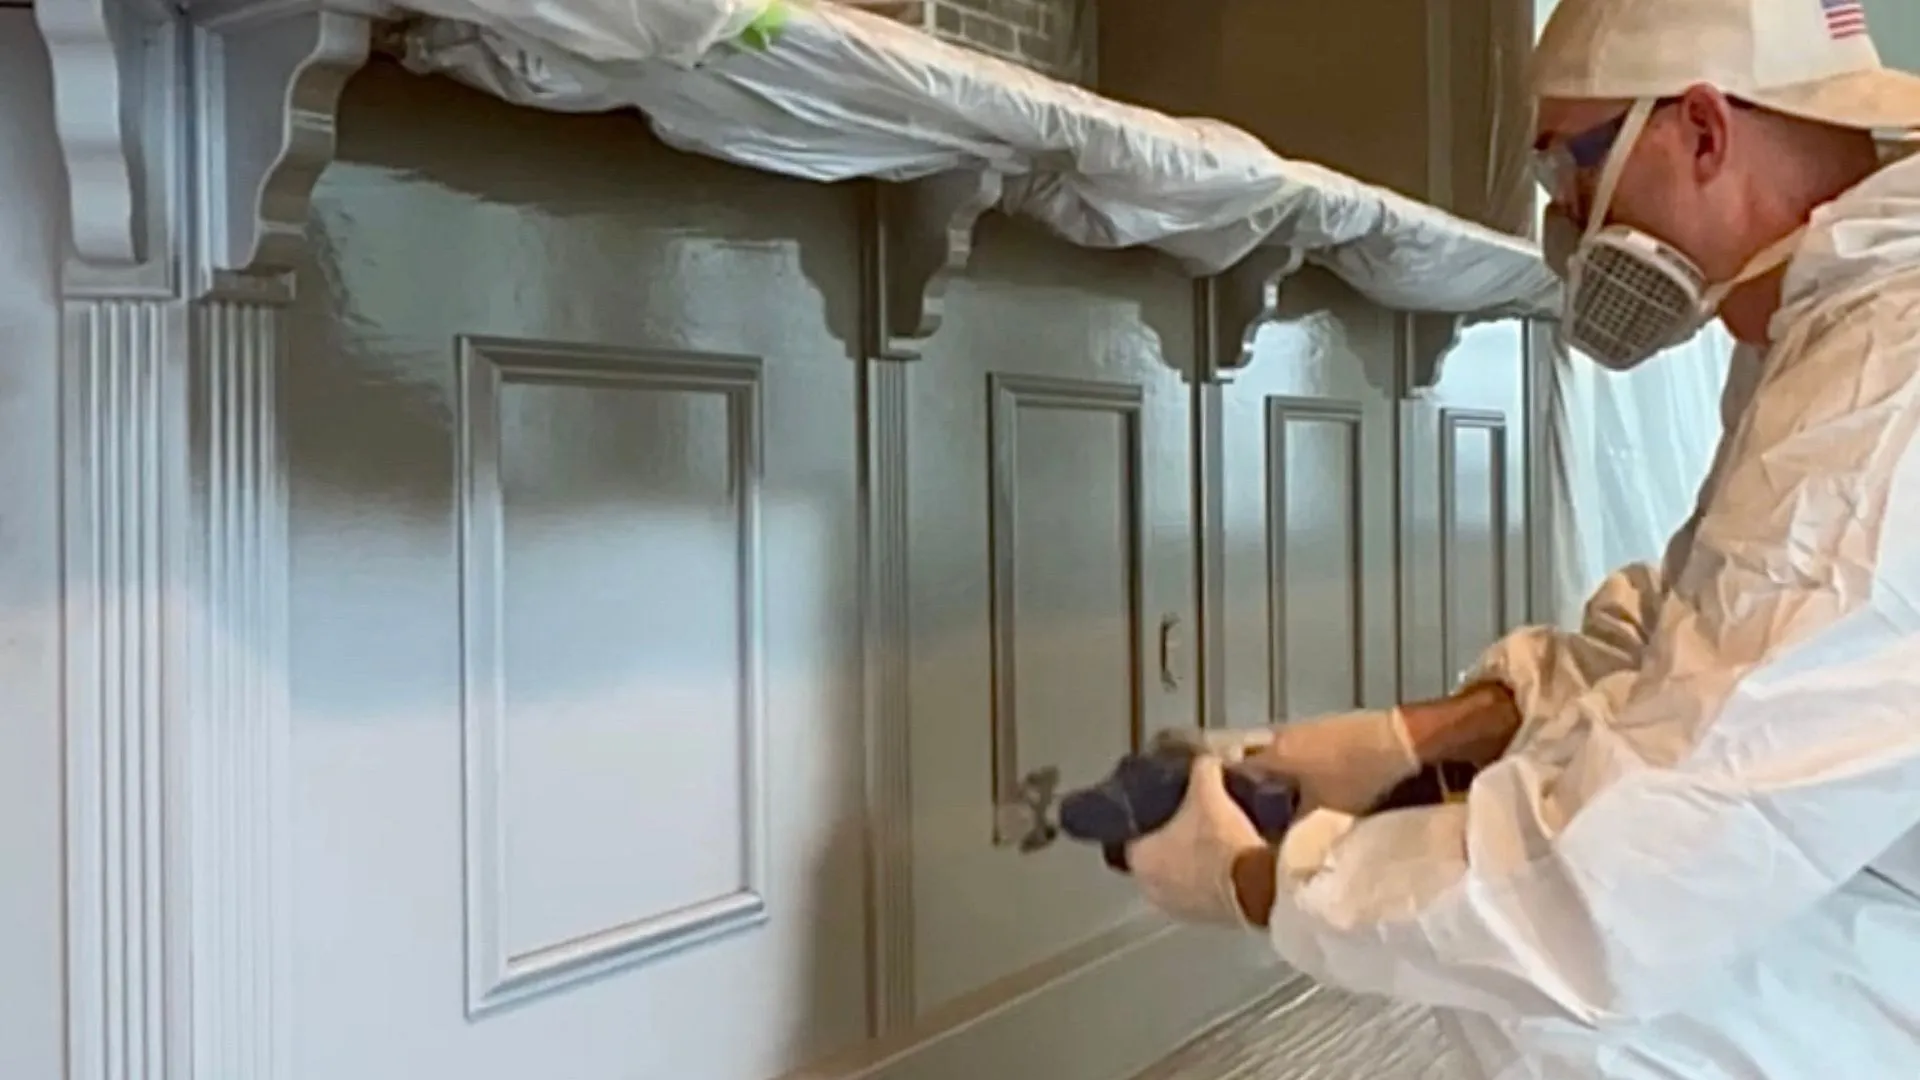
We knew we wanted to paint this particular piece of furniture black – a classic look that will never go out of style. While we love the look of a matte finish, we also know that it tends to show a lot of fingerprints, so we went with cabinet grade paint in satin and color Tricorn black. We painted the legs and trim with a brush and rolled the flat surfaces with a foam roller (made for cabinets and furniture). However, if we were to do it again, we would use the same technique for the whole thing. We originally thought the legs would be hard to roll, but in hindsight, that probably would have been the best route to go. Also, of course, there is always the option to use a paint sprayer (we just didn’t own one at the time).
Protectant Finish
After the paint had dried, it still had a little bit of a tacky finish to it, so we applied two coats of a Polycrylic satin protectant finish to the top and sides to protect it from chipping, peeling or anything else.
Hardware
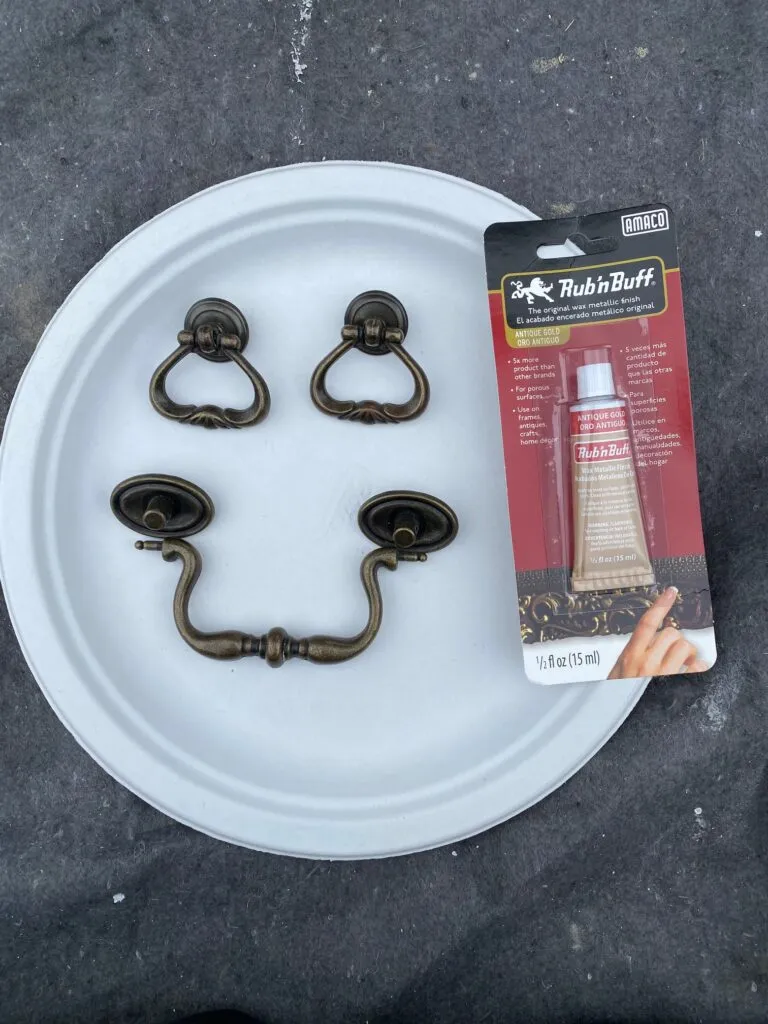
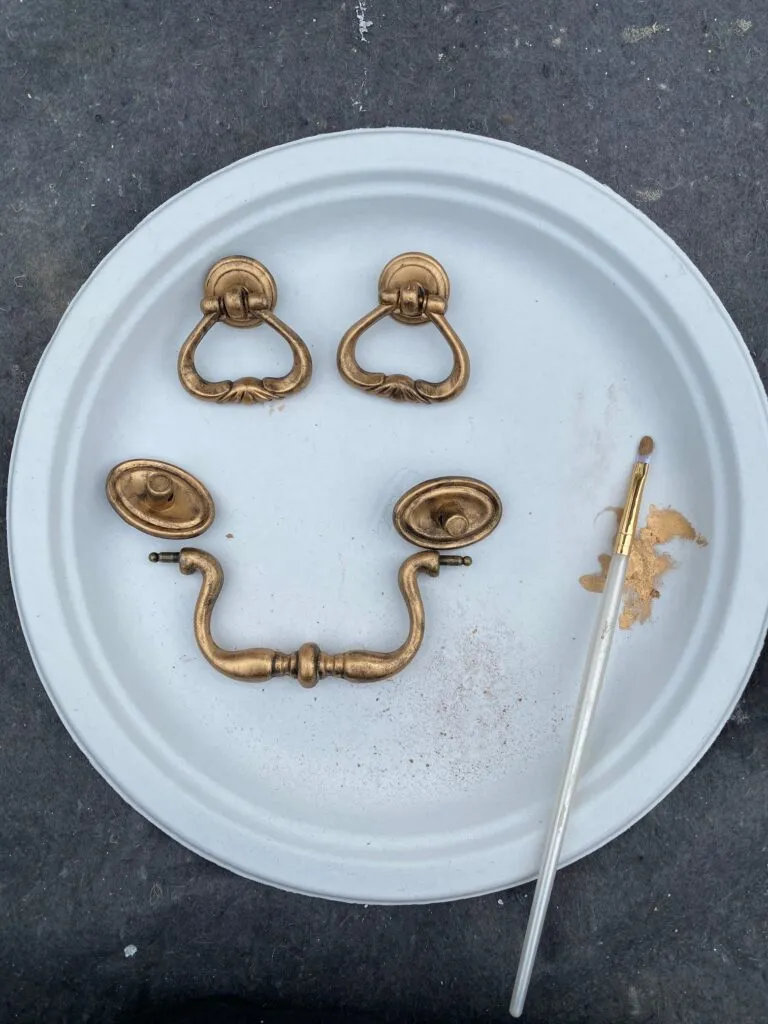
Last step (it can really be done at any time – perhaps while you are waiting for the primer or paint to dry) is cleaning and updating the hardware. Depending on what piece of furniture you get, you may be replacing the hardware completely, or you may not need to do anything at all because you like how it looks and/or it is in good condition. In our case, the hardware was very dull looking and we wanted to bring out the brass color. To do this, we used rub n’ buff in the color ‘antique gold’. This stuff works really well and a little goes a long way (we only used about 1/4 tsp of paint).
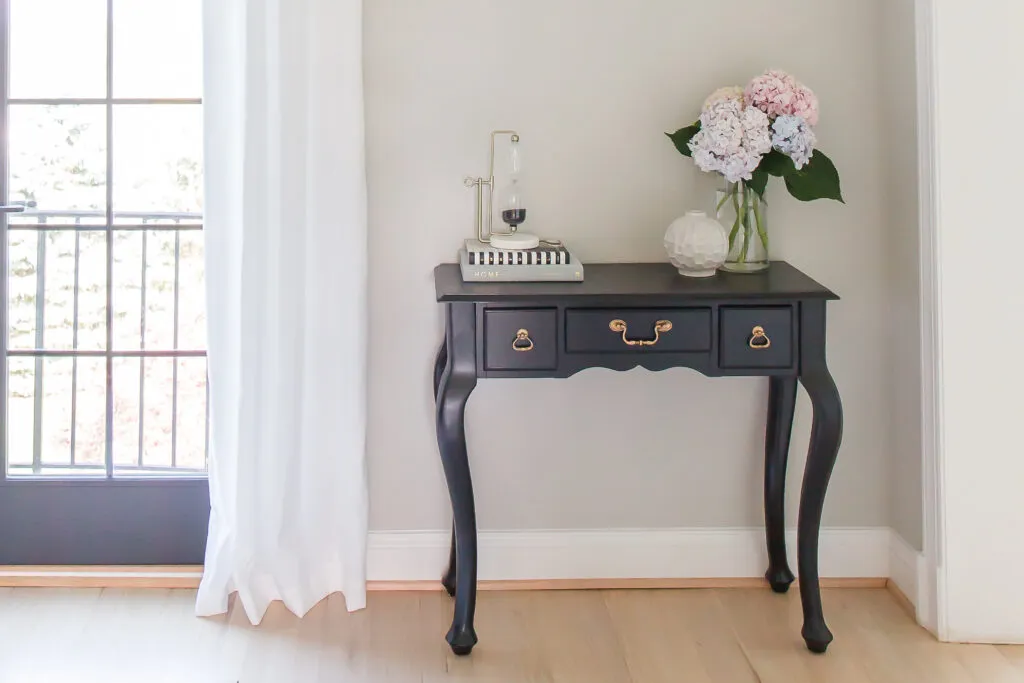
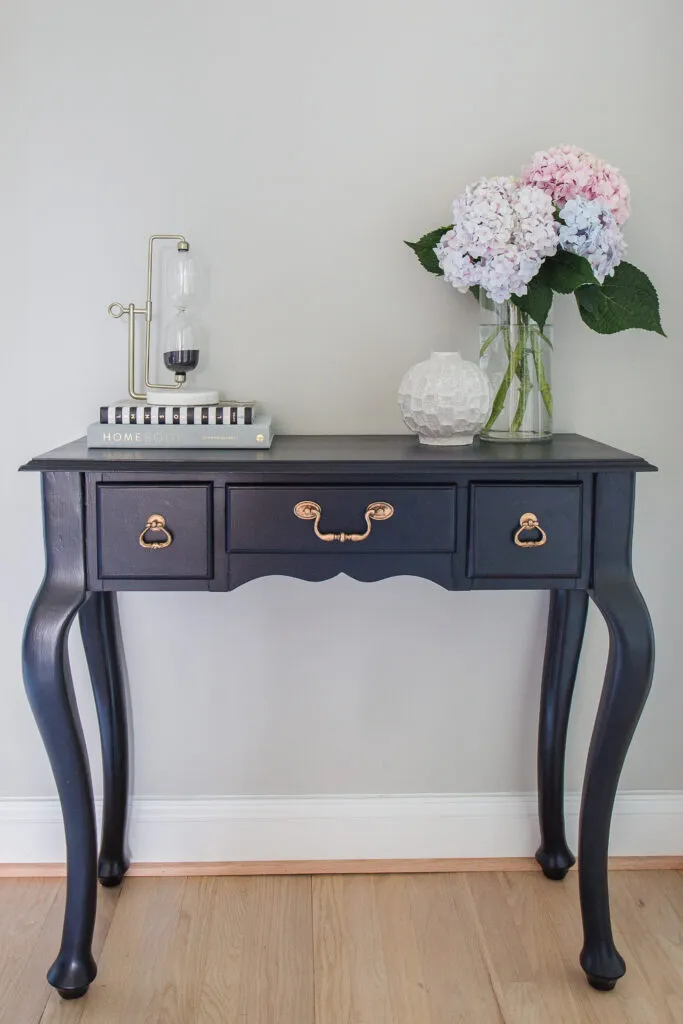
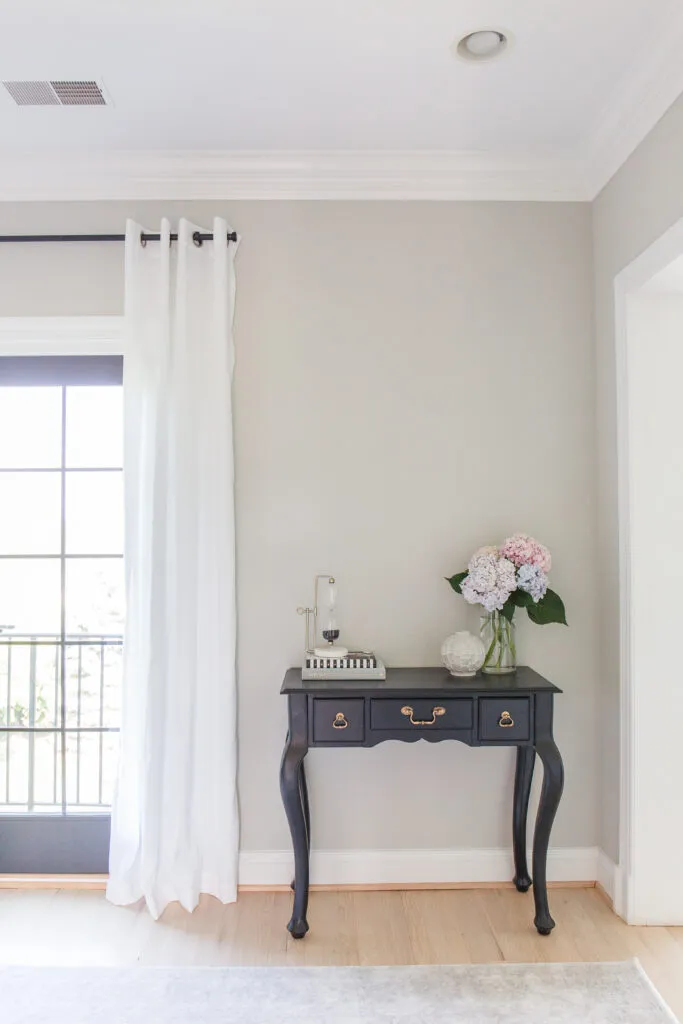
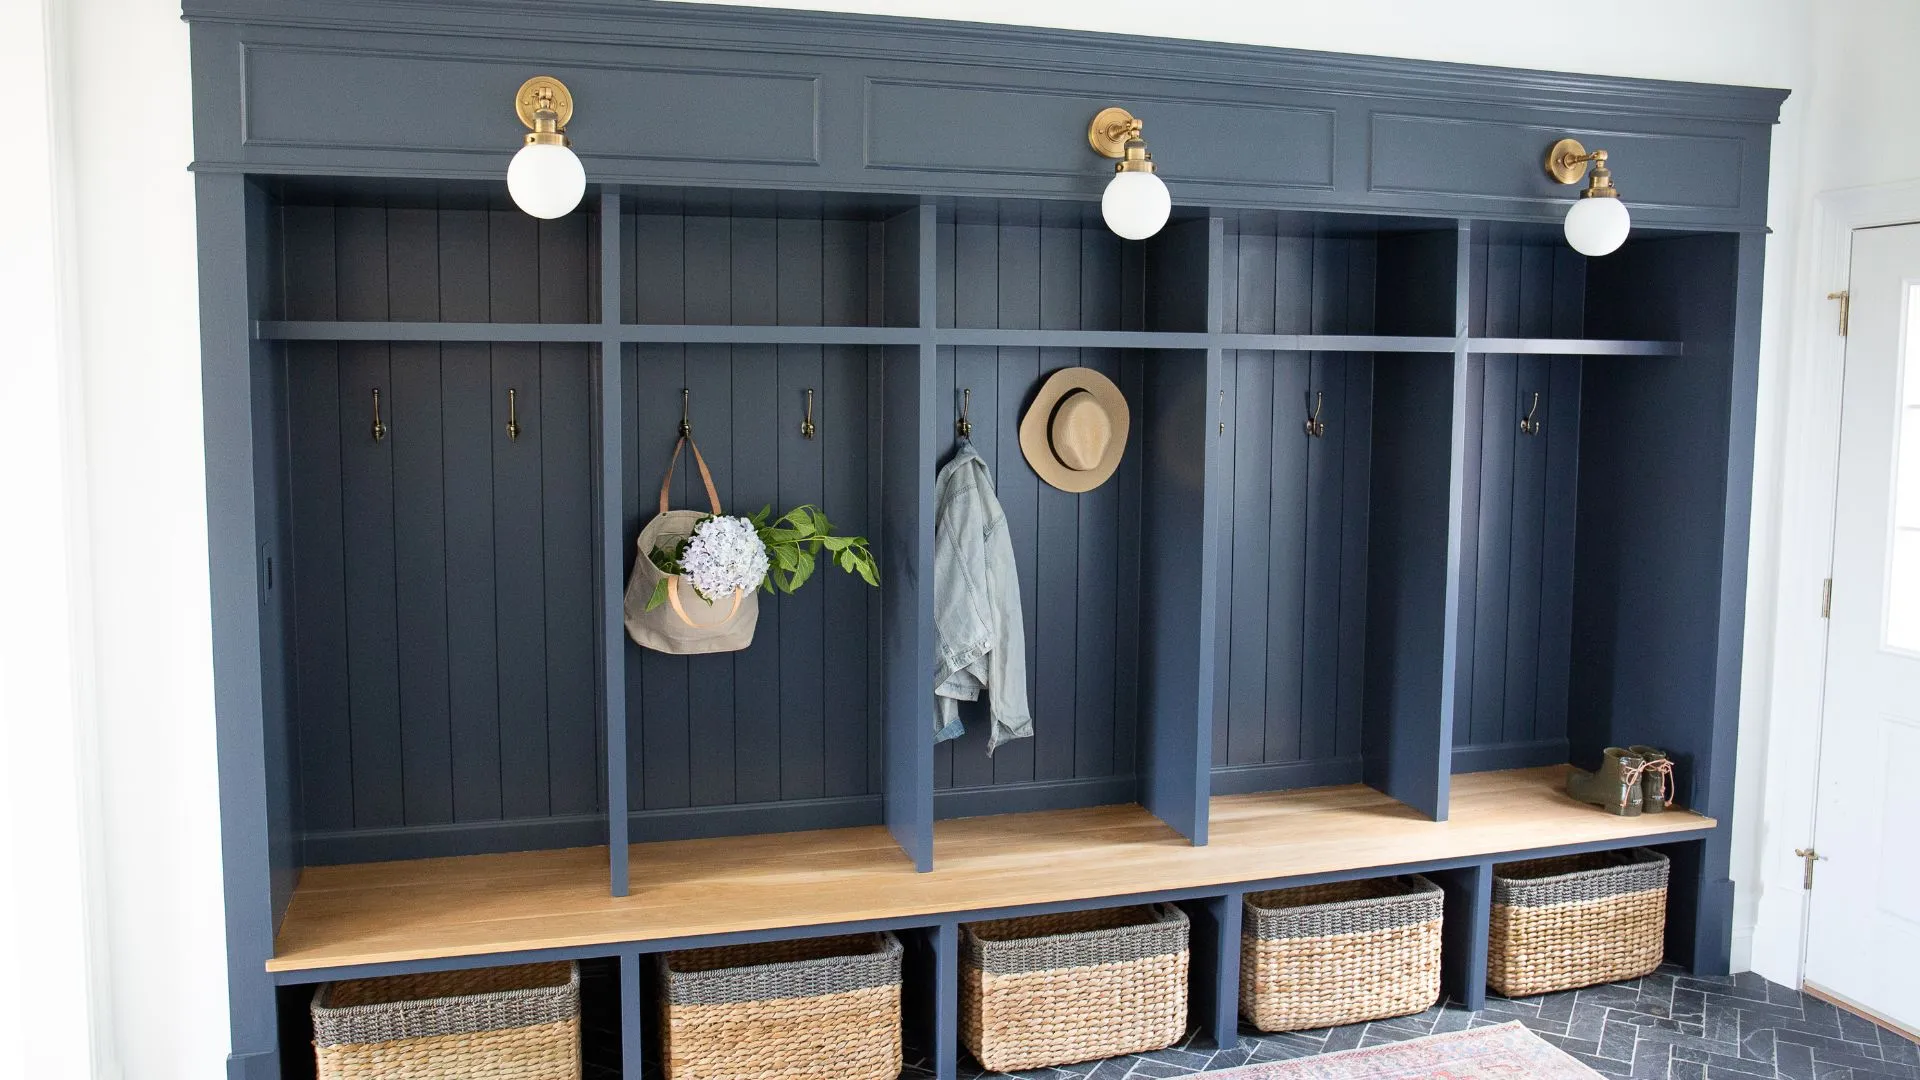
After
After all that, the end result is a beautiful ‘new’ table for our bedroom! We still are working on a sconce and artwork to pair with it, but for now, we absolutely love how it came out, and even more, we love the price! We will definitely consider refinishing a console table or another piece of furniture again in the future.
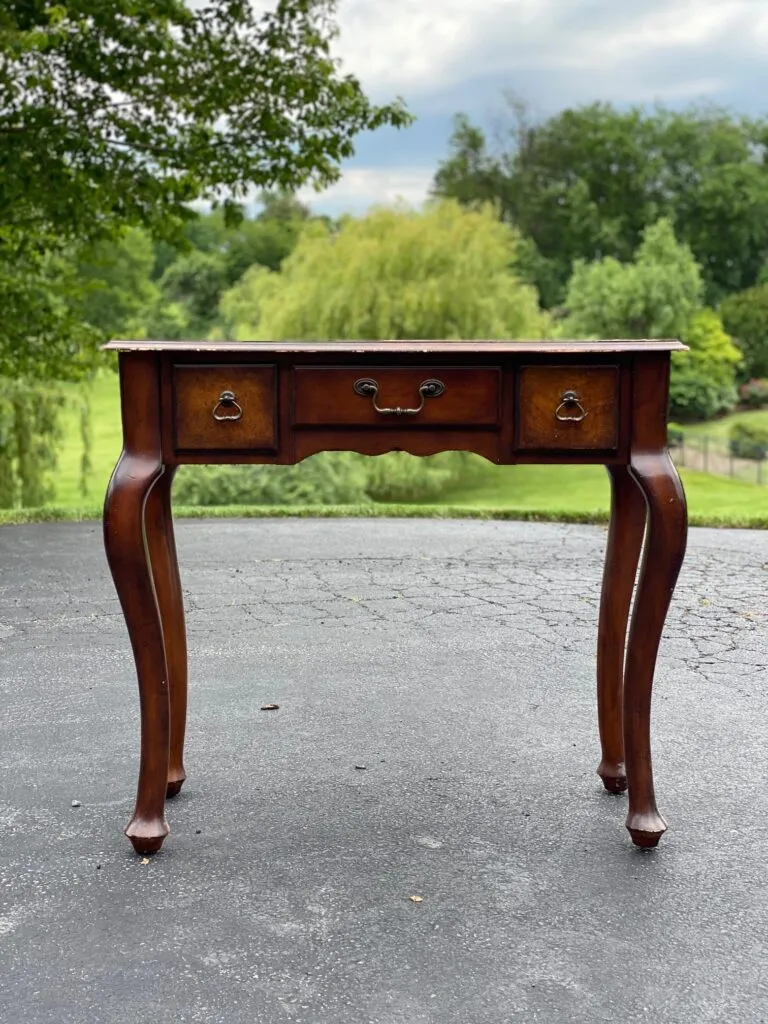
Before
Here are the products used on this project:


")
