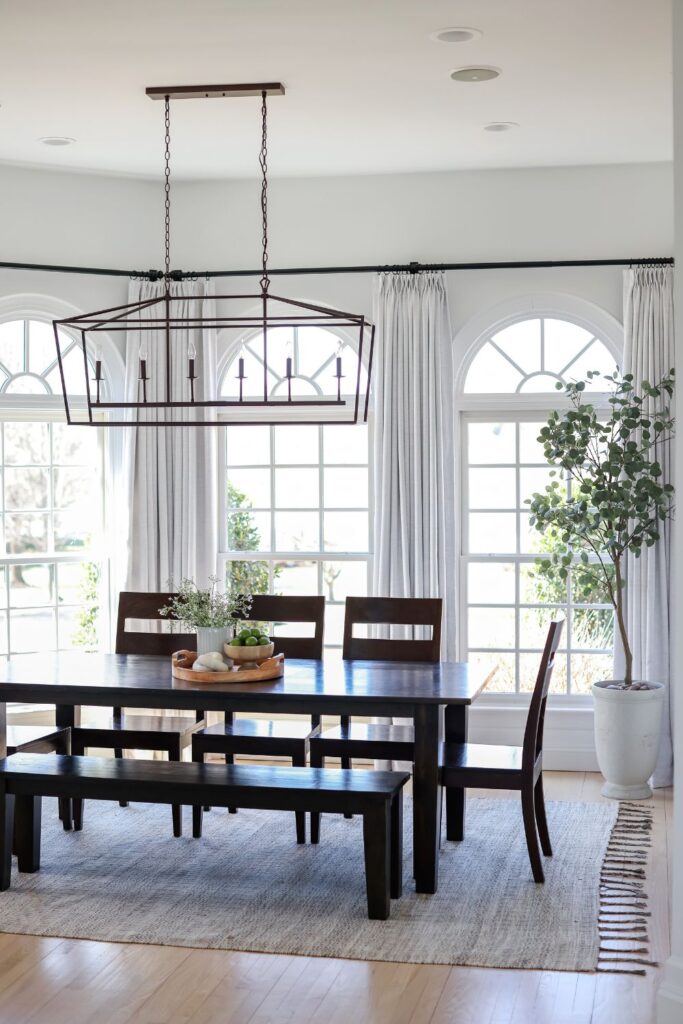
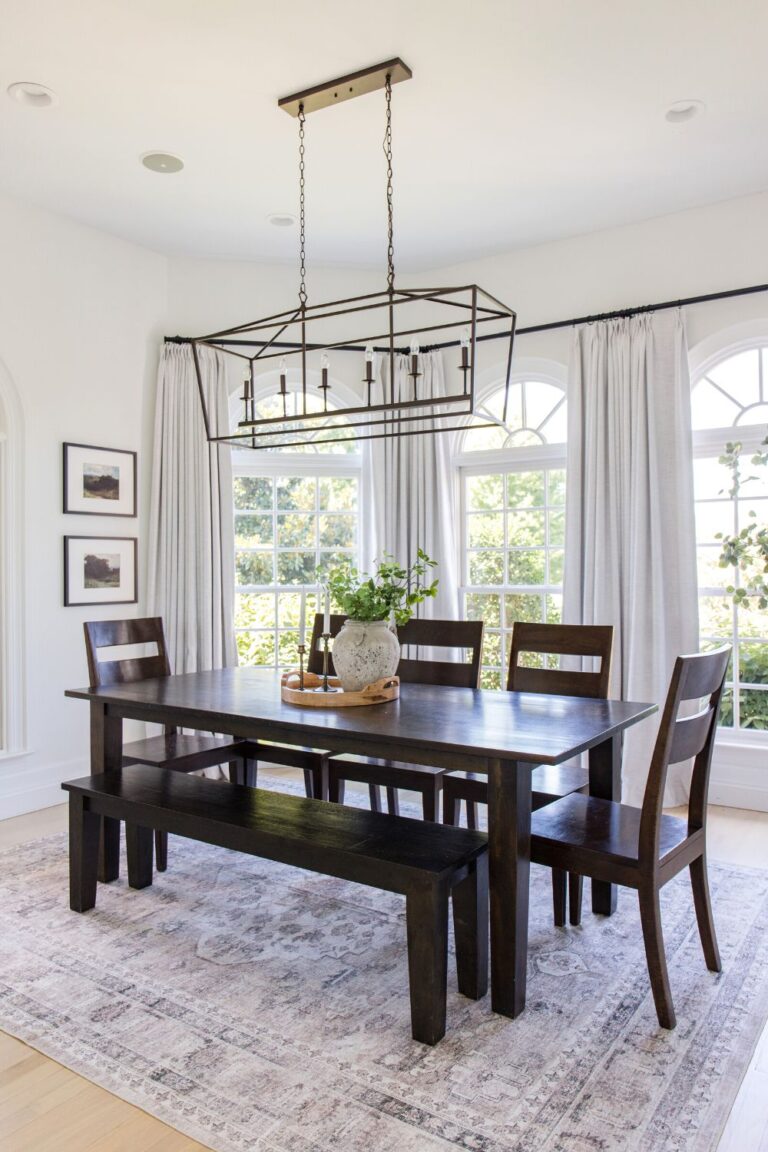
Where are your curtains from? Send a link to your curtains please! Where can I buy those curtains? Those are some of the most-asked questions we get on Instagram, and we are more than happy to spill the TEA!
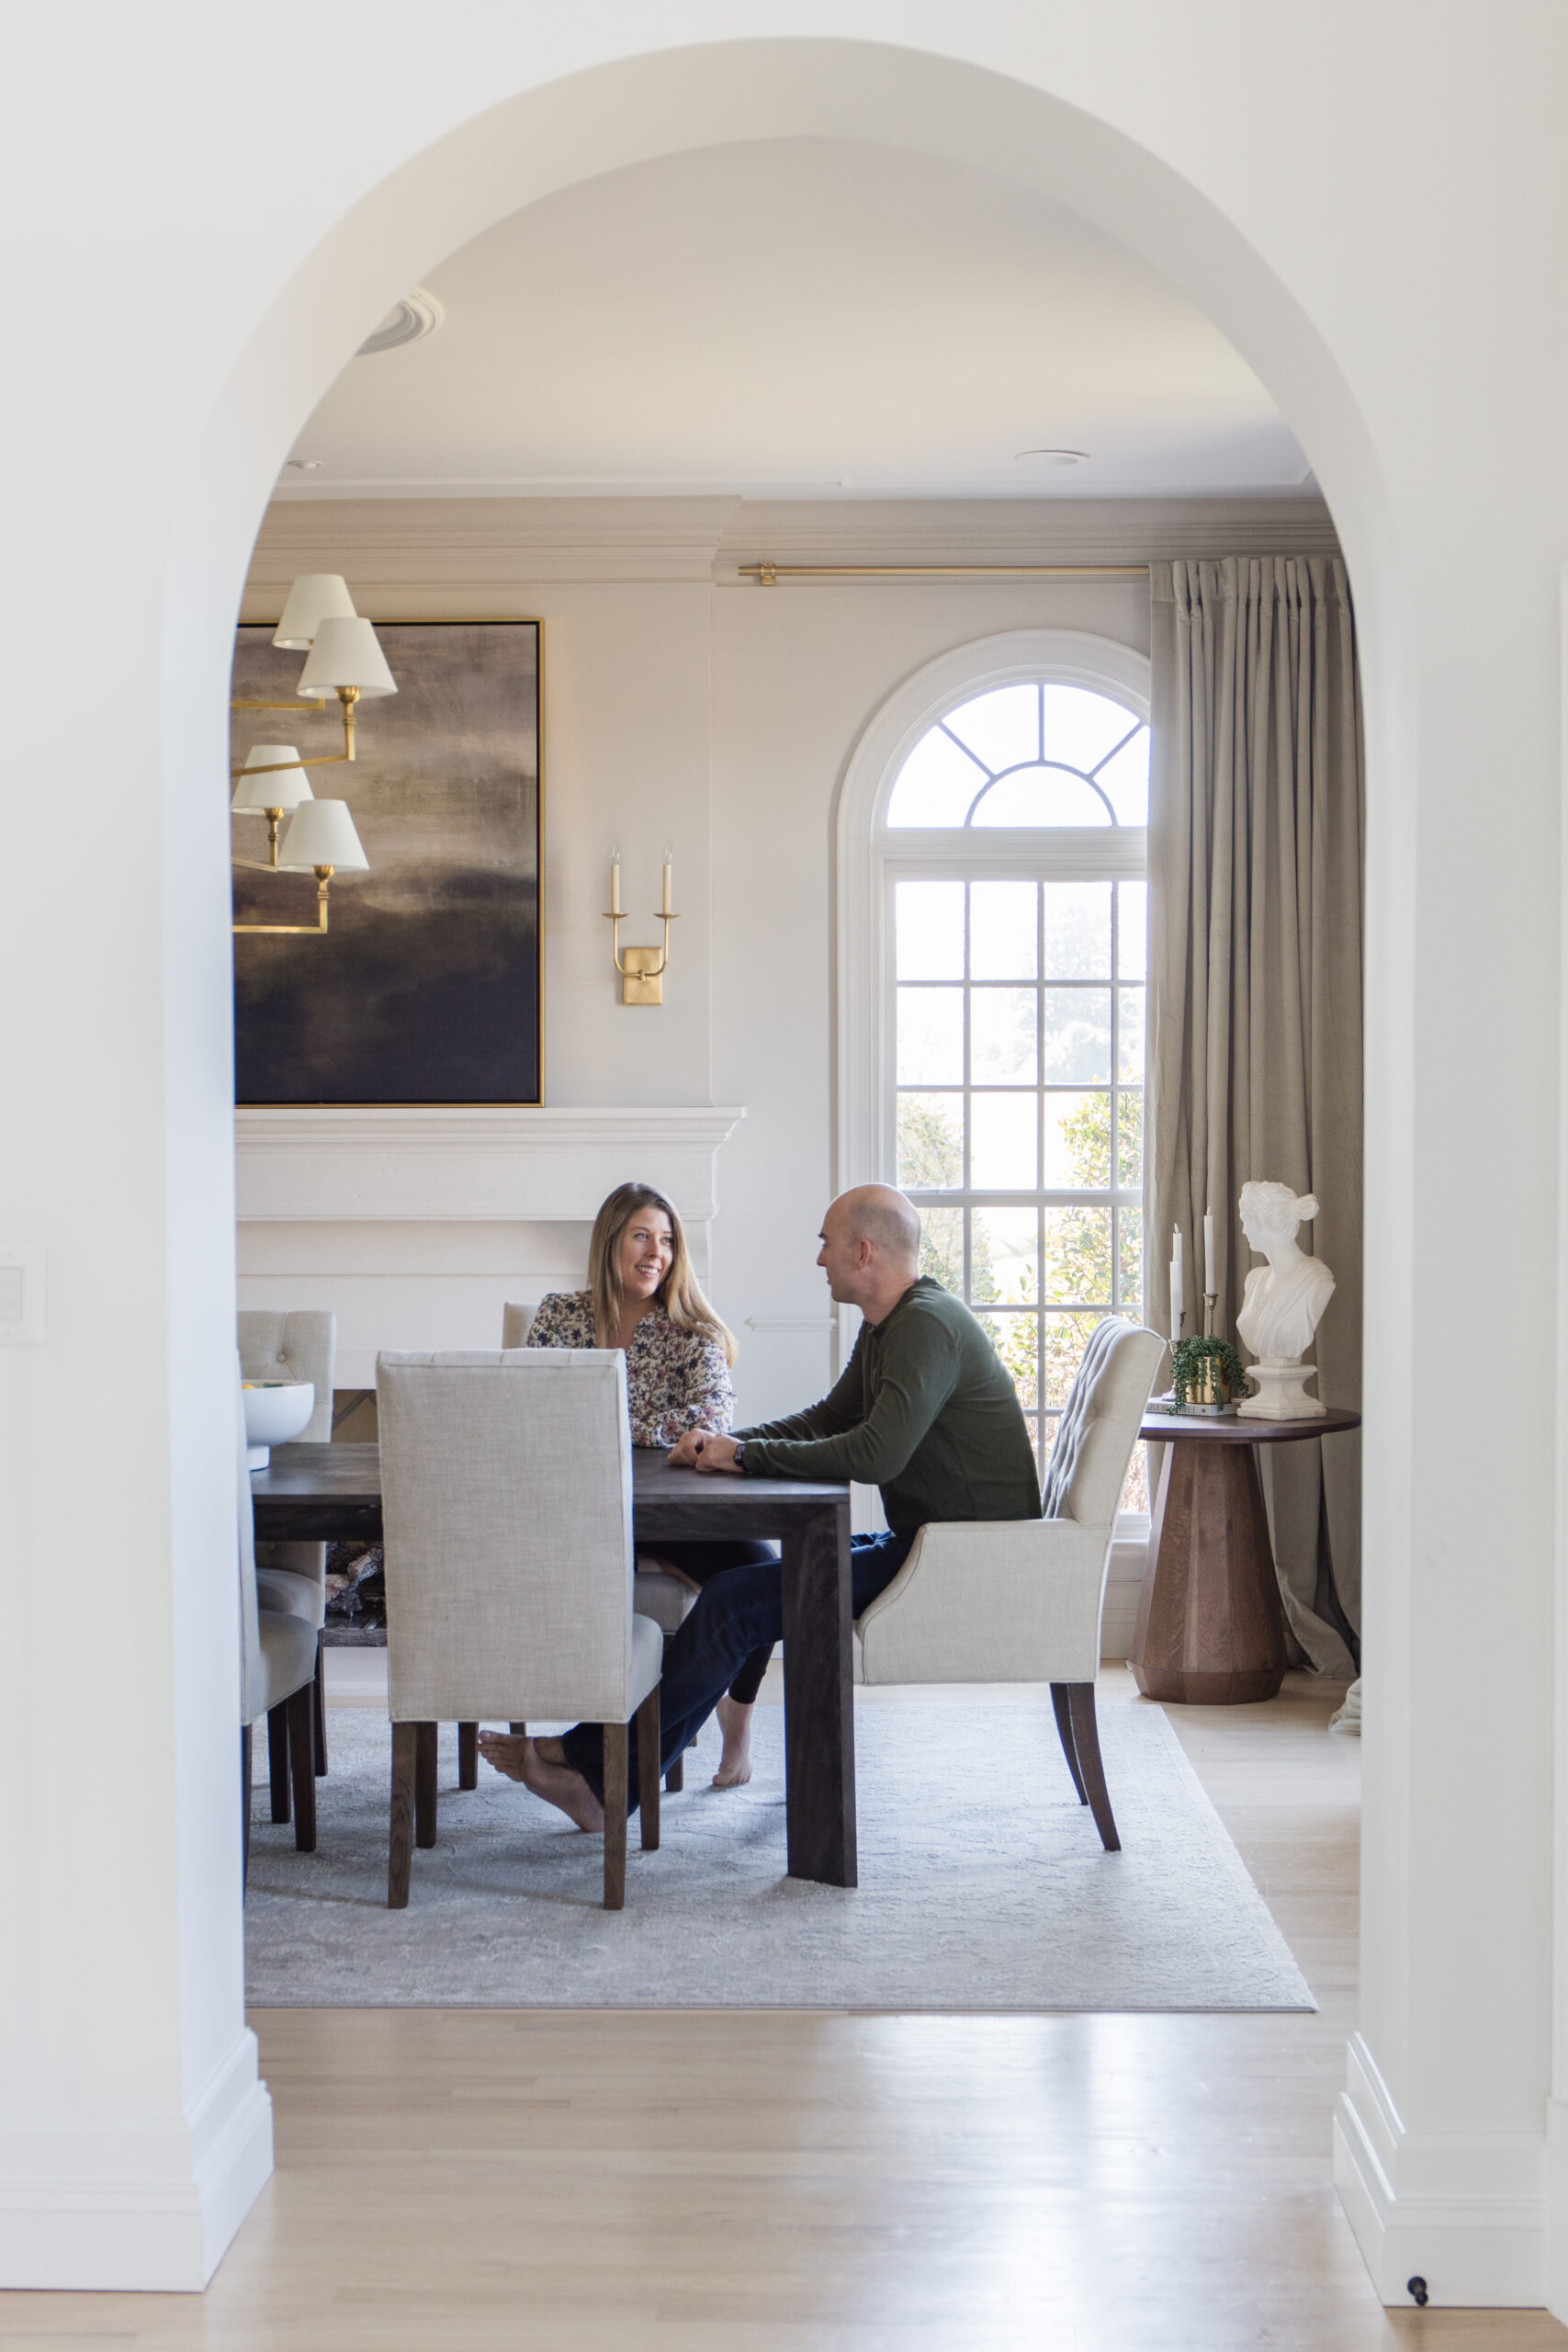
Before diving into my favorite linen blackout drapes we purchased from Amazon, let me first tell you why we purchased them. After having lived in our home, The Arched Manor, for two years and consuming hundreds of dinners at our kitchen table, we had finally had enough of shifting seats so that the sun wasn’t shining in our eyes.
The sun sets in the front of our house, where our kitchen table is located. Not only is it the sun shining in our eyes, it is also the heat that comes with it. Our old wood windows in the front are not the most energy efficient, although we have made some repairs to them, and the sun can drastically heat up the room in the afternoon hours.
That is what set us off on a hunt for new drapes that could heavily filter (or block) the sun from shining in our eyes and provide enough insulation to block the heat from the sun!
Affiliate links may be used throughout this blog post – read our policy here.
The difference between curtains and drapes?
After a couple minutes of research and before I discovered the linen blackout drapes from Amazon, I found myself getting sidetracked on discovering what the difference is between curtains and drapes.
So here we go, this is what I discovered. The biggest difference between curtains and drapes is the material! Drapes are typically a heavier material and are typically lined to blockout light (bingo!). Curtains are more sheer and while drapes typically go from the top of the window to puddling on the floor, curtains can be any length.
Why did we choose our linen blackout drapes?
Now knowing that I want to go with drapes, because I wanted something heavier, I set off to find the perfect panels for our breakfast room!
I wanted something light in color but to pull a lot of texture so I went to look for linen drapes. There are so many great options out there from custom to big box stores, but I was also on a bit of a budget.
I came across these linen blackout curtains on Amazon and was incredibly impressed. They checked all the boxes and then some! We ended up getting the “Beige White” color with a blackout liner in the size 72”W and 102”L. Here is why I like them:
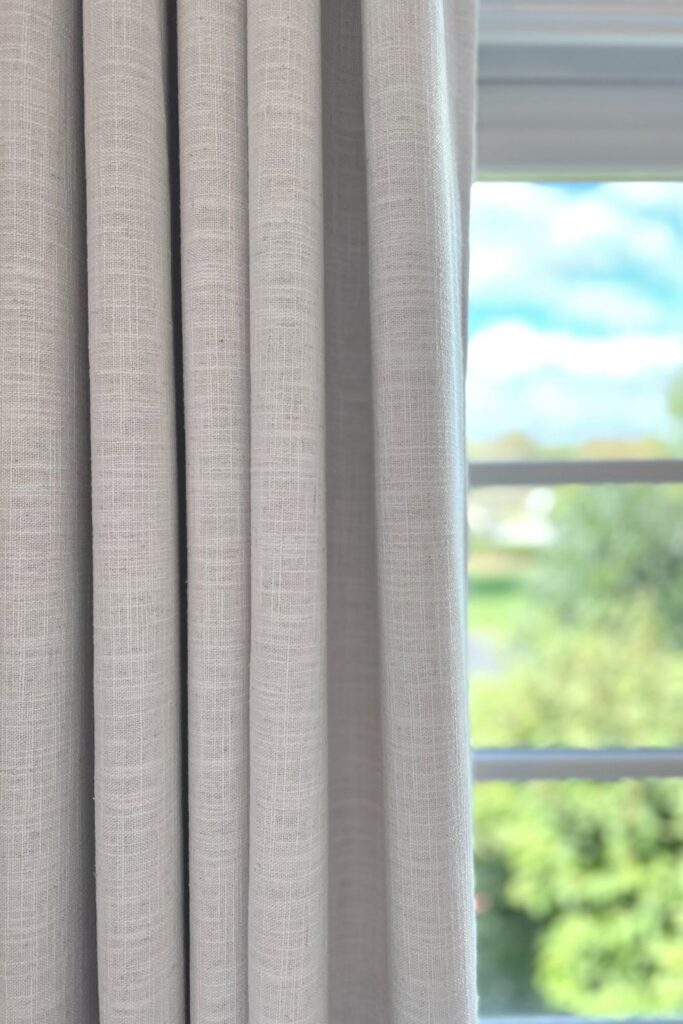
- Faux Linen Material – It had the texture I was looking for but because it is faux, it is more budget friendly. The finish is really natural looking and elegant.
- Black Out Lining – There is an option to include a black out lining which I wanted to keep the heat out in the afternoon. The blackout liner is thick and actually 3 layers to help block light and outdoor temperatures.
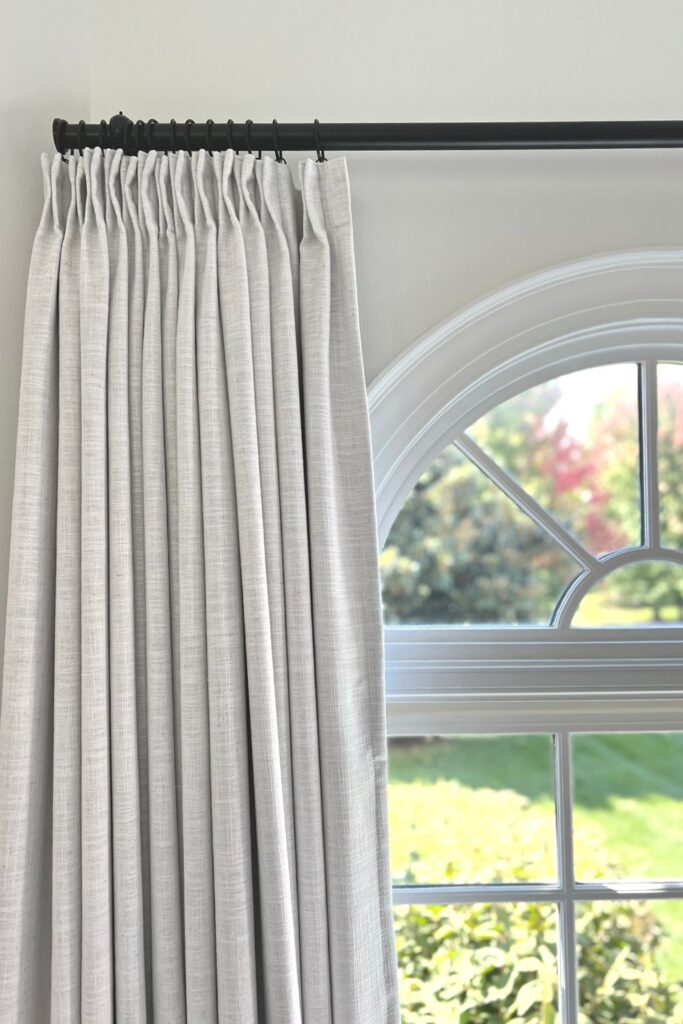
- The Pinch Pleat – The pinch pleat is such a high-end custom looking feature for the drapes! The number of pleats depends on the width of the panel. These drapes came with pin hooks for hanging on ring loops. You can also hang from ring clips.
- Color Options – There are a ton of different color options you can choose from and you can actually order a sample ring of all the colors before deciding!
- Size Variations – There are several different length and width options you can choose from. The lengths range from 63” to 20” and the width ranges from 52” to 100”
- Reviews – There are a ton of great reviews that helped to give me confidence in my selection.
How do you know what size drape to order?
It really depends on the room and what look you are trying to achieve. However, in my opinion, to get a more custom look, I would recommend choosing a length that would allow your drapes to hang all the way from the ceiling or crown molding to the floor. I would also order the widest panel available. The wider, the most custom looking. Last but not least, as mentioned above, the fact that these specific drapes have a pinch pleat detail make them more custom looking.
What hardware did we use for the linen blackout drapes?
What we learned from ordering these blackout linen drapes is that they are well-made and high-quality. They are very heavy with all the layers, especially the size we ordered. This meant that we needed sturdy hardware to hold them up. To throw in one more caveat, we have one angle wall and wanted the rod to look cohesive.
We opted for this hardware from Pottery Barn. Specifically we got the rod and brackets, the endcap finials, and the corner clip! The corner clip was the perfect solution to keep the consistent look on the angled wall.
When installing the brackets to the wall, make sure that you either screw into a stud or use a high-weight drywall anchor (not the cheapo ones that come with the hardware). Also if you have one, a laser level is really helpful in making sure all the brackets are level. Check out the video below to see how we installed ours!

About The Authors
John and Megan are the founders of Arched Manor, which is a passion-project turned business featuring home design, renovations, DIY tutorials, décor, e-Design, and 3-D rendering services. This married couple lives in Leesburg, Virginia, and is currently renovating The Arched Manor, a brick colonial house built in 2000.


