
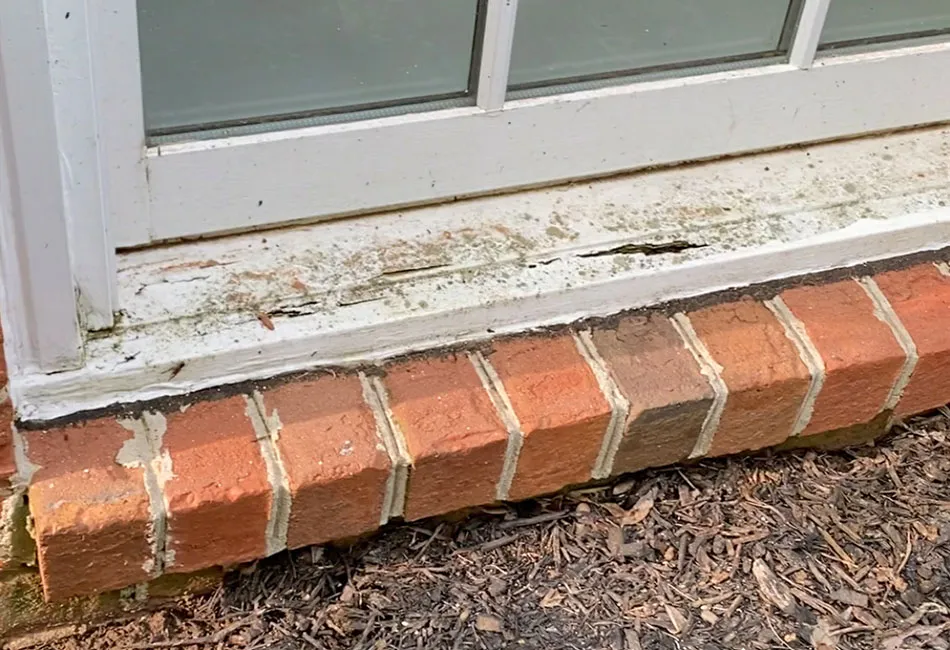
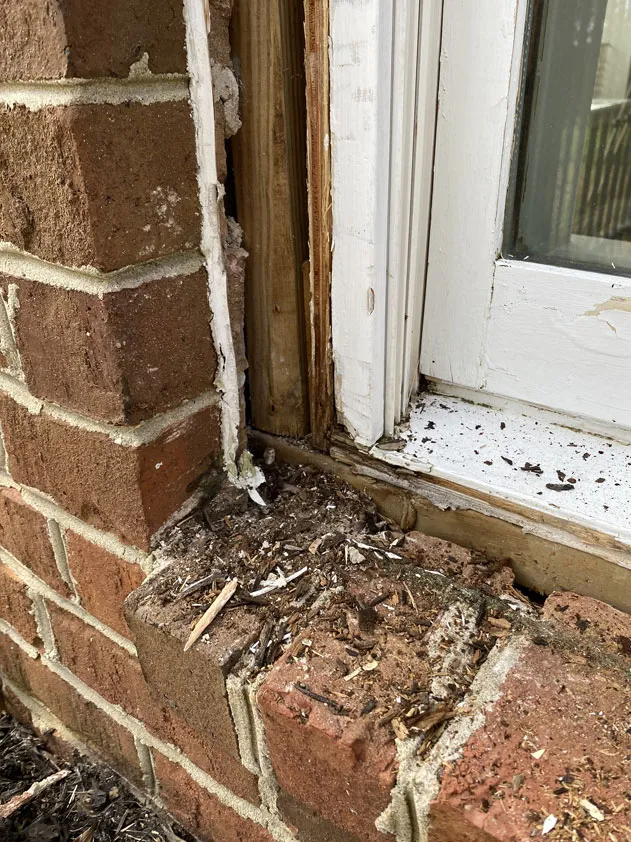
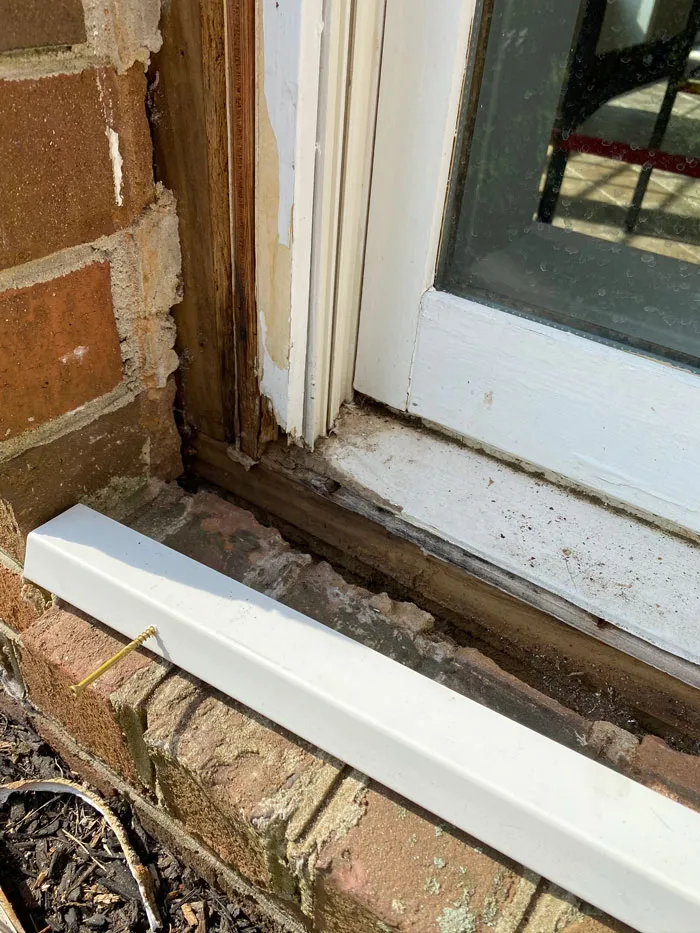
The original wood windows in The Arched Manor were in rough shape when we moved in. The elements had taken their toll on the sills, brick molding, and sashes and not a single window would open. We replaced the windows and doors on the backside of the house (see this blog), but to save some money we decided to repair our wood windows around the rest of the house.
In this blog post, we are going to show you how to repair window wood rot, replace rotten wood brick molding and sill nose with PVC, and how to best seal your windows with high-performance caulk, primer, and paint. Rehabilitating wood windows is easy to do for DIY enthusiasts, requires a minimal amount of tools, and is budget-friendly.
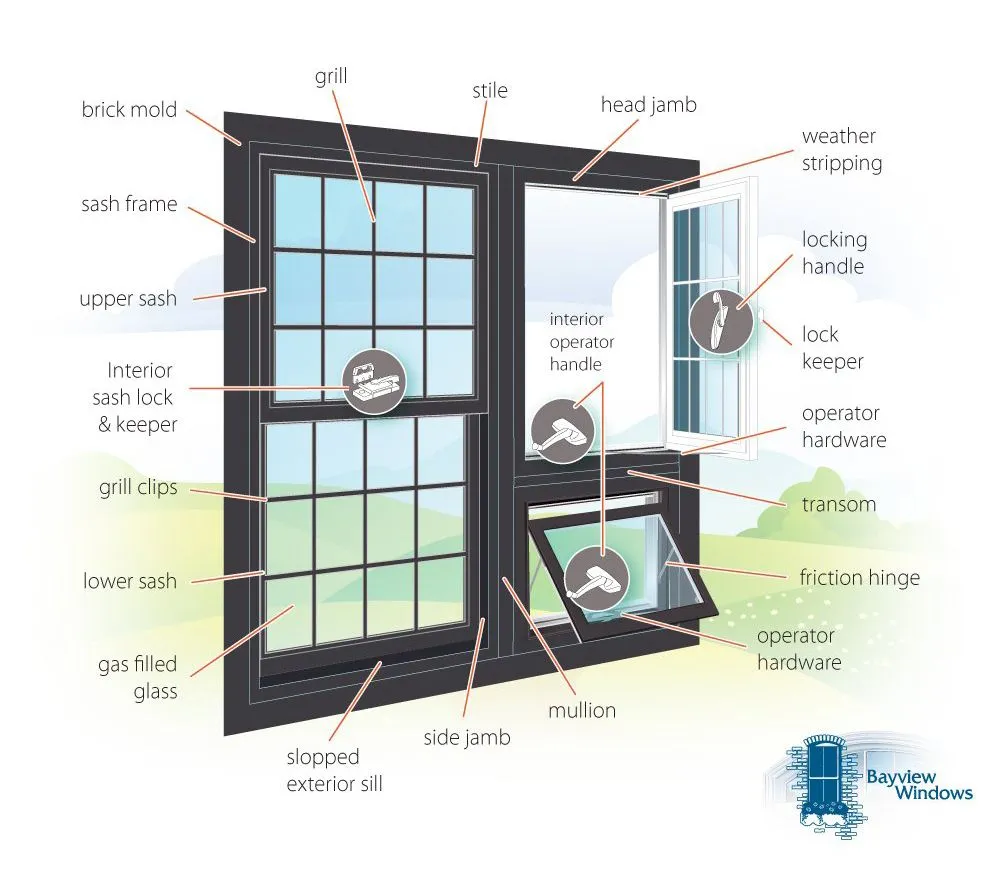
Before you read on, it’s important to note that our windows did not open and we had no intent of having them open, so we painted and caulked with that in mind. In case you need a refresher on the window parts and their correct names, here is a nice diagram that shows the anatomy of a window:
Below are the nine steps to make your windows shine once again and last for years to come!
Tools
You will need the following tools to complete this job:

Materials
I purchased all the materials from my local Lowes and Home Depot. Lowes actually had a PVC window trim kit that worked really well. You could also purchase brick molding by the foot and trim to fit what you need, but the kit was actually really convenient with minimal wasted material.
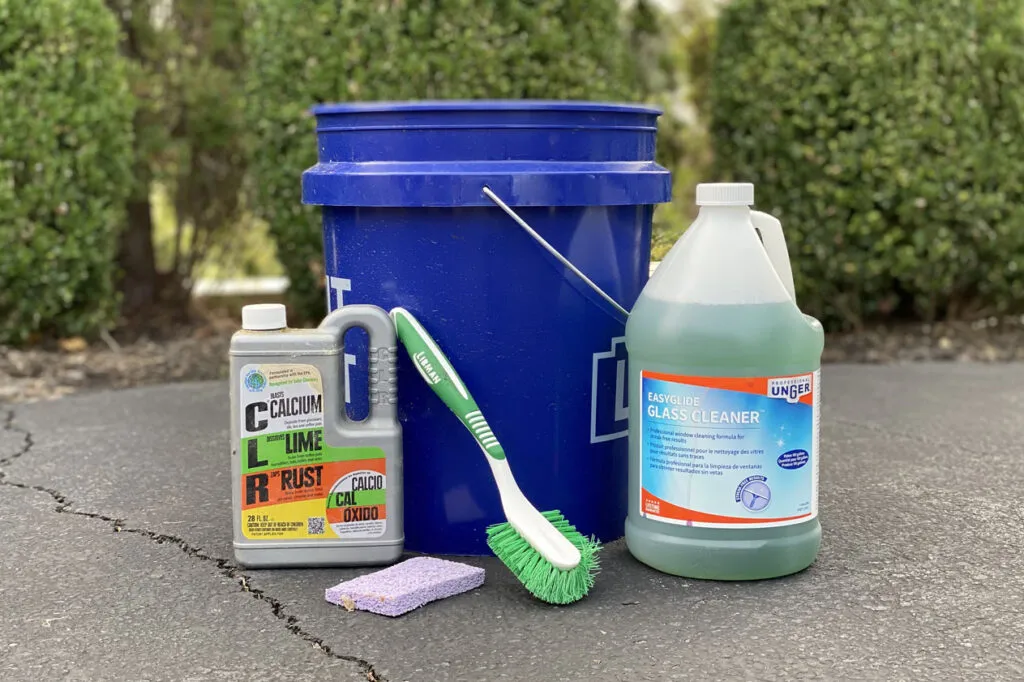
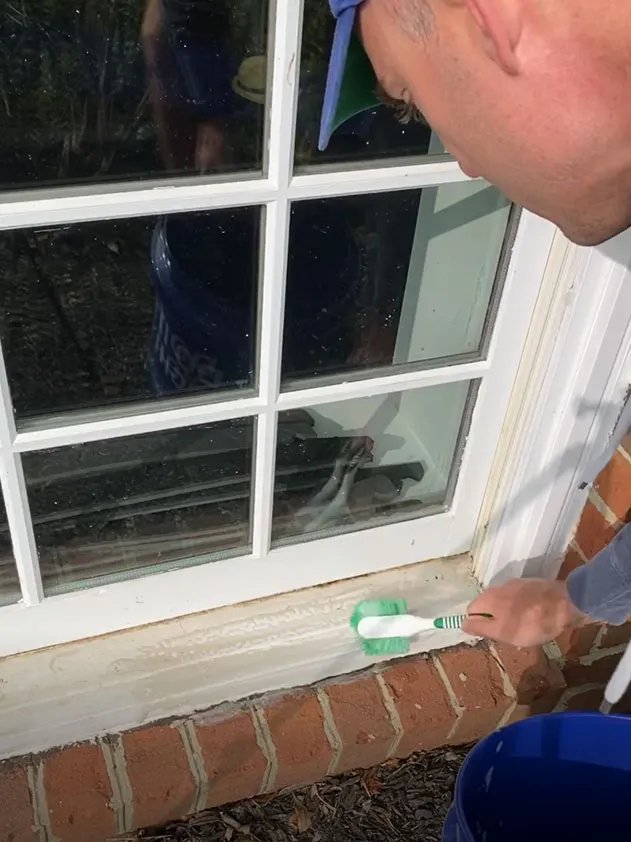
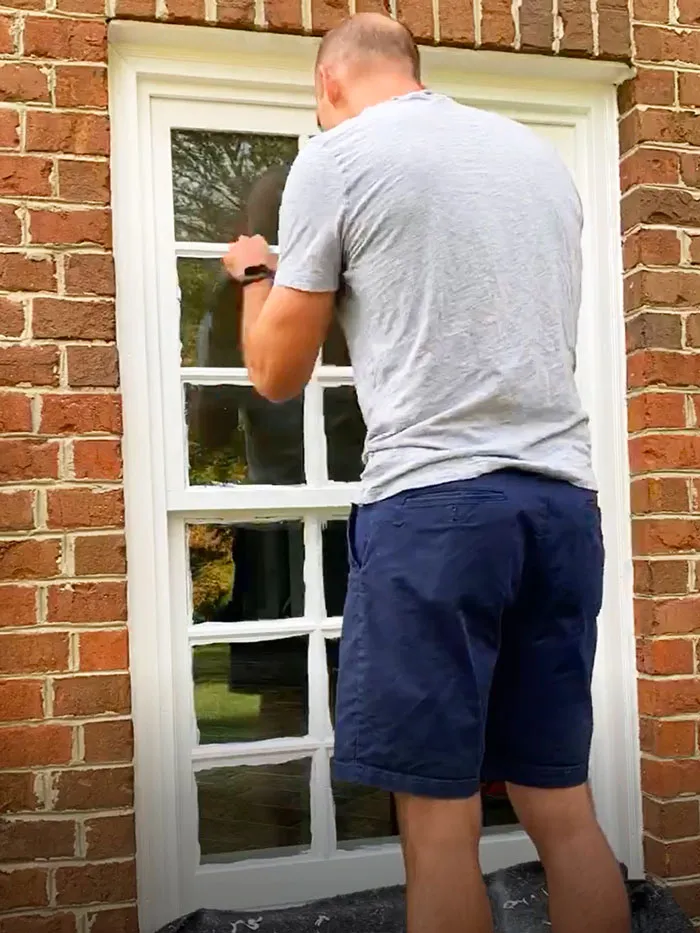
STEP 1: Clean the Window and Trim
Before you begin removing any wood, it’s best to clean the entire window area to remove any dirt, grease, or debris. My go-to window cleaning formula is mixing Unger Window Cleaner concentrate, CLR, and water in a bucket. Use a dish brush and a sponge to scrub the window sashes, trim, and surrounding wood using the cleaning solution. Rinse with a hose and ensure all areas are clean before proceeding. If you need to powerwash any brick or siding around the window, now is a good time to do it.
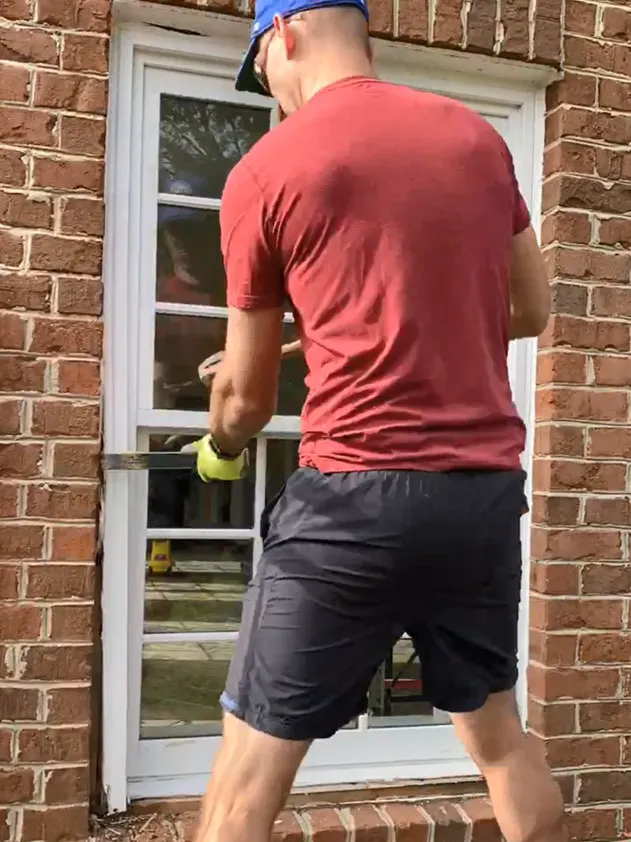
STEP 2: Remove the Brick Molding and Sill Nose
With a utility knife, cut the caulk joining the brick molding to the trim or brick. Cut the inside edge caulk and the caulked areas around the sill nose. With a prybar and hammer, pry the brick molding and sill nose away from the window and remove. Remove any exposed nails with either a hammer or vice grip pliers.
Step 3: Scrape Excess Caulk
Remove any caulk that remains on the exterior trim, brick, or stone. The caulk can be stubborn, so use a flat head screwdriver or utility knife to loosen and remove. Ensure that any caulk that attached the brick molding to the exterior of the window frame or the sash frame is removed.
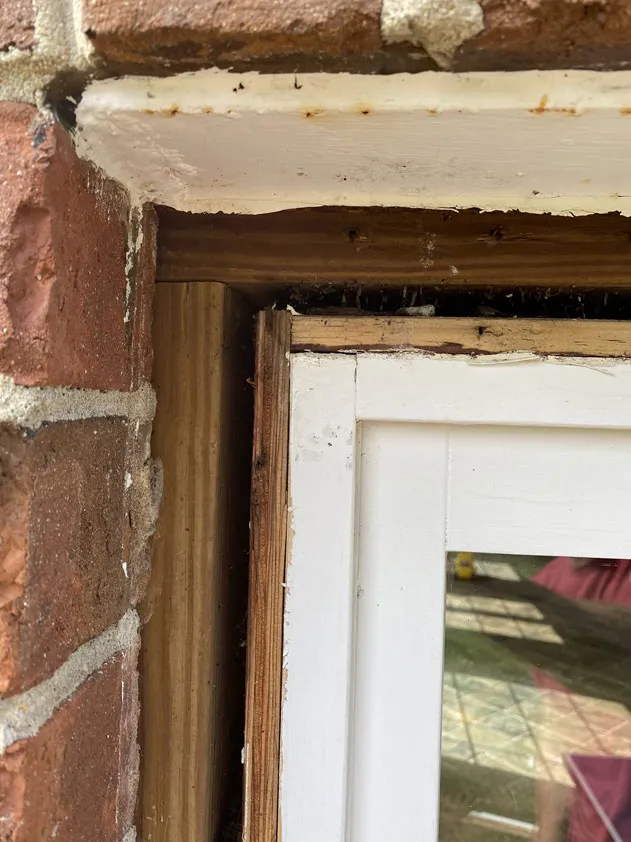
Step 4: Remove any Wood Rot in Stool
This may not apply to your project, but if you have rotted sections in your stool, you can repair them instead of replacing them (much less work and money). The process to repair window wood rot is fairly easy. Prep the wood by using a flat head screwdriver and carve out the rotten wood. This will create a solid surface for the Bondo to adhere to (in step 7 below). Ensure all wood pieces are vacuumed or brushed off the window.
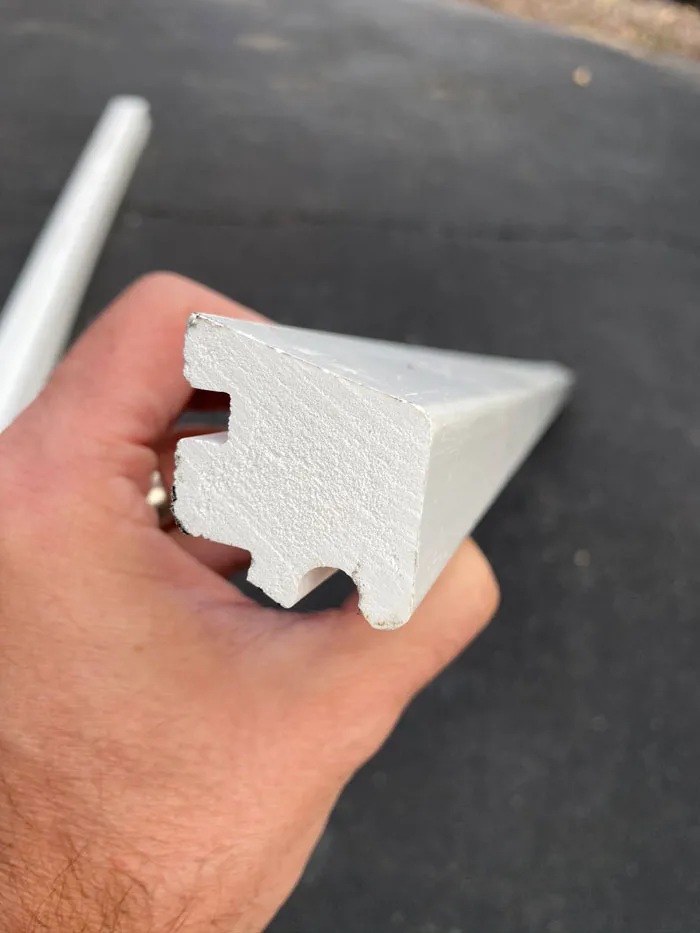
Step 5: Install PVC Sill Nose
Using a miter saw, cut the PVC sill nose to the length that you need. Dry fit the sill nose to the sill and ensure it is a flush fit. If not, remove any wood pieces that may be protruding from the sill. Once you get a tight fit, use exterior trim screws to secure the sill nose to the window sill. I drilled a pilot hole in the sill nose beforehand to ensure I would not strip the screw.
Step 6: Install PVC Brick Molding
Using a miter saw, cut the PVC brick molding to the lengths that you need. Always dry fit first to ensure you have the proper length with no obstructions (protruding nails leftover, brick mortar, etc.). Use exterior trim screws (drill pilot holes first) to secure the brick molding to the frame. If you are using the window trim kit from Lowes, you will only need to make a few cuts to get the pieces to fit.
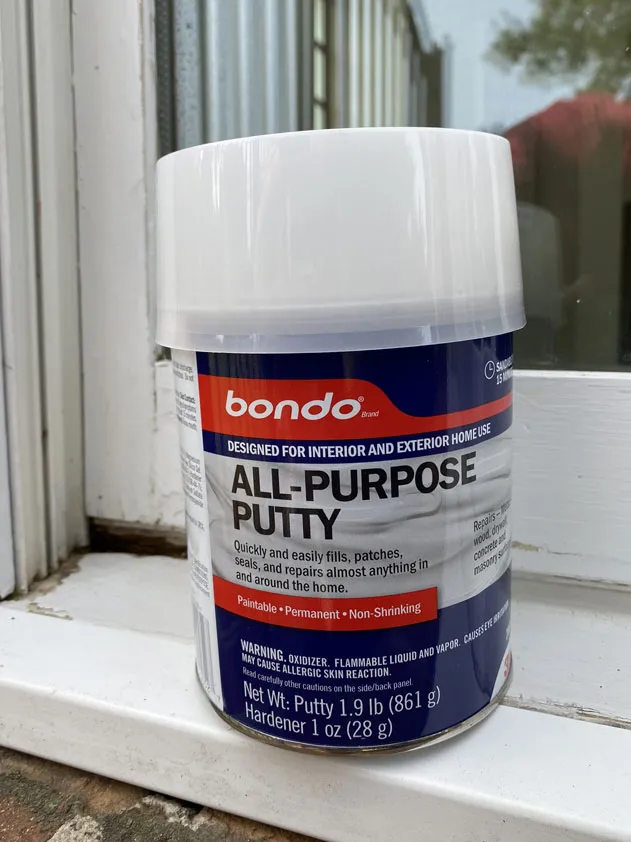
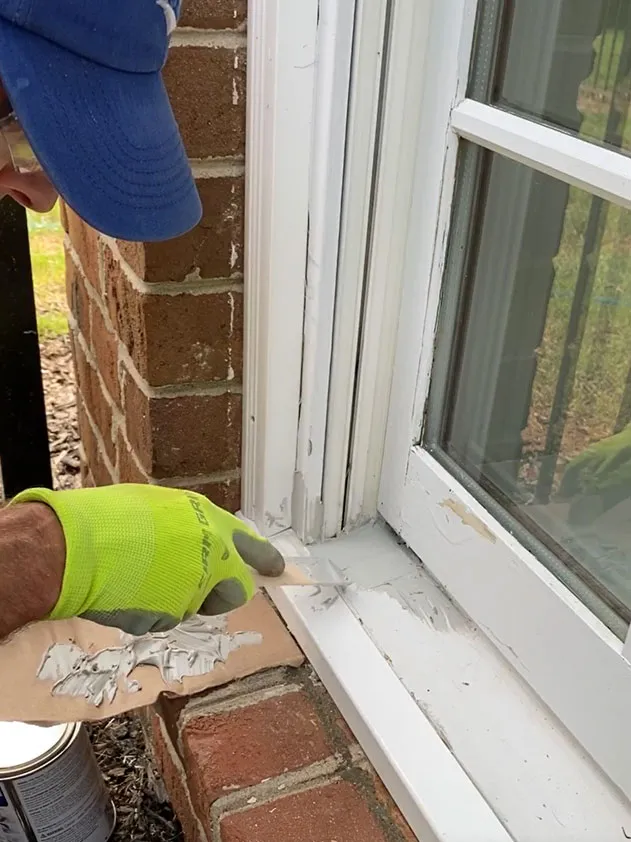
Step 7: Fill Rotted Voids with Bondo
Bondo is usually associated with car repair, but recently they have created products that can be used on wood and other types of surfaces. Their All Purpose Putty is ideal to repair window wood rot – it is easy to work with and when dry, it can flex slightly so that it remains strong and tight during temperature and humidity changes. Using a piece of cardboard or scrap wood, mix the Bondo putty and the hardening gel. I like to use a wood shim for this – it acts like a putty knife and you can simply throw it away when done (no cleaning). Apply the active Bondo putty to your wood void. Once the putty is activated, it hardens fast, so work quickly. Smooth the surface out as best you can while the putty is wet. This will make your life easier in step 8.

Step 8: Sand & Caulk
When the Bondo is dry, use sandpaper to smooth the surface and remove any imperfections. If you have other areas on the wood window that has peeling paint or needed minor repair, sand those areas as well so that the primer has a good base to stick to. Using a high performance exterior caulk, such as DAP Dynaflex Ultra or OSI Quad Caulk, apply caulk around both sides of the brick molding and sill nose. Ensure there are no gaps in those areas – you may need to use a lot of caulk if you are working with brick or stone. Use your finger and run it along the caulk. This serves two purposes – it forces the caulk inwards and to the sides (tight fit) and smooths the visible caulk bead so that it looks tight and clean.
Caulk any screw holes as well, and make sure the connection between the sill nose and the sill is caulked well. Let dry completely before priming and painting.
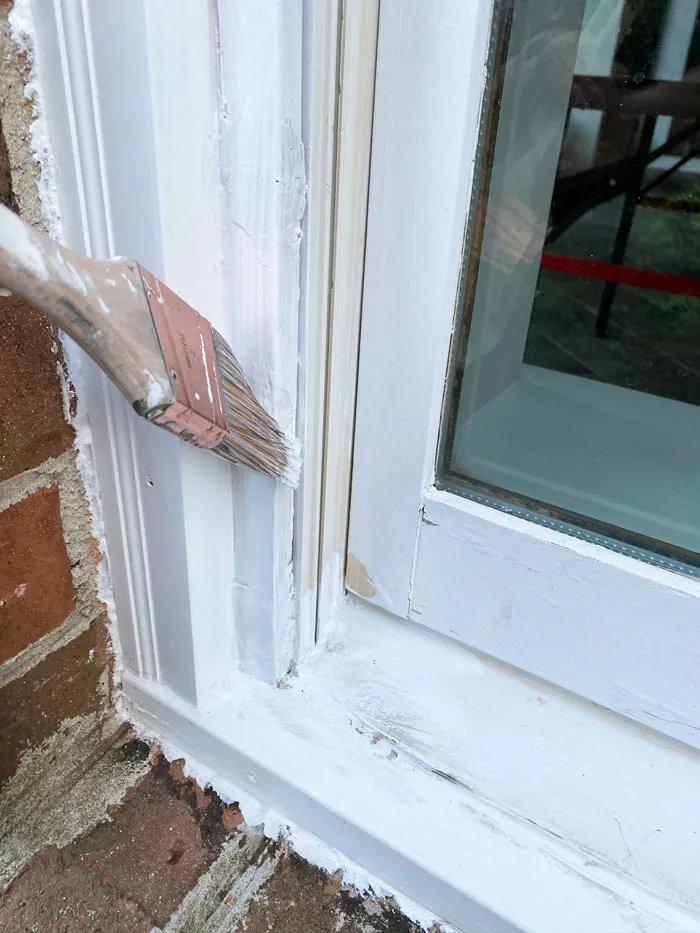
Step 9: Prime & Paint
Prime any bare pieces of wood on your window. PVC does not need to be primed, so don’t waste any primer on the new brick molding or sill nose. Next, apply high-quality exterior paint to the entire exterior window, including sashes, sash frame, grills, stiles, sill, side jamb, and brick molding. Two coats of paint is recommended on all surfaces. Once dry, use a window scraper to remove the paint from the glass.
Pro Tip: Use a drop cloth when scraping paint – the paint you scrape can stick to the window sill and if exposed to sun, can create quite a strong bond that is hard to remove without causing damage.
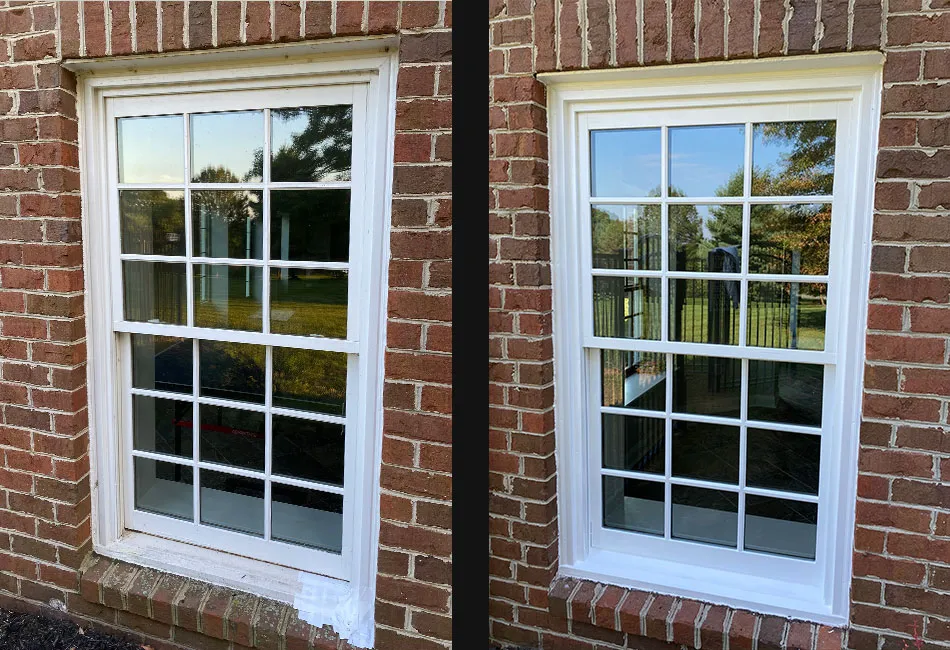
That’s it! This project to repair window wood rot is easy to tackle yourself and all-in-all took me about six hours per window. How much did I save by doing it myself? I had a few quotes and when divided by the number of windows, it cost $350 per window. I purchased all the materials for one window for $48. So I saved $302 on repairing this window and invested about six hours of time – that’s a win in my book!
BUT, we have 34 windows that need to be repaired, many of which are on the second and third level (ladders can get dicey). So rather than spend 200+ hours tackling this work ourselves, we are going to hire this job out and focus on some inside projects.


")

The Comments
2020 Home Projects – A Year in Review – Arched Manor
[…] is a blog post on how we repaired the wood rot on our remaining windows. We also had them freshly caulked and […]