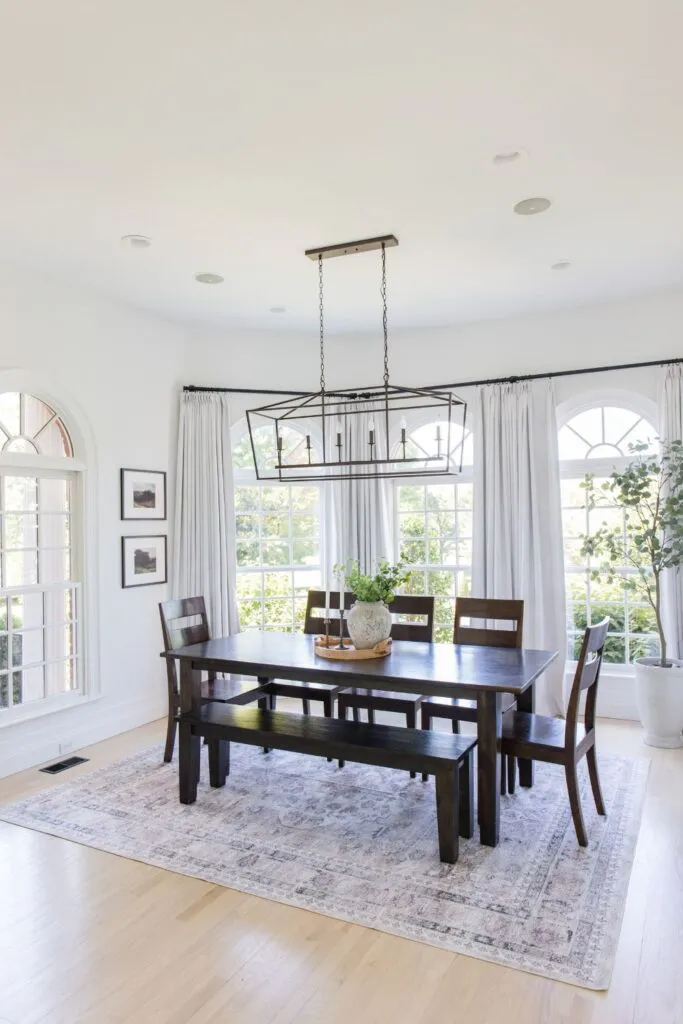
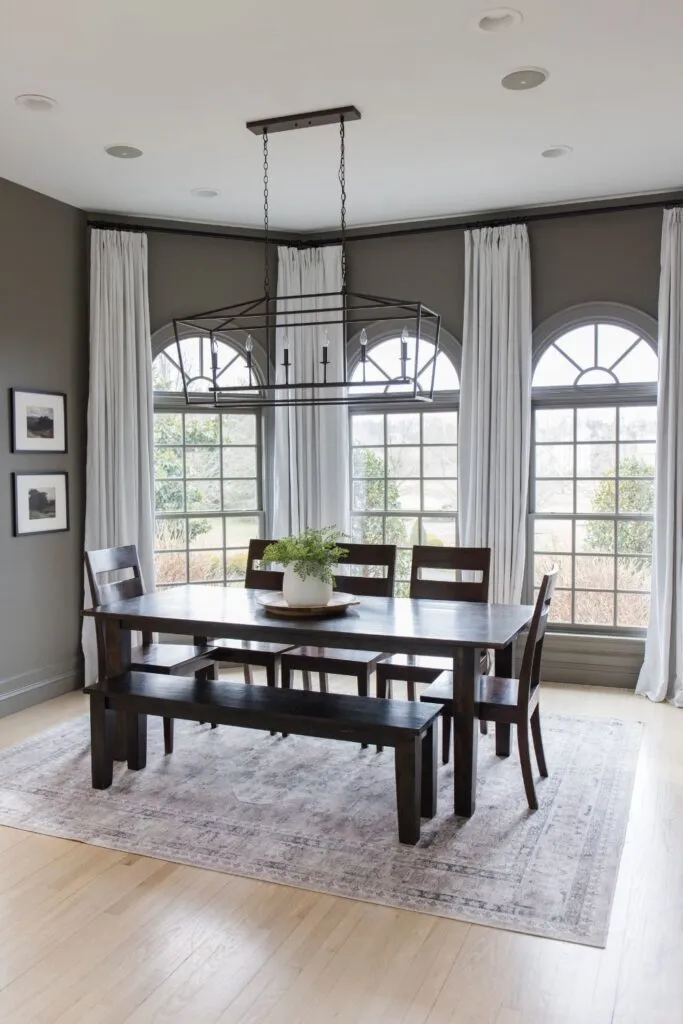
While we love our breakfast room the way it was, after living with it in its current state for almost 5 years, we were ready for a change! The biggest two changes being going with a darker color and adding some trim detail.
Our breakfast room was a difficult space to design around because of the lack of symmetry. I don’t necessarily mean that this space isn’t square with even windows (which its not), but more so the largest wall in the room has a few “wall pimples” aka switches, A/C control and a big ol’ HVAC air intake that make it difficult to add a trim design or even a gallery wall.
AFFILIATE LINKS MAY BE USED THROUGHOUT THIS PAGE – READ OUR POLICY HERE.
You may notice that this design is completely different from our original concept, when we first announced this project. While we still like what we designed originally, the wood feature was starting to look a little bit like a memo board and would also conflict with the potential of a future wood ceiling (our end goal)! So we went back to the drawing board (SketchUp) and mocked up the design that we are revealing today! Just in case anyone was wondering, we LOVE it!
So let’s break this space down.
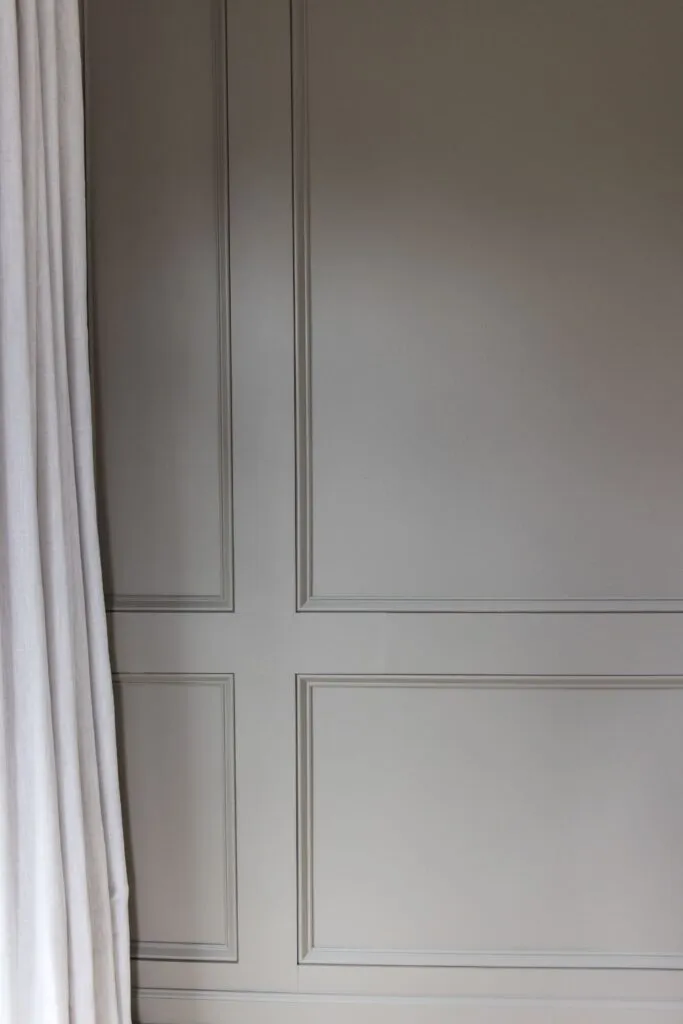
Raised Panel Accent Wall
We will be writing a more detailed blog post on how to construct a raised panel wall, so for now, here is a list of the materials and a high-level description of the steps we took to construct it.
1. Assuming you already know the measurements of your space and the pattern you plan to build, the first step is to cut the 1×6 primed pine boards using a miter saw, and use construction adhesive and a 15 gauge nail gun to secure them to the wall.
Pro tip: make sure to use shims so the seams are level and also mark your studs so you know the best place to nail the boards to the wall! Also, we recommend using construction adhesive so these pieces will not move/shift over time.
2. Using a miter saw, cut the basecap molding to fit the interior squares/rectangles of the pine boards. Nail them to the wall using the 18 gauge nail.
3. Once all the wood/molding has been installed, you will then fill in all the nail holes using wood filler. Give it a day to dry and then sand down all the extra/bumps.
4. Caulk all the seams where the basecap pieces meet each other and also where the basecap molding meets the wall. Do not caulk the seam where the basecap molding meets the 1/6 boards.
5. Last but not least…Paint!
Paint
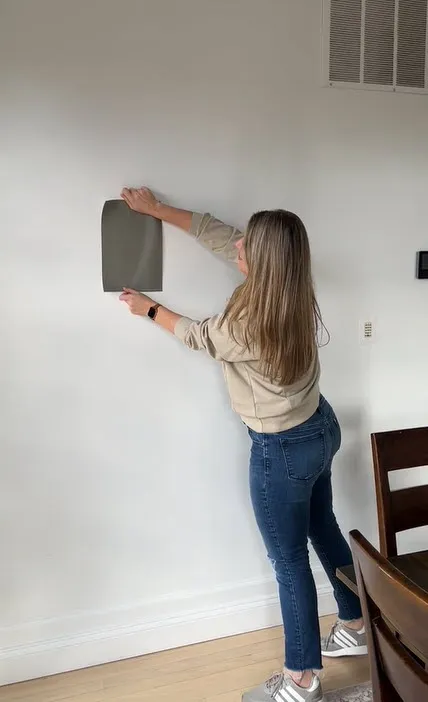
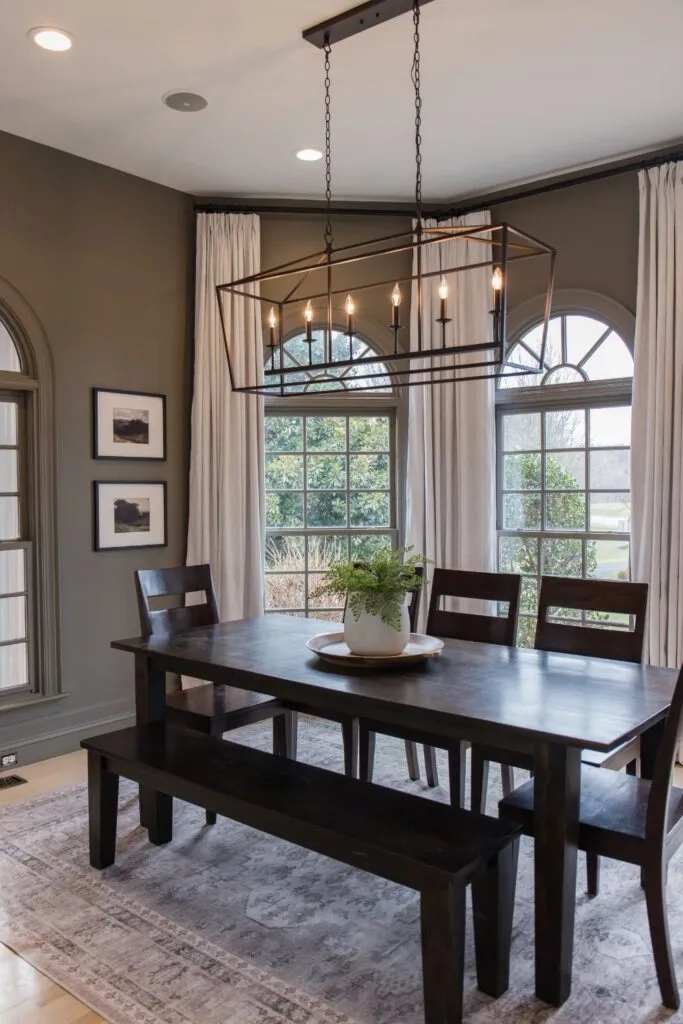
We know that when you hear “breakfast room”, the last thing you think is a dark paint color. However, we have lived with the white walls in this space for 5 years and were ready for a change. Also, since our dining room has a lighter greige color, we thought it would be fun to change things up and go with a darker color.
We went back and forth on color for weeks and ended up purchasing 8 different samples from Samplize (love the lack of mess and also they are reusable). We originally were looking at SUPER dark colors like Urbane Bronze, but after putting the samples on the wall decided those would be too dark.
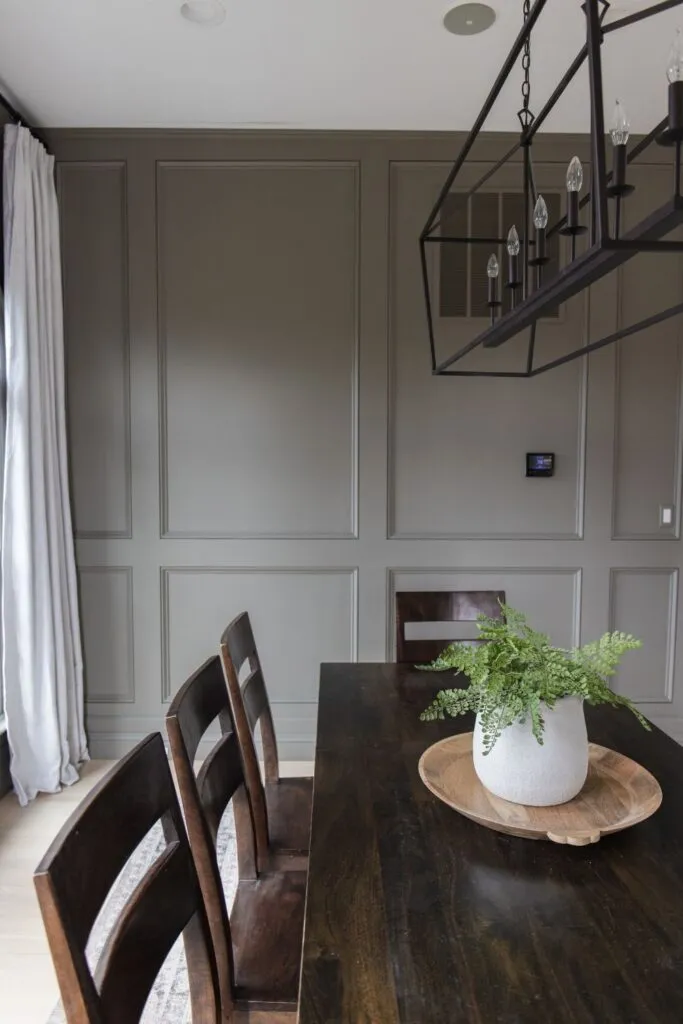
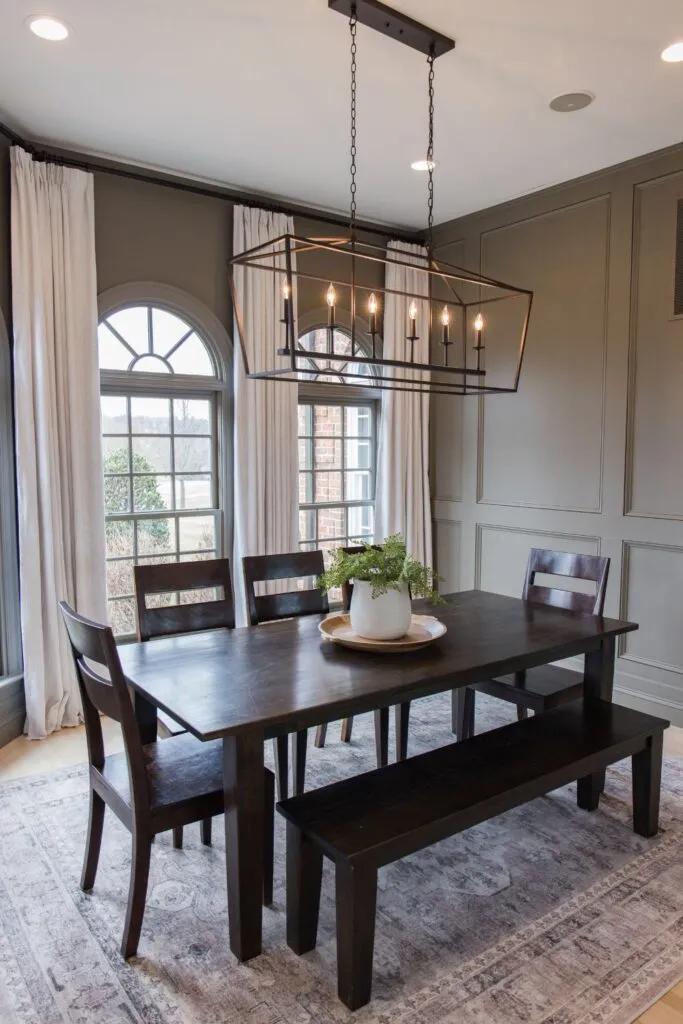
Insert Squirrel Tail by Benjamin Moore! We love this color because it is a mid-tone color that is described as a stone beige with green and gray undertones.
In an effort to stay on a budget, we opted to use the same furniture, rug, drapes, artwork, and light that we already had.
Table and Chairs
The end goal is to get a new round table and chairs for this space. But for now, we have our beloved table of over 10 years! This table and chairs are SOLID and built to last. We cannot say enough good things about the quality of them!
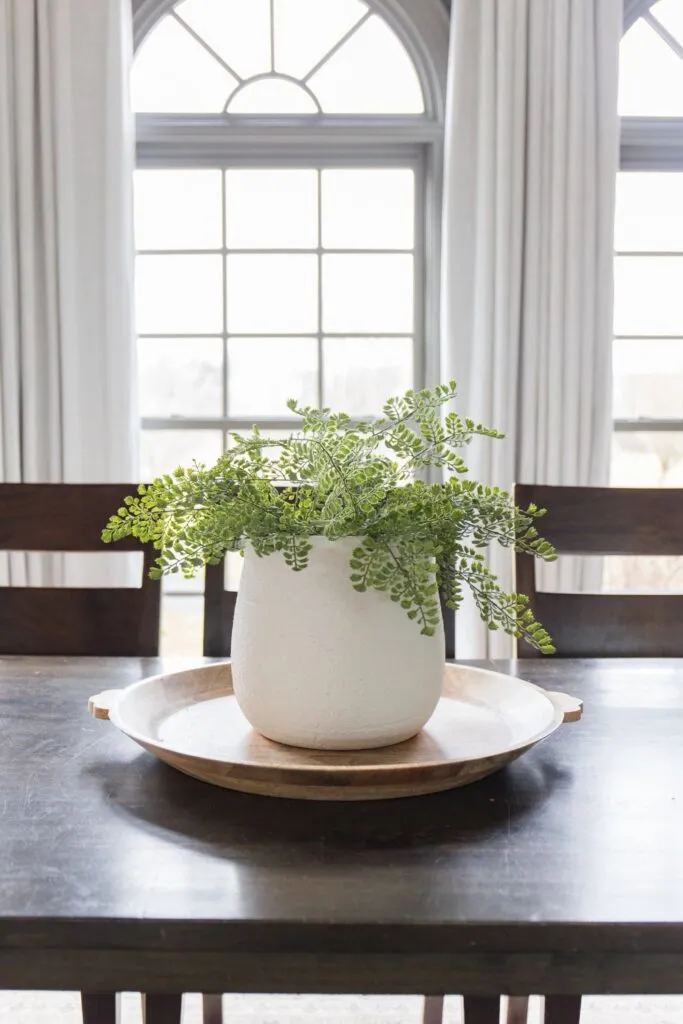
Curtains and Hardware
So, these drapes are the same drapes we had in this space before, but a longer size. We had originally bought them for the dining room but then decided on these velvet ones instead so had these waiting in storage. We are excited for the extra length on these curtains and to see how they can transform the space. For the hardware, we kept the Pottery Barn bracket and rods – we really like these units and the connector for the angled corner creates a consistent, clean look that we like. Since we installed longer curtain panels, we had to raise the brackets upwards so the panels would properly fit.
Light
Here is a link to the linear light fixture we currently have. It is amazing quality, comes in other finishes and SUCH A GOOD PRICE for the size.
Rug
The coloring in this washable rug is amazing. It is also soft underfoot. Oh, also, did we mention it is washable?! Perfect for an eating area.
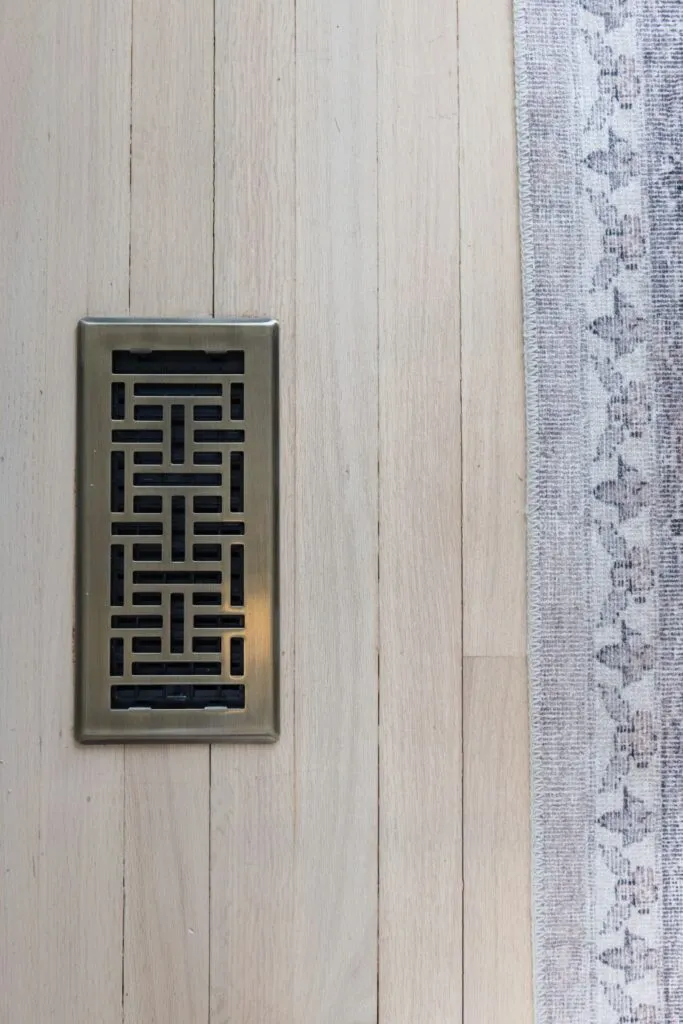
Vent Cover
We eventually will switch out the large HVAC air intake on the upper part of this wall,. That was one of our most asked questions on social media when we were designing this space. But as we were trying to stay on a budget we decided to just paint over the existing one.
We did however, switch out the floor vents for these affordable upgrades! The antique brass finish is a great compliment to our flooring and the other brass accents we have in our home.
Electrical
We replaced the old electrical outlets with decora outlets in matte white. This gives an updated feel to the space and is something we are slowly doing in every room of our house. The switch on the wall was already linked to a Lutron Caseta dimmer, so we kept that and just added a painted face plate to match the paint color.
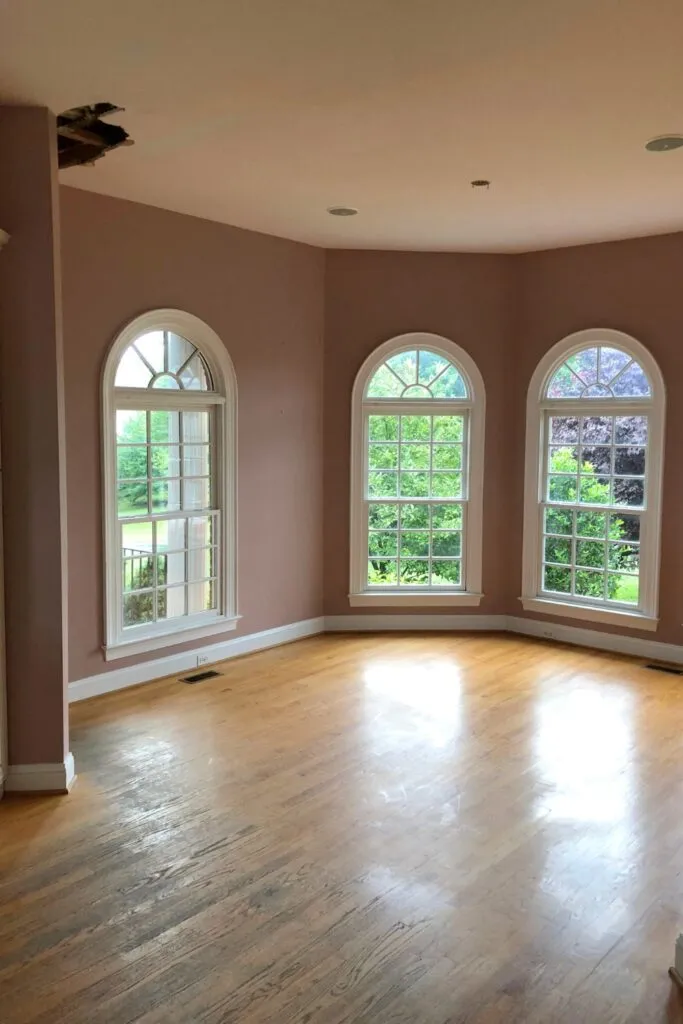
Our Design Journey
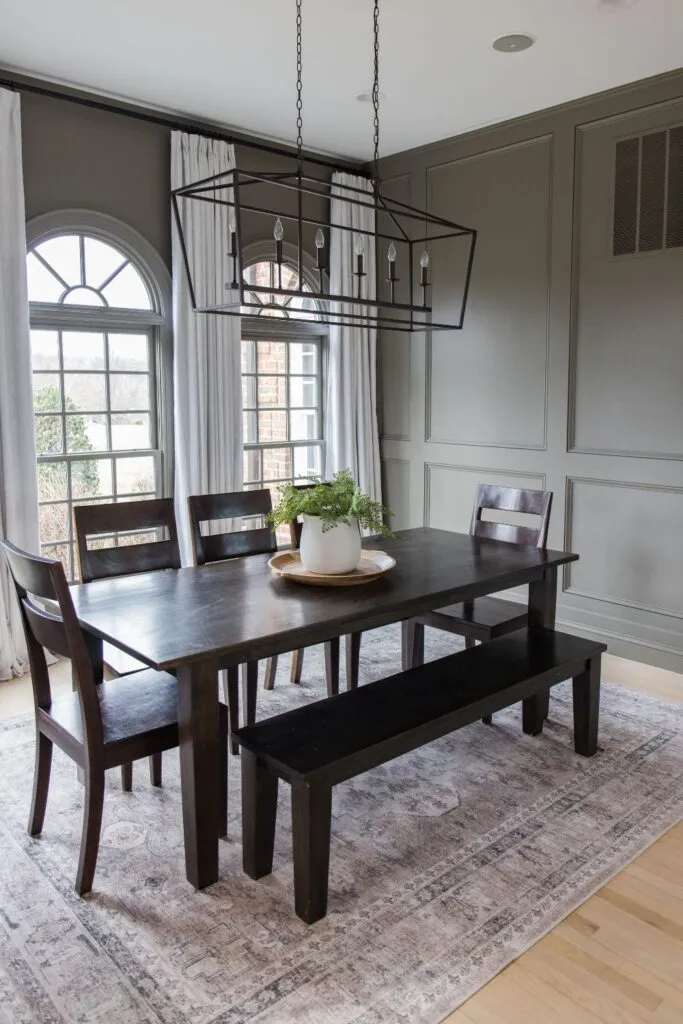
As you can see in the pictures below, this breakfast room has come a long way since we first purchased the house. We much prefer the Squirrel Tail paint color over the original pink color. The white was nice and bright, and it served its time for 5 years, but the darker paint just brings so much depth to the room, and makes it much more inviting and intimate. Is this room design done? Probably not. As we mentioned above, a round table, new light fixture, and maybe a wood ceiling may be in the future…but not anytime soon!
The Final Result
We are thrilled with how this easy DIY project transformed the space. Do you guys like it? Anything you would have done differently? Let us know in the comments below!
Beautiful. We are mapping out our plan to do board and batten in our hall. Did you replace your existing baseboards? Ours won’t accommodate a 1 inch overlap. Since we are in a townhouse, the cost of replacing all baseboards could be considerable. Thanks for the help!
1021home
→ Kelle Hunter
March 3, 2024
Thanks for the comment! We ended up replacing the baseboards on the accent wall since the molding on the wall increased the gap on the right angle, so we needed an extra 0.75 inch to close that gap.
Tara Marr
March 3, 2024
Wow, this came out gorgeous! Love the panels and paint color and what a difference the raised up curtains make as well! Love it
1021home
→ Tara Marr
March 3, 2024
Thank you! Yes, it’s amazing what a few inches in height can do visually. Thanks for the kind words! 🙂


")

The Comments
Kelle Hunter
Beautiful. We are mapping out our plan to do board and batten in our hall. Did you replace your existing baseboards? Ours won’t accommodate a 1 inch overlap. Since we are in a townhouse, the cost of replacing all baseboards could be considerable. Thanks for the help!
1021home
→ Kelle HunterThanks for the comment! We ended up replacing the baseboards on the accent wall since the molding on the wall increased the gap on the right angle, so we needed an extra 0.75 inch to close that gap.
Tara Marr
Wow, this came out gorgeous! Love the panels and paint color and what a difference the raised up curtains make as well! Love it
1021home
→ Tara MarrThank you! Yes, it’s amazing what a few inches in height can do visually. Thanks for the kind words! 🙂